Deliciously Creamy Apple Cider Cheesecake
Hey there, friend! Are you ready to dive into the cozy, comforting world of fall flavors? I absolutely love this Apple Cider Cheesecake because it brings together the creaminess of cheesecake with the warm, inviting spices of autumn. Trust me; it’s the kind of dessert that’ll have your family and friends begging for seconds—and you won’t believe how simple it is to make!
Nutritional Benefits
One of the best things about this cheesecake is that it has some pretty decent nutritional perks. Cream cheese may get a bad rap, but it provides calcium and protein, which are essential for healthy bones and muscles. Plus, using apple cider adds that delicious fall flavor while giving you a bit of vitamin C and antioxidants. If you’re trying to sneak in a bit of wellness into your dessert, you can add some cinnamon, too, which is known for its anti-inflammatory properties. Small wins, right?
Adaptable Variations
- Dairy-Free Option: Swap cream cheese with a dairy-free alternative, like cashew cream. Just soak cashews in water and blend them until smooth!
- Gluten-Free Crust: If you or someone you know can’t have gluten, you can use crushed gluten-free cookies or almond flour mixed with coconut oil for a yummy crust.
- Less Sugar: Want to reduce sugar? You can use a sugar substitute like Stevia or monk fruit sweetener to keep it a bit lighter while still enjoying that sweet apple flavor!
How to Make Apple Cider Cheesecake
Ingredients
- 1 ½ cups graham cracker crumbs
- ½ cup unsalted butter, melted
- 2 cups cream cheese, softened
- 1 cup granulated sugar
- 1 teaspoon vanilla extract
- ½ cup apple cider
- 3 large eggs
- 1 teaspoon ground cinnamon
- ½ teaspoon ground nutmeg
- ¼ teaspoon ground ginger
- Pinch of salt
- Caramel sauce for drizzling (optional)
Instructions
- Preheat the Oven: First things first, you need to fire up that oven to 325°F (163°C).
- Prepare the Crust: Grab a mixing bowl and mix together the graham cracker crumbs and melted butter until they’re all combined and crumbly.
- Form the Crust: Press that mixture firmly into the bottom of a 9-inch springform pan to create a nice, even layer. Bake that crust in the oven for about 10 minutes until it’s set and toasty. Once done, take it out and let it cool.
- Prepare the Filling: In a large mixing bowl, beat the softened cream cheese with an electric mixer until it’s creamy and smooth. Gradually add in the granulated sugar and keep mixing until everything is well combined.
- Add Flavorings: Time to spice things up! Mix in the vanilla extract, apple cider, ground cinnamon, nutmeg, ginger, and a pinch of salt. You want this mixture to be ultra-smooth!
- Incorporate Eggs: Add the eggs one at a time, mixing on a low speed after each addition just until everything’s combined. Remember, don’t overmix—this ensures a creamy texture!
- Pour the Filling: Carefully pour that decadent cheesecake filling over your cooled crust, spreading it evenly with a spatula. It’s going to look amazing!
- Bake the Cheesecake: Place your springform pan on a baking sheet (it helps with spills), and bake for 55-60 minutes. The center should be set but a tiny bit jiggly when you pull it out.
- Cool the Cheesecake: Once it’s done, turn off the oven and crack the door open slightly—this lets the cheesecake cool down gradually, which is super important for a smooth texture! Let it sit in the oven for about an hour, then transfer it to the fridge for at least 4 hours (or overnight for the best flavor).
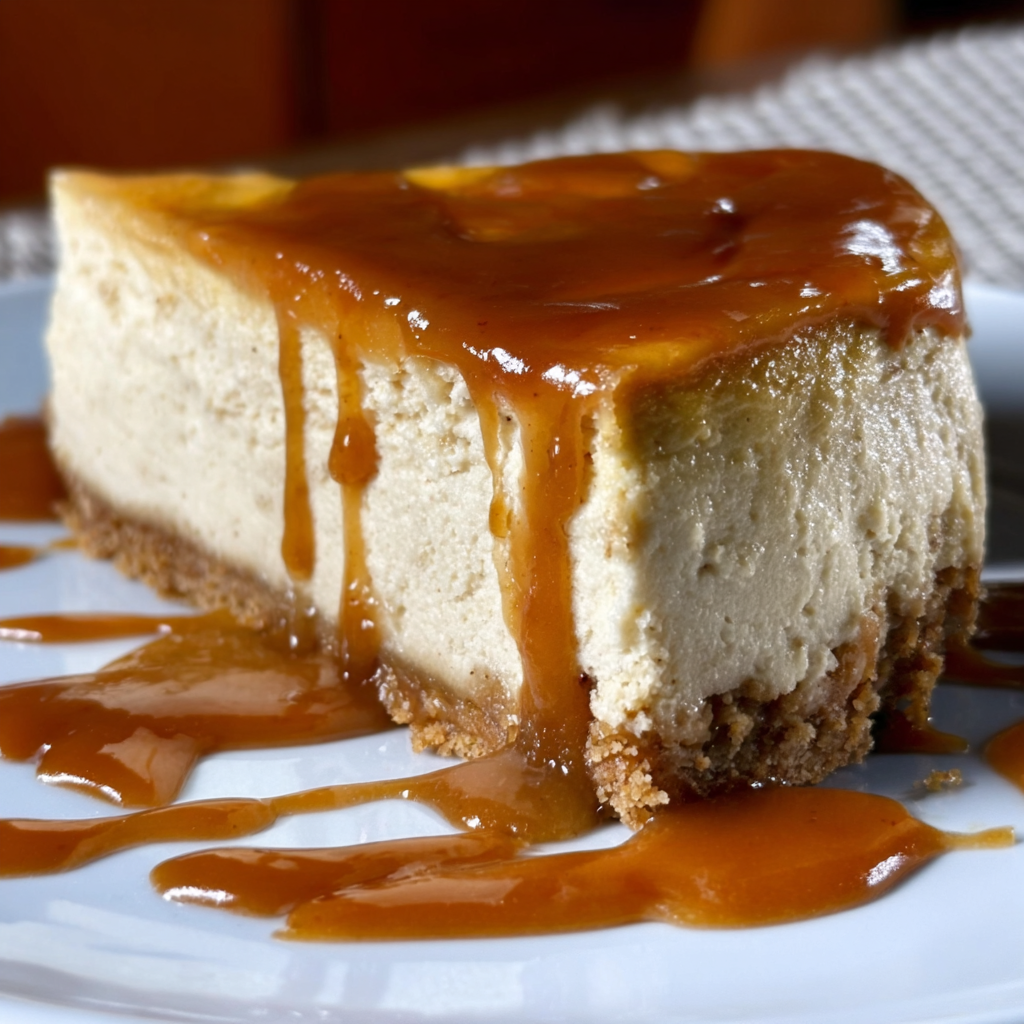
- Serve: Finally! Before serving, drizzle some caramel sauce on top if you’re feeling fancy. Slice it up and enjoy that creamy, spiced goodness!
Practical Tips
- Wrap any leftovers tightly in plastic wrap and keep it in the fridge. It’ll last for about a week—but who are we kidding? It’s unlikely to last that long!
- Make sure to let the cheesecake cool completely before chilling, or it might develop condensation, which can mess with that smooth texture.
- If your cheesecake cracks a little, don’t worry! Cover it with caramel sauce—no one will notice under the delicious drizzle!
Equipment Needed
Before you dive into the kitchen, here’s what you’ll need:
- 9-inch springform pan (this is key for easy removal!)
- Mixing bowls (one large for the filling and one smaller for the crust)
- Electric mixer (stand or handheld works)
- Spatula for spreading the cheesecake filling
- Baking sheet (to catch any drips from the springform pan)
- Measuring cups and spoons
- Cooling rack (optional, but it helps cool evenly)
Frequently Asked Questions
- Can I make this cheesecake ahead of time? Yes! It actually tastes better when it sits for a day in the fridge.
- What’s the best way to cut a cheesecake? Use a sharp knife and dip it in hot water before cutting. It gives you those nice, smooth slices!
- Can I freeze this cheesecake? Absolutely! Wrap it tightly and it will be good for about 2-3 months. Thaw in the fridge overnight before serving.
- What if I can’t find apple cider? You can substitute it with apple juice! It will still taste delicious.
- Why did my cheesecake crack? Overbaking is often the culprit. Keep an eye on it as it nears the end of baking!
If you decide to make this Apple Cider Cheesecake (and I really hope you do!), I’d love to hear how it turns out! Snap a pic and tag me on Pinterest for more comforting recipes that warm your heart and home. Happy baking!
