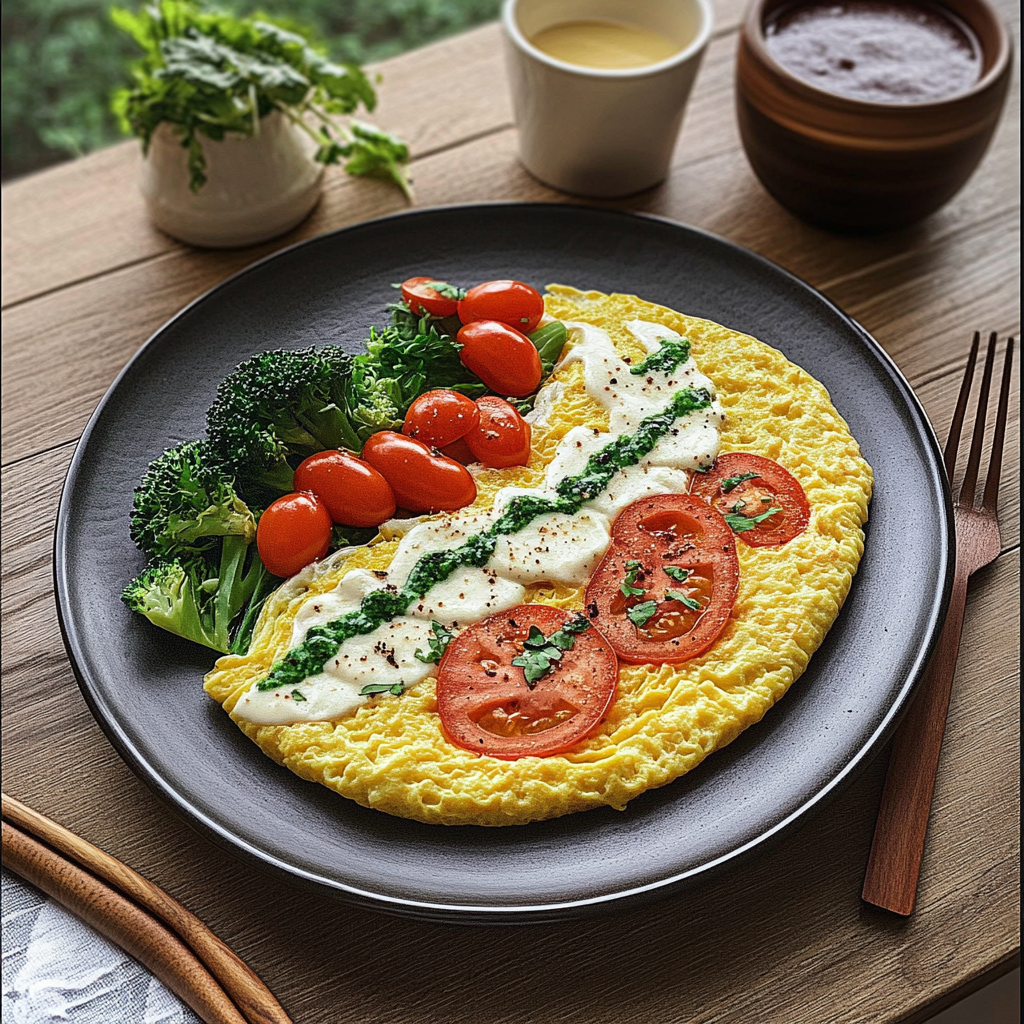
Artistic omelet
Hey there, breakfast lover! I don’t know about you, but I believe breakfast is the most important meal of the day. And what’s better than a fluffy, delicious omelet? Today, I want to introduce you to my favorite twist on this classic dish: the Artistic Omelet! It’s not just a meal; it’s a canvas for your creativity in the kitchen. You can add any colors and flavors you want, making it as unique as you are! Whether you prefer a classic combo or something a bit more adventurous, there’s an omelet out there waiting for you. So, let’s dive in!
Nutritional Benefits of Omelets
Did you know that omelets are packed with nutritional goodness? Eggs are a fantastic source of high-quality protein, which is vital for repairing tissues and building muscles. Plus, they are rich in vitamins like B12, which is great for your energy levels, and vitamin D, which supports bone health. And if you load your omelet with veggies—think spinach, bell peppers, or tomatoes—you’re also adding fiber, antioxidants, and a wealth of other nutrients. It’s like a breakfast that gives your body a big, warm hug!
Adaptable Variations for Your Artistic Omelet
- Vegetarian Delight: Swap in your favorite veggies like mushrooms, zucchini, or asparagus instead of meat.
- Spicy Kick: Add some jalapeños or hot sauce for a spicy twist that really wakes up your taste buds!
- Dairy-Free Option: Use vegan cheese or skip the cheese altogether for a lighter version.
- Herb Infusion: Experiment with fresh herbs like basil, cilantro, or dill for a burst of flavor.
Easy Artistic Omelet Recipe
Ingredients
- 2 large eggs
- 2 tablespoons milk (or milk alternative)
- Salt and pepper, to taste
- 1/4 cup chopped vegetables (bell peppers, onions, tomatoes, etc.)
- 1/4 cup shredded cheese (optional, can use dairy-free)
- Fresh herbs for garnish (optional)
Instructions
- In a bowl, whisk together the eggs, milk, salt, and pepper until well mixed.
- Heat a non-stick skillet over medium heat and add a bit of oil or butter to coat the pan.
- Pour the egg mixture into the skillet, making sure it evenly covers the bottom.
- After about a minute, when the edges begin to set, gently lift them with a spatula, allowing the uncooked egg to flow underneath.
- Once the bottom is golden and the top is slightly runny, add your veggies and cheese on one half of the omelet.
- Fold the omelet in half, cover, and let it cook for another minute or so until set. Slide onto a plate, garnish with fresh herbs if desired, and enjoy!
Practical & Valuable Tips
- For fluffier omelets, remember to whisk the eggs well to incorporate air.
- Don’t overcrowd the omelet. Keep the fillings light so that it folds easily!
- Serve it fresh and hot right out of the pan for the best flavor and texture.
- If you have leftovers, store the omelet in an airtight container in the fridge for up to 2 days.
- You can reuse a clean, dry skillet to reheat it gently on low heat or in the microwave—just be careful not to overcook it!
Equipment Needed
Here’s what you’ll need to whip up this fantastic dish:
- A mixing bowl for whisking the eggs
- A non-stick skillet to cook the omelet
- A spatula for flipping and folding
- A whisk or fork for mixing
- A cutting board and knife for chopping your veggies
Frequently Asked Questions
- Can I make this omelet ahead of time? While fresh is best, you can prepare the fillings in advance and store them in the fridge. Just make the eggs when you’re ready to eat!
- What if I’m allergic to eggs? You could try a chickpea flour batter as an egg substitute, which can provide a similar texture.
- Can I bake the omelet instead of frying it? Yes, you can pour the mixture into a greased oven-safe dish and bake it at 350°F (175°C) until set.
- How do I get a perfectly shaped omelet? Use a smaller skillet for a thicker, rounder omelet, and make sure to use a gentle touch when flipping!
- What should I serve with my omelet? Fresh toast, a side salad, or even some fruit makes for a great complement!
I’d really love to see how your Artistic Omelet turns out—or any variations you decided to try out! Don’t forget to snap a pic and share it on Pinterest or drop your thoughts and experiences in the comments below. Happy cooking!
