My Go-To Korean Bulgogi Recipe: Easy, Flavorful, and Perfect for Any Occasion
Hey there! If you’ve ever wanted to make an authentic Korean dish right at home, bulgogi is a fantastic place to start. It’s tender, juicy, and packed with a delicious balance of sweet and savory flavors that make every bite irresistible. Plus, this recipe is super simple to follow, even if you aren’t a seasoned cook. I love making bulgogi when I want to treat myself to something special but don’t want to fuss too much in the kitchen. I’m excited to share with you how to whip up this classic Korean beef recipe that you and your loved ones will enjoy again and again!
Why Bulgogi Is Not Just Tasty but Good for You
One thing I appreciate about bulgogi is that it incorporates ingredients that bring some real nutritional benefits. The beef provides a great source of protein, which is essential for muscle repair and keeping you energized. Using lean cuts like sirloin or ribeye helps keep the dish tender without too much fat.
Additionally, the marinade uses garlic, which is known for its immune-boosting properties, and sesame oil, which adds healthy fats and antioxidants. The fresh cucumber and carrot garnish not only adds crunch and color but also brings in fiber and vitamins, making this a balanced meal when served with steamed rice.
How You Can Customize Your Bulgogi
- Vegetarian Twist: Swap out the beef for thinly sliced mushrooms or tofu marinated in the same sauce for a plant-based take.
- Spice It Up: If you like a bit of heat, add a teaspoon of gochujang (Korean chili paste) to the marinade.
- Fruit Variations: If you don’t have Asian pear, using a grated apple still gives that lovely tenderizing effect and sweet depth of flavor.
- Gluten-Free Version: Use tamari or coconut aminos instead of soy sauce for a gluten-free friendly option.
Easy Bulgogi Recipe You’ll Love
Ingredients
- 1 lb thinly sliced beef ribeye or sirloin
- 1/3 cup soy sauce
- 2 tbsp sugar (brown or white)
- 3 cloves garlic, minced
- 1/4 cup grated Asian pear or apple (optional but recommended)
- 1 tbsp sesame oil
- 1/2 tsp ground black pepper
- 3-4 green onions, chopped (reserve some for garnish)
- 1 tbsp sesame seeds (for garnish)
- 1-2 tbsp vegetable oil (for cooking)
- Steamed white rice (for serving)
- Fresh cucumber slices and shredded carrots (for garnish/salad)
- Kimchi (optional, for serving)
Step-by-Step Instructions
- If your beef isn’t pre-sliced, slice it very thinly against the grain for the best texture.
- In a large bowl, mix together soy sauce, sugar, minced garlic, grated Asian pear (or apple), sesame oil, black pepper, and chopped green onions to make the marinade.
- Add the beef slices to the marinade and toss well so every piece is nicely coated. Cover the bowl and let it marinate in the fridge for at least 30 minutes. If you have time, 2 to 4 hours or even overnight really amps up the flavor and tenderness.
- Heat a large skillet or grill pan over medium-high heat and add your vegetable oil.
- Remove the beef from the marinade, letting extra marinade drip off. Cook in batches so the pan isn’t crowded, searing each side for about 2 to 3 minutes until beautifully browned and caramelized.
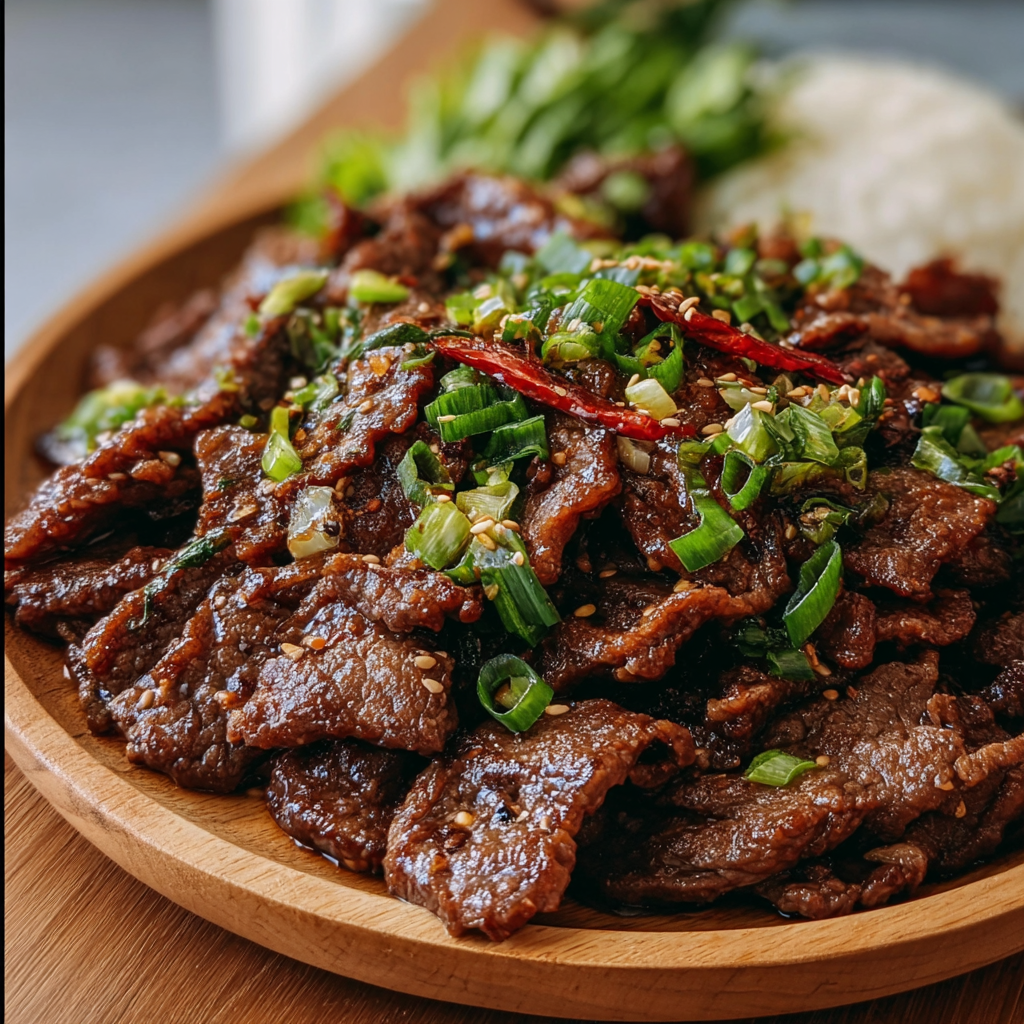
- Transfer your cooked bulgogi onto a serving plate. Sprinkle generously with the reserved chopped green onions and toasted sesame seeds.
- Serve immediately with steamed white rice, cucumber slices, shredded carrots, and kimchi on the side if you like a bit of spicy tang!
My Top Tips for Making Perfect Bulgogi
- Marinate Longer for Tenderness: If you can plan ahead, marinate the beef overnight; the meat soaks up all the flavors and becomes incredibly tender.
- Don’t Crowd the Pan: Cooking the beef in small batches helps it caramelize better instead of steaming.
- Use High Heat: A really hot pan or grill ensures a nice sear and locks in juicy flavors.
- Save Some Marinade for Dipping: You can keep a small amount aside to use as a tasty dipping sauce on the side.
- Garnish Thoughtfully: The green onions and sesame seeds really brighten up the dish in both flavor and appearance.
Here’s the Equipment You’ll Want to Have Ready
- Sharp knife for slicing the beef thinly
- Mixing bowl for the marinade
- Grater (for Asian pear or apple)
- Large skillet or grill pan for cooking
- Tongs or spatula for turning the beef
- Serving platter or plates
- Steaming pot or rice cooker for perfectly cooked rice
Your Questions Answered: Bulgogi FAQs
- Can I use a different cut of beef? Yes! Flank steak or top round can work, but ribeye or sirloin give the best tenderness and flavor.
- Is Asian pear necessary in the marinade? It’s optional but highly recommended because it adds a natural sweetness and helps tenderize the meat.
- Can I prepare bulgogi ahead of time? Absolutely! Making it ahead and marinating overnight improves the taste. You can also cook the beef in advance and reheat gently.
- What should I serve with bulgogi? Steamed rice, fresh veggies like cucumber and carrots, and kimchi make a perfect classic Korean meal setup.
- Is bulgogi spicy? The traditional recipe is not spicy, but you can easily add chili flakes or Korean chili paste to heat it up if you like.
Let’s Get Cooking!
Ready to dive into this amazing bulgogi recipe? I love seeing your kitchen creations, so don’t be shy—pin this recipe on Pinterest or share your photos and tips with me. Trust me, once you try making bulgogi at home, it’ll become one of your favorite go-to meals too. Happy cooking, and let me know how it turns out!
