Welcome to the World of Black Velvet Cake!
Hey there, dessert lovers! If you’re in the mood for something fabulously rich and decadent, then let me introduce you to the stunning Black Velvet Cake. This elegant treat is dark, moist, and perfect for any special occasion—or just a cozy night in! I absolutely adore this cake not just for how it looks but for its incredible flavor. Plus, it’s relatively simple to whip up, so grab your aprons, and let’s get baking!
Why You’ll Love This Cake
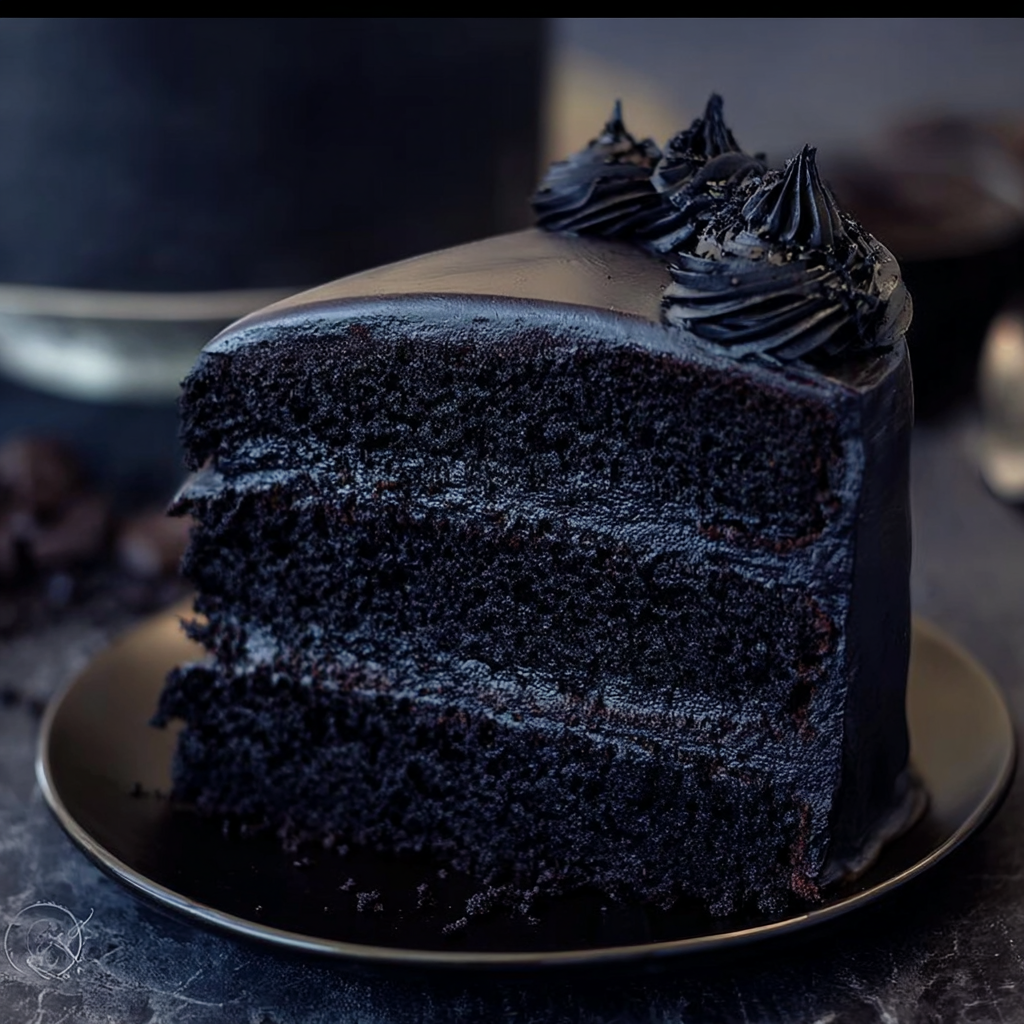
The black velvet cake is not your average chocolate cake; it’s a beautifully dark take on a classic. The combination of unsweetened cocoa powder with the moistness from the eggs and oil creates a rich, velvety texture that will have everyone coming back for seconds. It’s like biting into a cloud of chocolate happiness!
Nutritional Benefits
Okay, so let’s chat about nutrition. While dessert is meant to be indulgent and enjoyed in moderation, using quality ingredients makes a difference. Whole milk provides calcium for your bones, and unsweetened cocoa is rich in antioxidants. While this cake might not be classified as health food, making it at home means you can tailor the sweetness and use high-quality cocoa, giving you a tad bit more peace of mind with each slice!
Flexible Variations
Want to make this cake your own? Here are a few ideas:
- Gluten-Free Option: Substitute all-purpose flour with a 1:1 gluten-free baking flour.
- Less Sugar: If you prefer a less sweet cake, you can cut the granulated sugar in half and still yield a deliciously rich flavor.
- Buttercream Frosting Swap: Try cream cheese frosting for a tangy twist that perfectly complements the richness of the cake.
- Flavor Add-ins: Enhance the flavor with coffee or espresso powder in the batter; it pairs beautifully with chocolate!
Easy Steps to Make Your Black Velvet Cake
Ingredients
- 1 ¾ cups all-purpose flour
- ¾ cup unsweetened cocoa powder
- 2 cups granulated sugar
- 1 ½ teaspoons baking powder
- 1 ½ teaspoons baking soda
- 1 teaspoon salt
- 2 large eggs
- 1 cup whole milk
- ½ cup vegetable oil
- 2 teaspoons vanilla extract
- 1 cup boiling water
- Black food coloring (optional for enhanced color)
For the Frosting:
- 1 ½ cups unsalted butter (softened)
- 6 cups powdered sugar
- ½ cup unsweetened cocoa powder
- ½ cup heavy cream
- 1 teaspoon vanilla extract
- Black sprinkles (for decoration)
Instructions
- Preheat your oven to 350°F (175°C). Grease and flour two 9-inch round cake pans. Trust me, this step helps the cake come out perfectly!
- In a large mixing bowl, sift together the all-purpose flour, cocoa powder, granulated sugar, baking powder, baking soda, and salt.
- Add the eggs, milk, vegetable oil, and vanilla extract to the dry ingredients. Mix on medium speed for about 2 minutes until well combined.
- Carefully stir in the boiling water—yes, it will be thin, but that’s what gives it that perfect moisture!
- If you want an even darker hue, add in some black food coloring. Mix until it’s all blended.
- Divide the batter evenly between the prepared cake pans.
- Pop those pans in the oven and bake for 30-35 minutes, or until a toothpick comes out clean. Your kitchen will smell incredible during this time!
- Let the cakes cool in the pans for about 10 minutes before gently removing them and transferring to wire racks to cool completely.
- While the cakes cool, let’s whip up that frosting! Beat the softened butter on medium speed until creamy.
- Gradually mix in the powdered sugar and cocoa powder, alternating it with heavy cream, until you achieve fluffy and smooth frosting perfection.
- Mix in the vanilla extract! Adjust the thickness of the frosting as needed with additional cream or powdered sugar.
- Once the cakes have cooled, place one layer on a serving plate, slather on some of that delicious frosting on top, and then stack the second layer on.
- Cover the entire cake with the remaining frosting, smoothing it out as you go. Top it with decorative swirls and black sprinkles for that finishing touch!
- Slice, serve, and watch everyone’s eyes light up with joy!
Practical & Valuable Tips
- Make sure your ingredients are at room temperature for better mixing and structure of the cake.
- Once baked, if the tops of your cakes are domed, just level them off with a knife to create a flat surface for stacking.
- Store leftovers in an airtight container at room temperature for up to 3 days or refrigerate for up to a week. It’ll be hard to let it last that long!
- You can freeze the layered cake, just ensure it’s tightly wrapped to prevent freezer burn. It’ll keep for about a month.
Equipment Needed
Here’s a list of what you’ll need to get started:
- Two 9-inch round cake pans
- A large mixing bowl and a whisk or electric mixer
- A measuring cup and spoons
- A sifter (for the dry ingredients)
- A wire cooling rack
- A spatula for frosting
- A toothpick to check for doneness
Frequently Asked Questions
- Can I use Dutch-process cocoa? Yes! Just keep in mind it may alter the taste slightly; it will still be delicious!
- What’s the purpose of adding boiling water? It activates the cocoa powder and helps create a tender crumb in the cake.
- Can I make this in advance? Absolutely! You can bake the cakes a day in advance and just frost the next day.
- How can I prevent the cakes from sticking? Be sure to grease and flour your pans well and consider using parchment paper on the bottoms!
- Can I make cupcakes with this batter? Yes! Fill cupcake liners about 2/3 full and bake for about 18-20 minutes.
Join the Fun!
So there you have it—your guide to making the rich and elegant Black Velvet Cake! I can’t wait for you to try this decadent dessert. If you bake it, please share your results and tag me on Pinterest! I love seeing how everyone makes these recipes their own. Happy baking!
