Welcome to the World of Bubblegum Cloud Slices!
Hey there! If you’re on the lookout for a fun and whimsical treat that’s perfect for parties (or just to satisfy your sweet tooth), then you’ve landed in the right spot. Let’s dive into making these delightful Bubblegum Cloud Slices together! I mean, who can resist layers of deliciousness in fun, bright colors? They’re not just tasty; they turn an ordinary gathering into something a bit more special and magical!
Nutritional Benefits of Bubblegum Cloud Slices
Now, I know these treats are more about sweetness than health, but there are always ways to make it a bit better for you. For instance, I like using unsalted butter because it allows me to control the saltiness of the dish—every little bit helps! Plus, using quality ingredients means you can enjoy treats without all the additives found in commercial snacks. And don’t forget, adding a touch of marshmallow fluff is a fun way to boost the nostalgia factor. It might not be “health food,” but dessert is meant to be enjoyed, right?
Fun and Adaptable Variations
One of the coolest things about this recipe is that it’s super flexible! Here are some variations you might want to consider:
- Gluten-Free: Swap the all-purpose flour for a gluten-free blend. Many brands work seamlessly in baking—just check for the right substitution ratio!
- Vegetarian Option: If you want to make these vegan, you can substitute the eggs with flaxseed meal (1 tablespoon of flaxseed meal mixed with 2.5 tablespoons of water = 1 egg). And use a dairy-free butter and milk alternative.
- Flavors Galore: Why not mix flavors in the batter? Try adding in lemon zest for a delightful citrus twist, or almond extract instead of vanilla for a unique kick.
- Layer It Up: Instead of just a layer of marshmallow fluff, try mixing in some crushed fruit or sprinkle some mini chocolate chips into the fluff for an added surprise!
The Delightful Recipe for Bubblegum Cloud Slices
Ingredients
- 1 cup all-purpose flour
- 1/2 cup granulated sugar
- 1/2 cup unsalted butter, softened
- 2 large eggs
- 1 teaspoon baking powder
- 1/4 teaspoon salt
- 1/4 cup milk
- 1 teaspoon vanilla extract
- Gel food coloring (pink, blue, and yellow)
- 1 cup marshmallow fluff or cream
- Edible glitter or sprinkles (for garnish, optional)
Step-By-Step Instructions
- Preheat your oven to 350°F (175°C) and line an 8-inch square baking dish with parchment paper, leaving some overhang for easy removal later.
- In a large mixing bowl, cream the softened butter and granulated sugar together until it’s light and fluffy. This step is crucial for the cake’s texture!
- Add the eggs one at a time, mixing well after each addition, and then stir in the vanilla extract. The aroma is so inviting!
- In a separate bowl, whisk together the all-purpose flour, baking powder, and salt until combined.
- Gradually add the dry ingredients into the wet mixture, alternating with the milk, until everything is smooth and combined—don’t worry if it seems a little thick!
- Divide the batter into three bowls. Use gel food coloring to tint one bowl pink, another blue, and keep the last one plain or color it yellow.
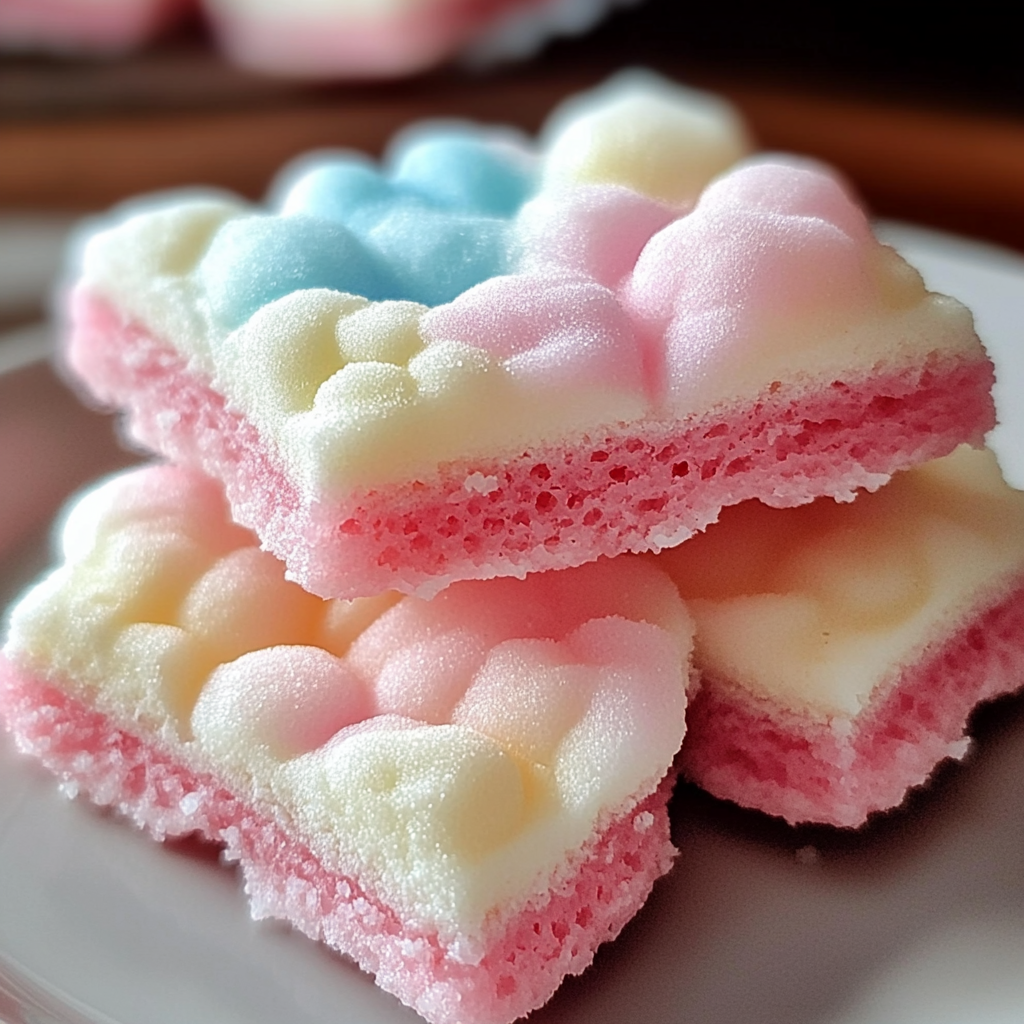
- Now, carefully pour the colored batters into your prepared baking dish in layers: pink first, followed by white, and top it off with blue.
- For a marble effect, gently swirl a toothpick through the layers—just a few swirls to mix the colors slightly!
- Bake in the preheated oven for 25-30 minutes, or until a toothpick inserted into the center comes out clean.
- Once it’s baked, allow the cake to cool completely in the pan on a wire rack.
- After cooling, spread a generous layer of marshmallow fluff or cream on top of the cake.
- Cut into fun square slices using a sharp knife, and for an extra sparkle, sprinkle some edible glitter or sprinkles on top before serving!
Storage Tips
- These slices can be stored in an airtight container at room temperature for up to 3 days. They’re a fantastic treat to pack for lunches or keep on hand for unexpected guests!
- For longer storage, you could freeze the slices! Just wrap them tightly in plastic wrap and store in a freezer-safe container. Thaw at room temperature when you’re ready to indulge!
Equipment You’ll Need
Before you start, here’s a quick checklist of what you’ll need:
- A mixing bowl and whisk (or electric mixer for ease)
- An 8-inch square baking dish
- Parchment paper
- A spatula for spreading the marshmallow fluff
- A toothpick for swirling and testing doneness
- A knife for cutting and serving
Frequently Asked Questions
- Can I use regular fluff instead of marshmallow fluff? Yes, but be sure to spread it evenly across the top to get a good layer.
- What if I don’t have gel food coloring? Liquid food coloring works too, but you’ll need a bit more to achieve vibrant colors.
- Can I make these ahead of time? Absolutely! They keep well for a few days and are great for planning ahead.
- What can I use instead of eggs? You can substitute eggs with flaxseed meal or applesauce if you prefer a vegan option.
- How can I make them more fun for kids? Add colorful sprinkles into the batter or let them decorate the tops with edible glitter!
Time to Get Baking!
Now it’s your turn! I can’t wait to hear how your Bubblegum Cloud Slices turn out! These are sure to bring smiles whether you’re serving them at a birthday party, a fun get-together, or just enjoying them as a sweet pick-me-up at home.
If you loved making these, drop by my Pinterest page for more fun, delicious recipes and inspiration. Let’s keep spreading that joy through baking!
