Welcome to Your New Favorite Honey Pie Recipe!
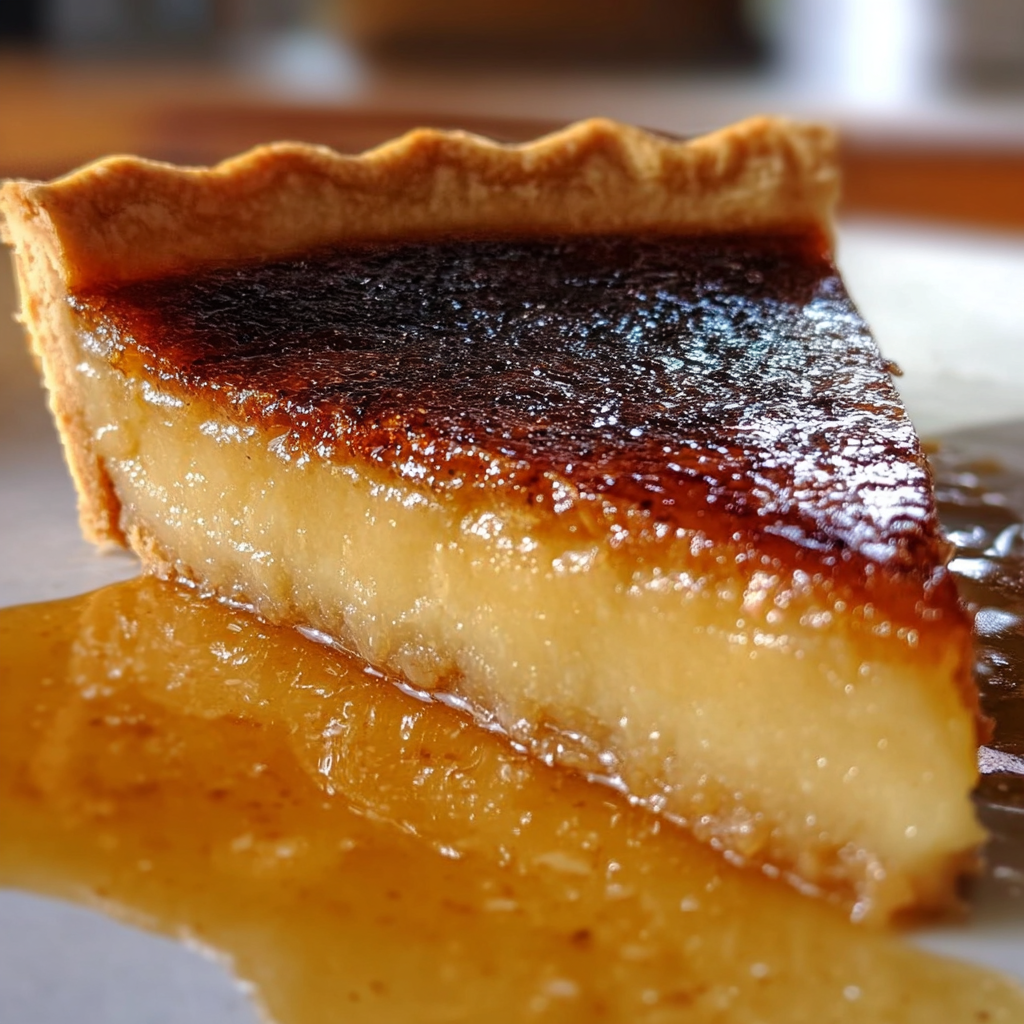
Hey there! If you’re looking for a dessert that feels like a warm hug, you’ve landed in the right place. I absolutely adore this honey pie, and I think you will too! It’s sweet, creamy, and has that delightful caramelized finish that makes every bite feel extra special. Plus, you can sip your favorite drink while baking, and let the aroma fill your kitchen!
The Sweet Benefits of Honey Pie
Did you know honey is not just a sweetener, but also comes with some health perks? It’s loaded with antioxidants and can soothe a sore throat, making this pie a little indulgence you don’t need to feel guilty about. Depending on the type of honey you use, you might even get some unique flavors that add depth to your pie. How cool is that?
Adaptable Variations
- Sweetener Swaps: If you’re watching your sugar intake, try using a sugar substitute or decreasing the amount of granulated sugar you add—honey will do much of the sweetening!
- For a Lighter Option: You can substitute the heavy cream with whole milk or even almond milk if you’re looking to make it a tad healthier!
- Flavor Infusions: Fancy some extra flavor? Add in a teaspoon of lemon zest or almond extract for an exciting twist!
Delicious Honey Pie Recipe
Ingredients
- 1 prepared pie crust (9-inch), homemade or store-bought
- 3/4 cup honey (preferably a mild floral honey)
- 1/4 to 1/2 cup granulated sugar (for caramelization and sweetness)
- 3 large eggs
- 1 cup heavy cream (or whole milk for a lighter option)
- 2 tablespoons unsalted butter, melted
- 1 teaspoon vanilla extract
- Pinch of salt
- 1 tablespoon cornstarch or all-purpose flour (optional, for thickening)
Instructions
- Start by preheating your oven to 350°F (175°C). This way, your pie is ready to go when you are!
- Roll out and fit your pie crust into a 9-inch pie pan. Don’t stress over perfection; trim and crimp those edges however you like!
- Next, we’ll blind bake the crust—this helps avoid that soggy bottom! Line it with parchment paper and fill with pie weights or dried beans. Bake for about 10-12 minutes until the edges are lightly golden.
- Once that’s done, carefully remove the weights and parchment. That crust is looking good!
- In a mixing bowl, whisk together the eggs, honey, granulated sugar, vanilla extract, salt, and cornstarch (if you’re using it) until everything is nice and smooth.
- Now, slowly whisk in the heavy cream and melted butter until fully combined—your filling will feel like a silky dream!
- Pour that luscious custard filling into your pre-baked pie crust. Trust me, your kitchen is about to smell amazing!
- Bake the pie at 350°F (175°C) for 35-40 minutes. You want it to be mostly set but still slightly wobbly in the center—that’s where the magic happens!
- For the last 5-7 minutes, increase the oven temperature to 450°F (230°C) to get that beautiful caramelized top. Make sure you keep an eye on it so it doesn’t burn!
- If you’re feeling a bit adventurous, you can also use a kitchen torch to caramelize the top evenly once the pie is out of the oven and has cooled slightly.
- Let the pie cool completely to room temperature, then pop it in the fridge for at least 2 hours to set. The waiting is the hardest part, but oh-so-worth it!
- Finally, slice and serve your pie with a drizzle of honey on top—it’s a sweet touch!
Practical Tips for Success
- If you want a crispier crust, don’t skip the blind baking step—it’s a must!
- When measuring your honey, lightly greasing your measuring cups with a bit of oil can help the honey pour out smoothly.
- Cover the pie loosely with foil if the top is getting too dark but the center isn’t fully baked yet!
- You can store any leftovers in the fridge—but trust me, it’s unlikely there will be any!
- Topping it with fresh whipped cream or a scoop of vanilla ice cream takes this pie to another level!
Equipment You’ll Need
Here’s a quick list of the tools you’ll want on hand:
- A 9-inch pie pan
- A mixing bowl and whisk
- Parchment paper, pie weights or dried beans
- A measuring cup and spoons for your ingredients
- A kitchen torch (if you’re going that extra mile for caramelization)
Frequently Asked Questions
- Can I use a store-bought crust? Absolutely! It saves time, and there are some great pre-made options available.
- What if I don’t have cornstarch? You can swap it with flour, or even leave it out altogether—just know it may be a bit less thick.
- How should I store leftovers? Store in an airtight container in the fridge for up to 3 days—if it lasts that long!
- Can I double the recipe? Yes! Just make sure you have extra pie pans, and you’re good to go!
- What’s the best way to serve this pie? It’s perfect on its own, but pair it with whipped cream, ice cream, or even a fruit sauce for an extra treat.
Join the Honey Pie Buzz!
Did you give this honey pie a try? I can’t wait to hear how it turned out for you! Make sure to share your delicious photos on Pinterest and tag me—let’s inspire others to savor the sweetness of life!
