Welcome to a Slice of Heaven!
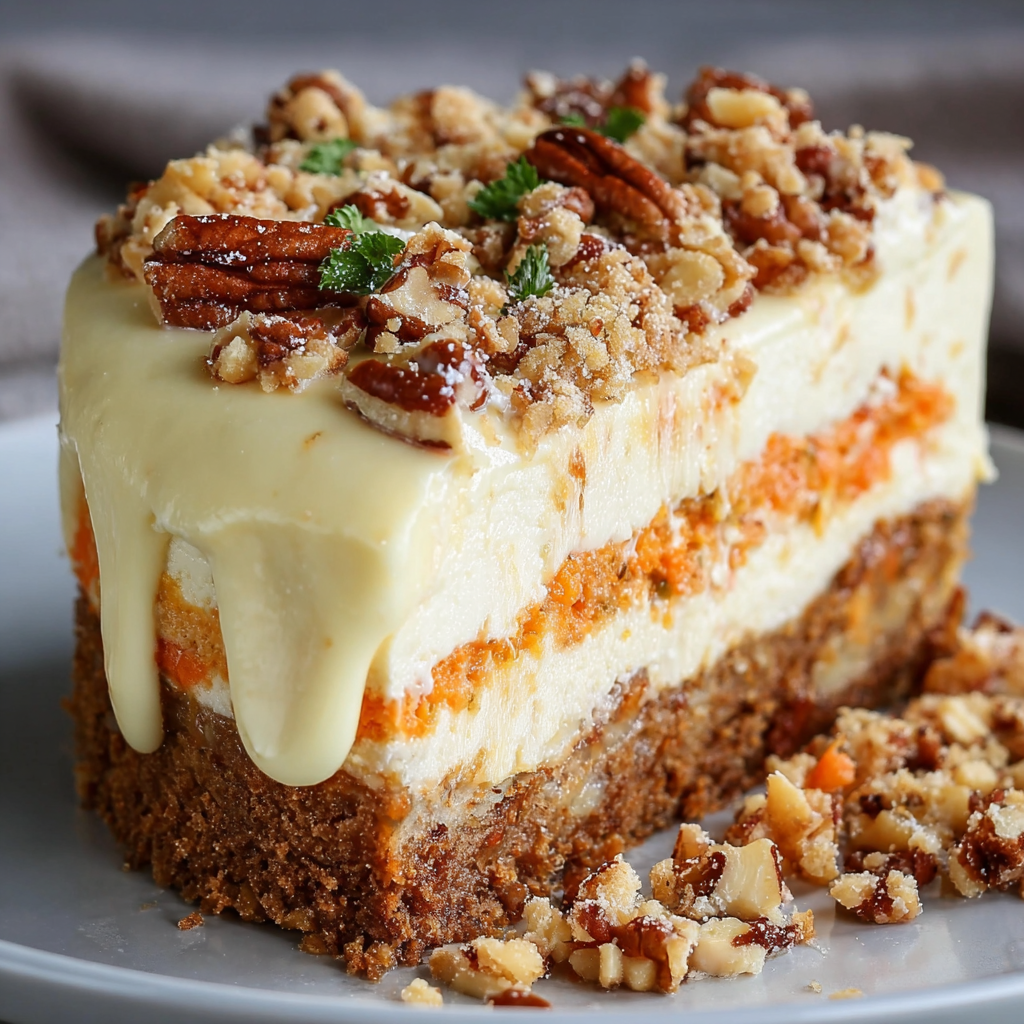
Hey there! Are you ready to embark on a culinary adventure that brings together two of the sweetest things in life: carrot cake and cheesecake? I can’t tell you how much I adore this Carrot Cake Cheesecake! It’s like life has gifted us with a delicious fusion of flavors, and it’s the perfect dessert for any occasion—birthdays, holidays, or just because you deserve a treat!
Why You’ll Love This Dessert
One of the best parts of this recipe is that it’s incredibly rich in flavor yet surprisingly wholesome. Think about it—carrots, pineapples, and nuts come together in a delightful cake layer, all topped off with the creamy goodness of cheesecake. This will not only satisfy your sweet tooth but also bring a bit of nutrition to your desserts without compromising on taste. It’s comfort food at its finest!
Nutritional Benefits of Carrots
Now, let’s chat about those carrots. They’re not just there for flavor; they’re packed with vitamins like A, C, and K, which are great for your skin and eyes! Plus, the ole’ carrots have fiber that helps keep you satisfied, making this dessert feel just a tad more guilt-free. Isn’t it great when your favorites come with unexpected perks?
Adaptable Variations
- Gluten-Free Option: You can substitute all-purpose flour with a gluten-free blend to make this cheesecake suitable for those with gluten sensitivities.
- Healthier Sweetener: Consider using coconut sugar or maple syrup in place of refined sugar if you’re looking for a less processed sweetener.
- Dairy-Free Option: Swap cream cheese with a dairy-free alternative, and use coconut whipped cream for the topping. You still get the gratifying creaminess without the dairy!
- Add-ins: Feel free to mix in raisins or coconut flakes for added texture and flavor!
Let’s Jump into the Recipe!
Ingredients
- For the Crust:
- 1 ½ cups graham cracker crumbs
- ¼ cup granulated sugar
- ½ cup unsalted butter, melted
- For the Carrot Cake Layer:
- 1 cup all-purpose flour
- 1 tsp baking powder
- 1 tsp baking soda
- 1 tsp ground cinnamon
- ½ tsp ground nutmeg
- ¼ tsp salt
- ¾ cup granulated sugar
- ½ cup brown sugar, packed
- ½ cup vegetable oil
- 2 large eggs
- 1 tsp vanilla extract
- 2 cups grated carrots
- ½ cup crushed pineapple, drained
- ½ cup chopped walnuts or pecans
- For the Cheesecake Layer:
- 16 oz cream cheese, softened
- ¾ cup granulated sugar
- 1 tsp vanilla extract
- 2 large eggs
- For the Creamy Topping:
- 1 cup heavy whipping cream
- 2 tbsp powdered sugar
- ½ tsp vanilla extract
- ½ cup chopped pecans (for garnish)
Instructions
- Preheat your oven to 325°F (163°C) and lightly grease a 9-inch springform pan.
- In a mixing bowl, combine graham cracker crumbs, granulated sugar, and melted butter. Mix until it looks like wet sand.
- Press the mixture into the bottom of the springform pan. Bake it for about 10 minutes, then let it cool while you prepare the next layer.
- In a separate bowl, whisk together the flour, baking powder, baking soda, cinnamon, nutmeg, and salt for the carrot cake layer.
- In another bowl, mix granulated sugar, brown sugar, vegetable oil, eggs, and vanilla until well combined.
- Gradually add the dry ingredients to the wet mixture, stirring gently. Now, fold in the grated carrots, crushed pineapple, and nuts.
- Pour this lovely batter over the cooled crust and smooth it out. Bake for about 30-35 minutes, or until a toothpick comes out clean from the center. Cool completely.
- Meanwhile, prepare the cheesecake layer by beating the softened cream cheese until smooth. Gradually blend in the granulated sugar and vanilla.
- Add the eggs one at a time and mix on low speed—be careful to avoid overmixing!
- Pour your cheesecake batter over the cooled carrot cake in the springform pan, smooth the top, and bake for 50-60 minutes. The edges should be set, but the center can be a little jiggly. Turn off the oven and let it cool slowly for an hour with the door slightly ajar.
- Once it’s cooled, pop it in the fridge for at least 4 hours, or overnight for the best results.
- When you’re ready to serve, whip up the heavy cream until soft peaks form. Then add powdered sugar and vanilla, making sure to whip until you achieve stiff peaks.
- Spread the whipped cream topping on your chilled cheesecake and garnish with chopped pecans. To slice, simply run a knife around the edge before removing the springform.
Practical & Valuable Tips
- For a more defined slice, allow your cheesecake to chill overnight—trust me, it’s worth the wait!
- Be sure to drain the crushed pineapple well—too much moisture can make the cake soggy!
- Experiment with your toppings! A drizzle of caramel or chocolate syrup can take it over the top.
- If you don’t have a springform pan, use a regular pie pan, but be careful when serving!
- Store leftover cheesecake in the fridge, covered, for up to 5 days (if it lasts that long!).
Equipment Needed
Here’s a quick rundown of what you’ll need to whip up this epic dessert:
- 9-inch springform pan
- Mixing bowls and whisk (or electric mixer)
- Spatula for spreading and folding
- Measuring cups and spoons
- Baking sheet for the crust
Frequently Asked Questions
- Can I leave out the nuts? Totally! If you or someone you’re serving has allergies, just skip them or replace with something else you love!
- What if I can’t find graham cracker crumbs? You can crush whole graham crackers in a food processor or use digestive biscuits as a substitute.
- Can I use frozen carrots? Fresh is better for texture, but if you have frozen, just make sure to thaw and drain excess moisture.
- How do I prevent cracking on the cheesecake? Remember to bake it slowly and leave it in the oven to cool gradually.
- Can I make this ahead of time? Yes! Making it a day ahead will enhance the flavors and make your life much easier!
Join the Fun!
Give this recipe a try, and I promise you’ll be the star of any dessert table! Can you picture the smiles on your friends’ and family’s faces? Share your creation with me on Pinterest, and let’s spread the love for homemade desserts! Happy baking!
