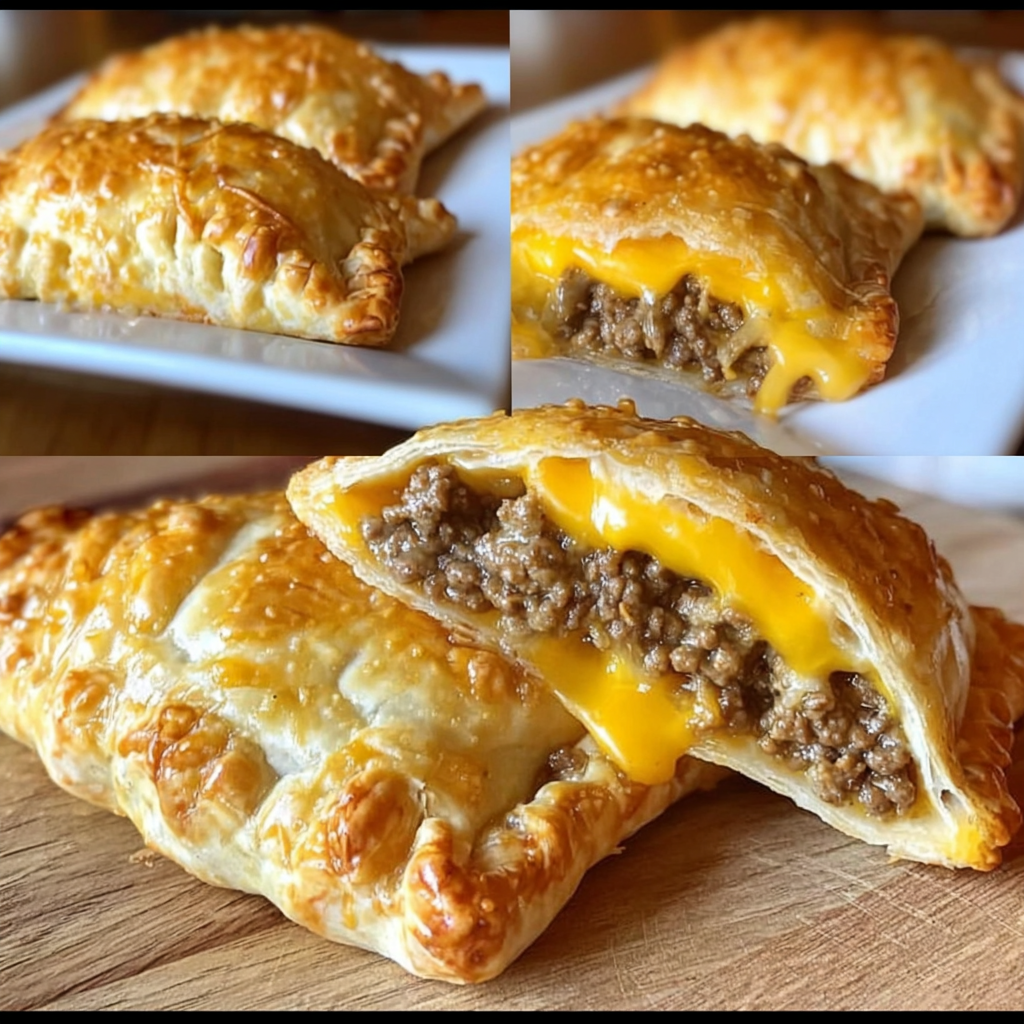
Cheeseburger Pockets: Juicy, Cheesy, & Easy-to-Make!
Hey there! If you’re like me and can never turn down a cheesy, meaty goodness, you’re going to simply adore these cheeseburger pockets! They pack all the flavors of a classic cheeseburger into a delicious, flaky pocket that’s oh-so-easy to make. Perfect for lunch, dinner, or snack time, they’re sure to please your whole family—and maybe even become a new favorite dish!
Nutritional Benefits
Let’s take a quick moment to talk about why these cheeseburger pockets can be a hit on your dinner table. Ground beef is a great source of protein, which is essential for building and repairing tissues in your body. Pair it with the added nutrients from onions and garlic, which are both known for their health benefits, and you’ve got a balanced meal! Of course, moderation is key, especially with sodium from added sauces. But hey, you can easily control all the ingredients when you make them from scratch!
Fun Variations to Make
- Veggie Delight: Want to make it vegetarian? Swap the ground beef for some mushrooms or lentils mixed with veggies like bell peppers and zucchini!
- Extra Cheesy: Who doesn’t love cheese? Feel free to mix different cheeses like mozzarella or pepper jack for a kick! You can even throw in some cream cheese for added creaminess.
- Focused Flavor: Spice it up by adding jalapeños or using a spicy cheese blend. If you prefer milder flavors, keep it classic with cheddar!
Easy Recipe for Cheeseburger Pockets
Ingredients
- 1 pound ground beef
- 1 small onion, finely chopped
- 2 cloves garlic, minced
- 1 teaspoon Worcestershire sauce
- Salt and pepper to taste
- 1 cup shredded cheddar cheese
- 1 package of refrigerated pie crusts (or puff pastry)
- 1 egg, beaten (for egg wash)
- Optional: pickles, mustard, or ketchup for filling
- Optional: sesame seeds for garnish
Cooking Instructions
- Preheat your oven to 400°F (200°C) so it’s nice and hot when our pockets are ready.
- In a large skillet over medium heat, toss in the ground beef and cook until it’s well browned. Drain off any excess fat—you don’t want greasy pockets!
- Add the finely chopped onion and minced garlic into the skillet. Cook it all together until the onion becomes translucent and tender, about 3-4 minutes.
- Now, stir in the Worcestershire sauce along with salt and pepper. Make it taste perfect for your liking! Once done, remove from heat and let the mixture cool slightly.
- Next, roll out those refrigerated pie crusts on a lightly floured surface. Cut them into circles that are about 6 inches in diameter.
- For some fun, we’re going to fill those circles! Place a generous spoonful of the beef mixture right in the center, but make sure to leave some room at the edges. Top it off with a handful of that delicious shredded cheddar cheese. Feeling adventurous? Throw in a few pickles or a small dollop of mustard or ketchup!
- To seal the flavors in, fold the dough over to create a half-moon shape. Press the edges firmly, and grab a fork to crimp the edges. Not only does it look cute, but it keeps all that cheesy goodness inside!
- Place your filled pockets on a parchment-lined baking sheet. Give the tops a brush with the beaten egg for a beautiful golden finish. You can even sprinkle some sesame seeds on top—because why not?
- Bake them in the preheated oven for around 20-25 minutes, or until they’re golden brown and flaky on the outside.
- Let them cool for a few minutes before serving. Then, dig in and enjoy your juicy, cheesy masterpieces!
Practical & Valuable Tips
- Want your pockets extra crispy? Bake them directly on the oven rack for the last part of baking instead of the baking sheet!
- Too many pockets? No worries! These can be stored in an airtight container in the fridge for a couple of days. You can reheat them in the oven to soften them back up.
- If you prefer a different flavor, consider using different types of ground meat like turkey or chicken, which can be lighter options!
Equipment Needed
Here’s what you’ll need to create these pockets:
- A large skillet for cooking the filling
- A cutting board and knife for chopping
- A rolling pin for flattening the dough
- A very sharp circular cutter or a bowl to cut your dough into circles
- A parchment-lined baking sheet for baking
- A brush for the egg wash
- A fork to crimp the edges
Frequently Asked Questions
- Can I make these ahead of time? Yes! You can prepare the filling the day before and store it in the fridge. Then, just assemble and bake when you’re ready!
- Can I freeze these pockets? Definitely! Just wrap them tightly in plastic wrap and place them in the freezer. They’ll be good for up to 3 months.
- What can I serve these with? Serve with a side of fries, salad, or even your favorite dipping sauces for a full meal!
- How do I know they’re cooked through? You want them to be golden brown and crispy on the outside. Also, the inside should be piping hot when you cut one open!
- Can I use gluten-free pie crust? For sure! You can find gluten-free pastry options at most stores to make these pockets suitable for gluten-free diets.
Have you tried making these cheeseburger pockets? I really hope you love them as much as I do! Snap a photo of your creation and share it with me on Pinterest. I’d love to see how yours turned out and hear all your yummy flavor combos!
