Easy and Delicious Cheesy Pizza Pockets You’ll Love
Hi there! If you’re anything like me, you love pizza but sometimes want something portable and fun to eat without all the mess. That’s why I’m super excited to share my recipe for cheesy pizza pockets! These little pockets are crispy on the outside, gooey and cheesy on the inside, and perfect for snacks, lunchboxes, or even a quick dinner. Plus, you can easily make them with homemade dough or store-bought for convenience. Let me walk you through how to make these delightful pizza pockets that everyone will enjoy.
Nutritional Benefits of Pizza Pockets
You might be wondering if pizza pockets can be part of a balanced meal—and the answer is yes, in moderation! Using whole wheat pizza dough can boost the fiber content, which is great for digestion. The mozzarella cheese provides protein and calcium, essential for strong muscles and bones, and tomato-based pizza sauce offers vitamins like A and C and antioxidants such as lycopene. Adding herbs like oregano and basil not only adds amazing flavor but also comes with anti-inflammatory benefits. While they do contain cheese and dough, these pockets can be enjoyed as part of a wholesome, active lifestyle.
Fun Variations to Try
- Veggie Lovers: Add finely chopped bell peppers, mushrooms, spinach, or olives along with the cheese for extra flavor and nutrients.
- Spicy Kick: Mix some crushed red pepper flakes into the cheese filling or brush the tops with a little garlic-infused olive oil.
- Gluten-Free: Use a gluten-free pizza dough to suit special dietary needs without losing that pizza pocket goodness.
- Meaty: Toss in cooked pepperoni slices, sausage bits, or shredded cooked chicken to make it a hearty meal.
- Dairy-Free: Swap mozzarella for dairy-free cheese alternatives to keep it tasty and friendly to lactose intolerance.
Step-by-Step Cheesy Pizza Pockets Recipe
Ingredients You’ll Need
- Pizza dough (homemade or store-bought)
- Pizza sauce or marinara (plus extra for dipping)
- Shredded mozzarella cheese (for filling and topping)
- Grated Parmesan cheese (optional, for extra flavor inside or on top)
- Dried Italian herbs (oregano, basil, parsley)
- Olive oil or egg wash (for brushing)
- All-purpose flour (for dusting and sealing)
- Garlic powder (optional, for seasoning filling)
- Salt and pepper (optional, to taste)
Cooking Instructions
- First, preheat your oven to 425°F (220°C) and prepare a baking sheet by lining it with parchment paper or a silicone mat.
- Lightly dust a clean surface with flour, then roll the pizza dough into a large rectangle about 1/4-inch thick.
- Cut the dough into rectangles roughly 4×6 inches in size—don’t worry about perfect edges, rustic is charming!
- Now, spoon some pizza sauce onto one half of each rectangle, leaving a small border around the edges so nothing leaks out.
- Sprinkle shredded mozzarella generously over the sauce. If you like, add a pinch of garlic powder, salt, and pepper for extra flavor. Toss in some grated Parmesan if you want that cheesy punch.
- Fold the dough over the cheese and sauce to form a pocket. Press the edges firmly to seal them, and then use a fork to crimp the edges well. This helps keep the filling inside while baking.
- Brush each pocket with olive oil or an egg wash to get that beautiful golden color when baking.
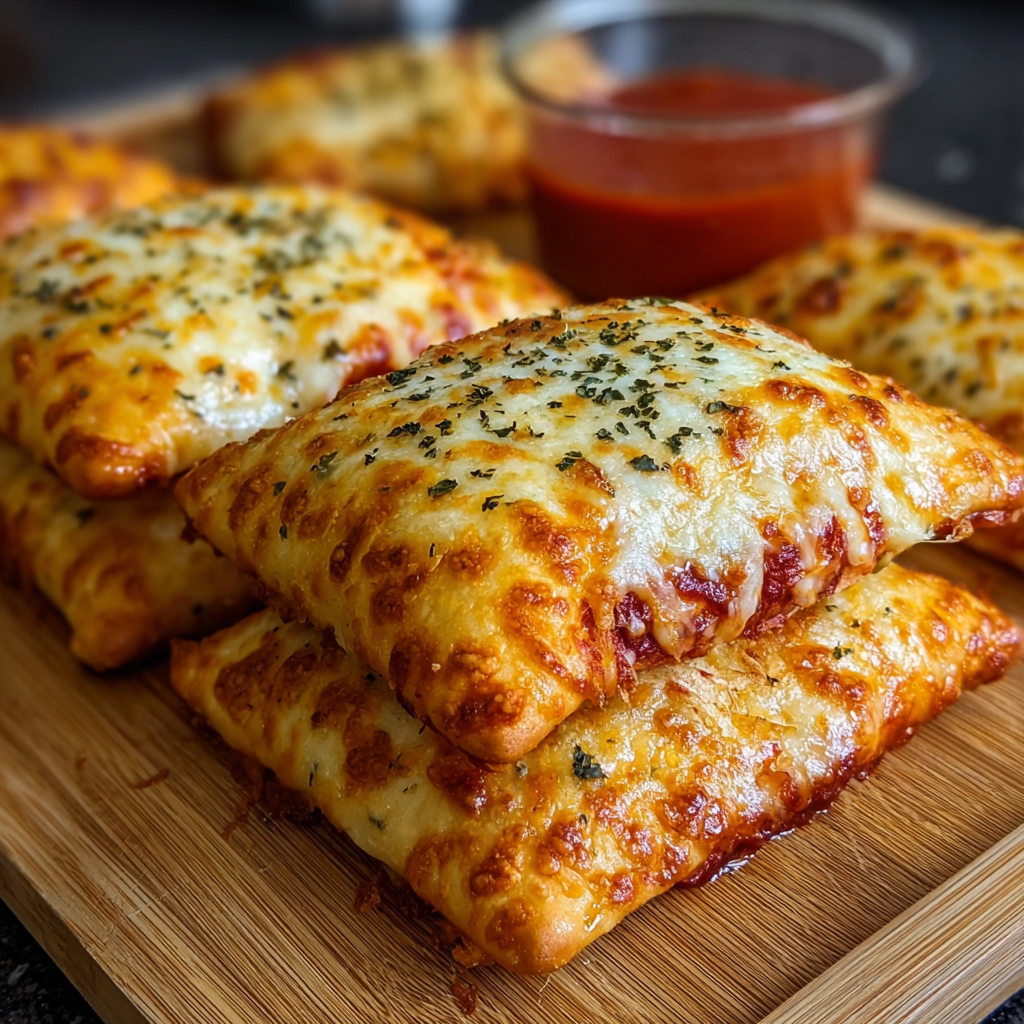
- Sprinkle some more shredded mozzarella on top, then dust with dried Italian herbs like oregano and parsley—they make these pockets look and taste amazing.
- Place the pockets onto your prepared baking sheet, making sure to space them apart so they bake evenly.
- Bake in the oven for 15-20 minutes, until the dough looks golden brown and crispy, and the cheese on top has melted and is bubbly.
- Remove from the oven and let them cool for a few minutes—trust me, the filling will be super hot!
- Serve warm with extra pizza sauce on the side for dipping. Enjoy every cheesy bite!
Helpful Tips to Make the Best Pizza Pockets
- Sealing Edges: Don’t skip flouring your hands or surface—it helps seal the dough better and stops it from sticking.
- Egg Wash vs. Olive Oil: Egg wash gives a shiny golden top, while olive oil offers a lovely rustic matte finish and a subtle flavor.
- Cheese Choices: Mixing mozzarella with a bit of Parmesan or provolone can make your pockets extra cheesy and flavorful.
- Leftover Storage: Store any uneaten pockets in an airtight container in the fridge for up to 3 days. Reheat in the oven so they stay crispy.
- Freezing: Want to prep ahead? Freeze uncooked pockets on a baking tray, then transfer to a freezer bag. Bake straight from frozen but add a few extra minutes to the cooking time.
What You’ll Need: Equipment Checklist
- Baking sheet lined with parchment paper or silicone mat
- Rolling pin for dough
- Sharp knife or pizza cutter to slice the dough
- Mixing bowls for cheese and sauce
- Fork, for crimping edges
- Pastry brush for olive oil or egg wash
- Measuring spoons (optional, for herbs and seasonings)
Frequently Asked Questions
- Can I use any type of pizza dough? Yes! Both homemade and store-bought dough work well. If you’re short on time, store-bought is a great shortcut.
- Can I prepare pizza pockets ahead of time? Absolutely. You can assemble them and keep them in the fridge for a few hours before baking or freeze them uncooked for later.
- What if my pockets leak during baking? Make sure to press and crimp the edges firmly and avoid overfilling. Using a little flour on the edges before sealing helps too.
- Can I add other fillings? Definitely! Veggies, cooked meats, or different cheeses can all be added. Just keep fillings that release a lot of moisture to a minimum to avoid soggy dough.
- How should I reheat leftovers? The oven or toaster oven works best to keep the crust crispy. Avoid microwaving if you want to preserve that crunch.
Try These Pizza Pockets and Share Your Creations!
There’s something so joyful about pulling a warm, cheesy pizza pocket apart and dipping it into sauce. I hope you give this recipe a go because it’s so satisfying and simple. If you try it out, please pin it to your Pinterest boards or share a photo with me—I genuinely love seeing your cooking adventures! Happy baking and enjoy every delicious bite!
