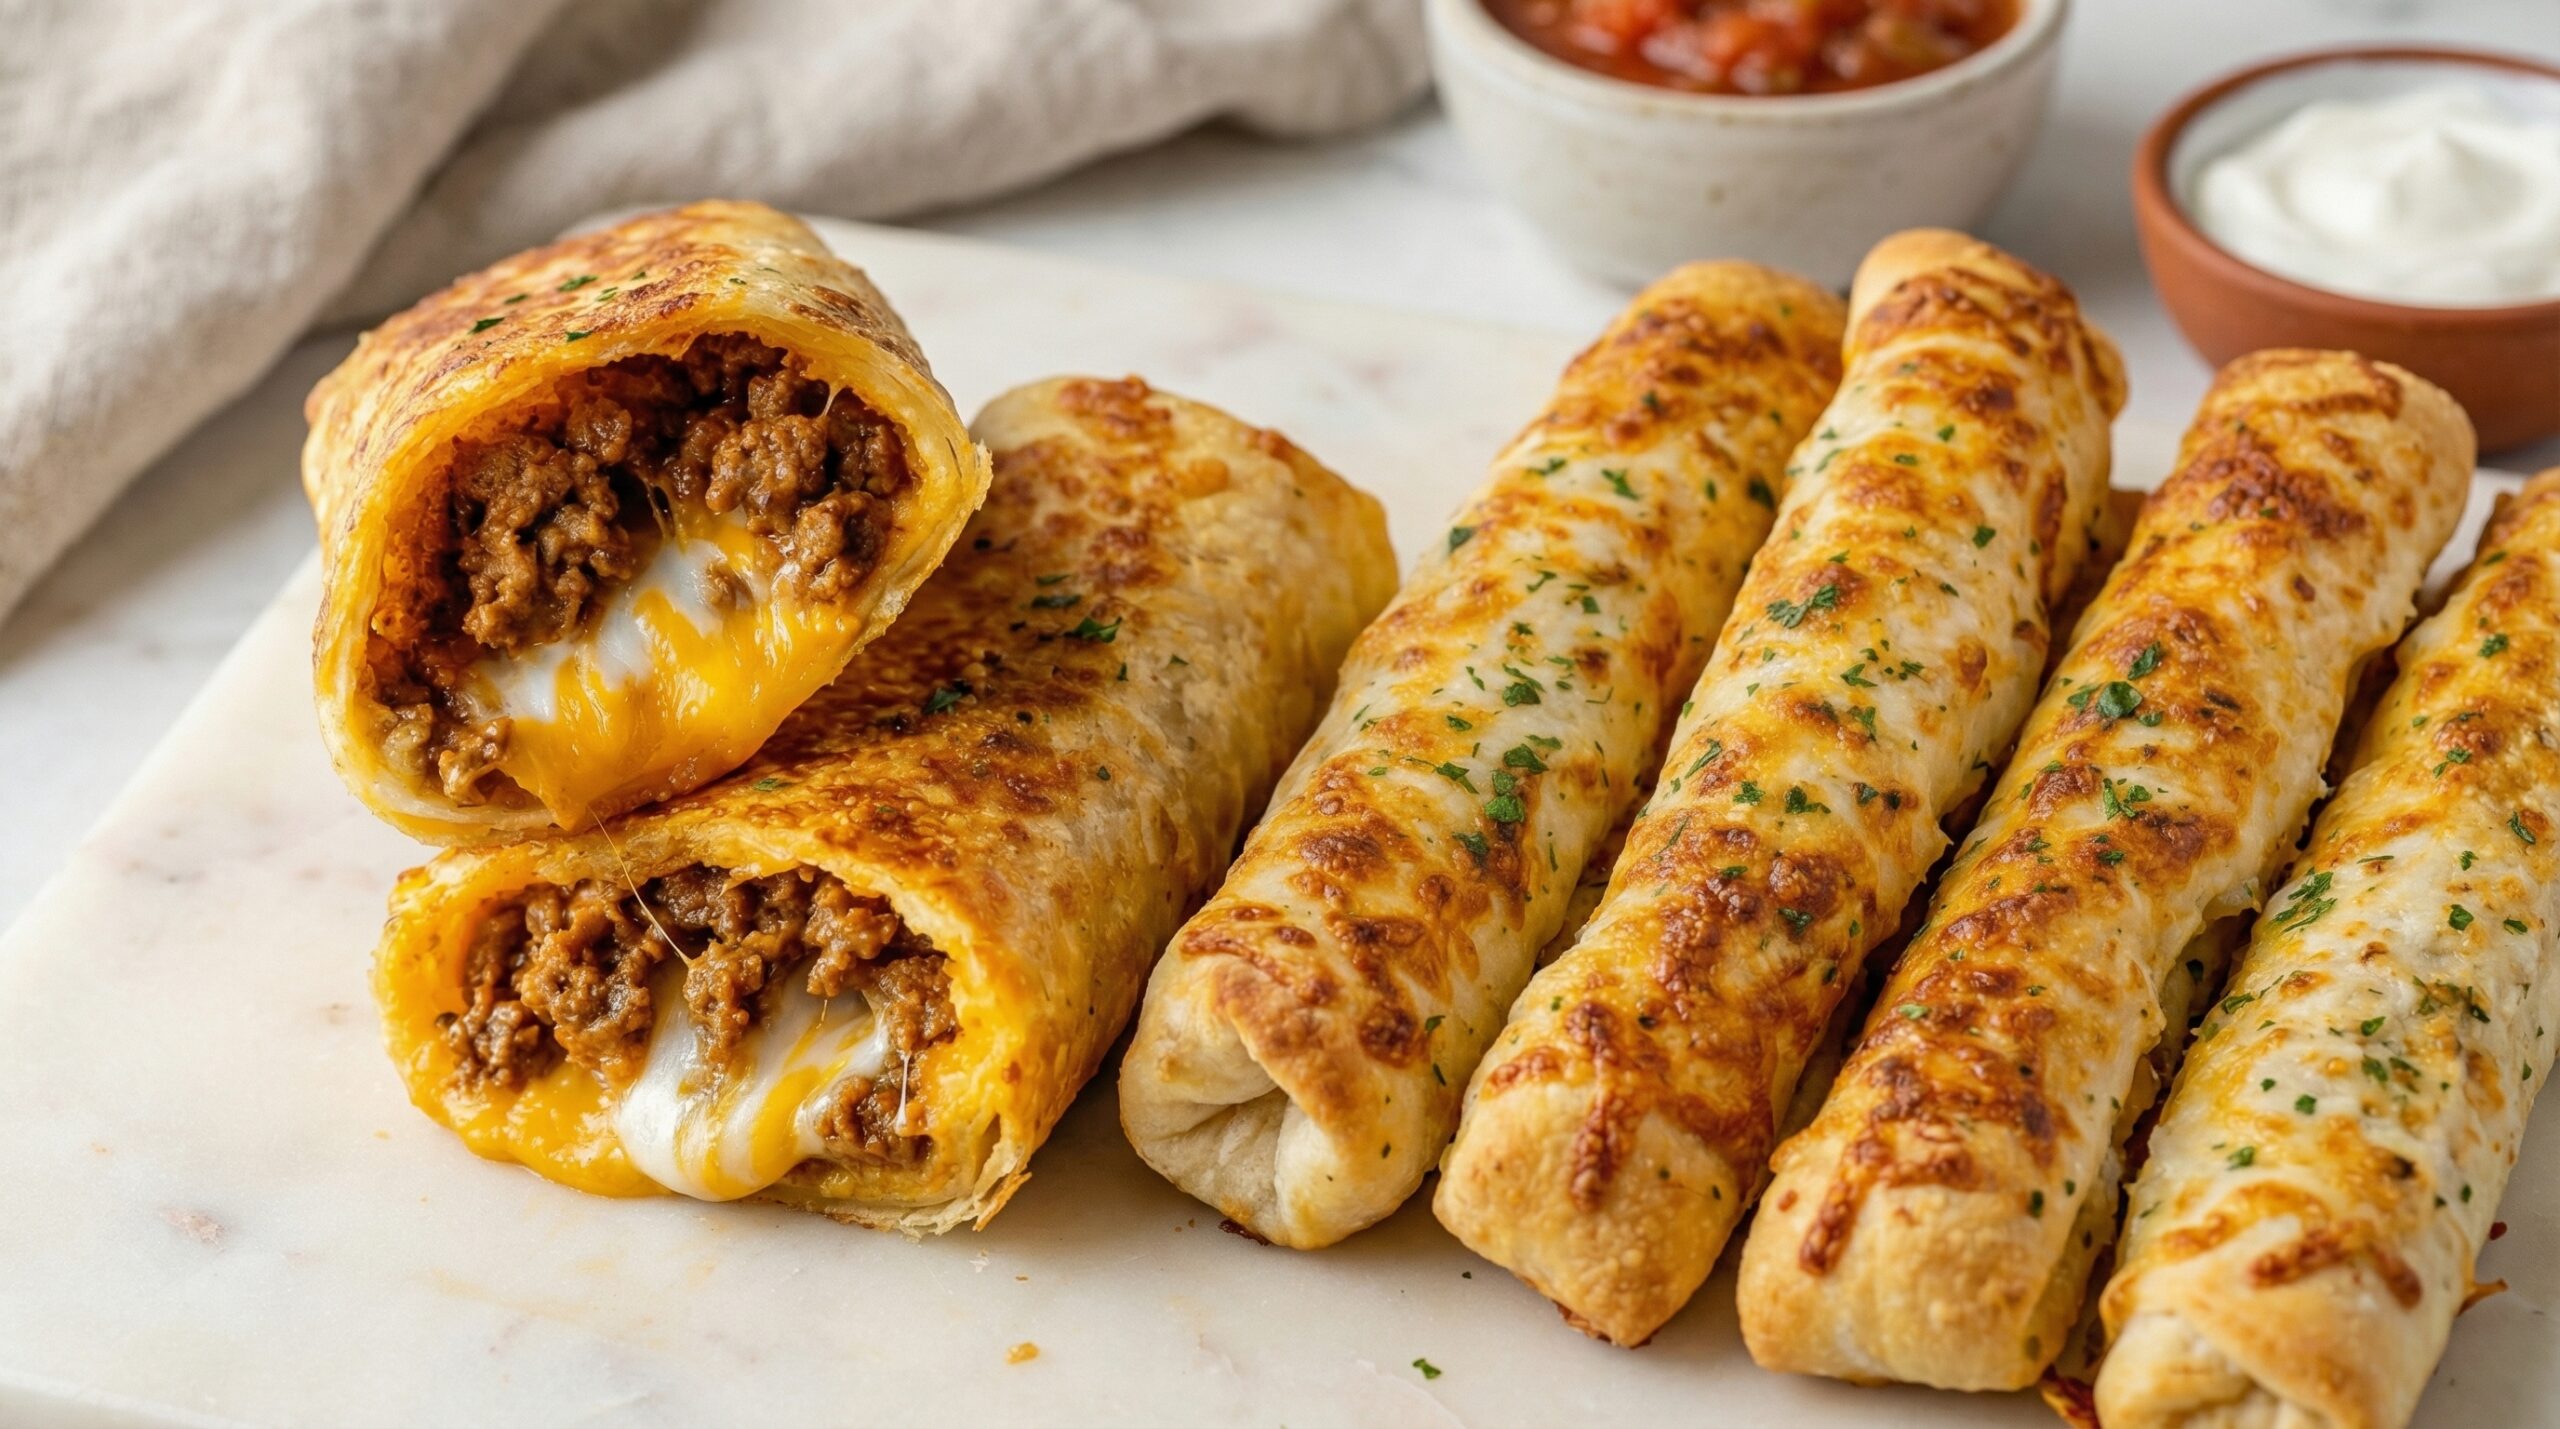
Hi There! Let’s Make Crispy Cheesy Taco Sticks Together
If you love all things cheesy and flavorful, I’m so excited to share this recipe for crispy cheesy taco sticks with you. They are like little flavor-packed rolls that combine juicy taco-seasoned beef with gooey cheddar and mozzarella, all wrapped in a warm tortilla that’s fried to a perfect golden crisp. Whether you want a fun snack or a quick dinner, these taco sticks always hit the spot for me, and I think you’ll love them just as much!
Why You’ll Love These Cheesy Taco Sticks
First off, these beauties are super approachable—I mean, you’ve got simple ingredients like ground beef, tortillas, cheese, and basic seasonings. Plus, they come together quickly. I find the crispy outside and melty cheese inside just irresistible and perfect for dipping into salsa or sour cream.
Also, this recipe is such a crowd-pleaser. I’ve made these for family nights, and everyone eagerly asks for seconds. They’re portable too, which means taking them on picnics or lunchtime snacks is a breeze.
Nutritional Benefits
Here’s something interesting to know: ground beef is packed with protein, which helps keep you full and supports muscle maintenance. The cheese adds calcium and some extra protein too. Now, these sticks are a bit of an indulgence because they’re fried, but if you think about balancing your meal with a fresh salad or some veggies on the side, you’ve got a delicious and reasonably balanced meal. Adding fresh cilantro or parsley not only brightens the flavor but gives you a little boost of vitamins and antioxidants as well.
Recipe: How to Make Cheesy Taco Sticks
Ingredients
- 1 lb (450g) ground beef
- 1 packet or 2 tbsp homemade taco seasoning mix (chili powder, cumin, garlic powder, onion powder, paprika, salt, pepper)
- 1 cup shredded cheddar cheese
- 1 cup shredded mozzarella cheese
- 6 large flour tortillas
- 2 tbsp cooking oil (vegetable or canola oil)
- 1/4 cup chopped fresh cilantro or parsley (for garnish)
- Optional: 1 small onion, finely diced
- Optional: 1-2 cloves garlic, minced
- Salsa and sour cream for serving
Instructions
- In a skillet over medium heat, heat a little oil. If you like, sauté the diced onion and minced garlic until fragrant and translucent. This adds a lovely depth of flavor but you can skip it to save time.
- Add the ground beef to the skillet. Use a spatula to break it apart. Cook it until it’s browned and there’s no pink left.
- Drain any excess fat from the skillet to keep it less greasy.
- Stir in your taco seasoning mix. If it looks a little dry, add a splash of water. Let it simmer for 2-3 minutes so the flavors blend beautifully.
- Turn off the heat and set the meat aside.
- Warm your tortillas briefly in the microwave or a dry skillet. This makes them easier to roll.
- On each tortilla, sprinkle an even layer of shredded cheddar and mozzarella cheese.
- Spoon a good amount of the taco meat over the cheese.
- Carefully roll the tortilla into a tight stick, tucking in the edges so nothing falls out.
- Heat the 2 tablespoons of cooking oil in a clean skillet over medium heat.
- Place each roll seam side down in the skillet. Cook, turning occasionally, until all sides are golden brown and crispy and the cheese inside has melted. This usually takes about 3-5 minutes per side.
- Remove the taco sticks and place them on paper towels if you want to soak up any extra oil.
- Sprinkle chopped cilantro or parsley on top for that fresh brightness.
- Serve hot with bowls of salsa and sour cream for dipping. Yum!
Helpful Tips to Make Your Taco Sticks Perfect
- Warming the tortillas before rolling helps prevent cracks, so don’t skip this step.
- If you’re worried about oil splatter, lower the heat a bit and turn the taco sticks more gently — golden crispiness is key, but safety comes first!
- Use a slotted spatula to flip the sticks so you don’t lose any crispy bits stuck to the pan.
- If you want to prep ahead, you can assemble the taco sticks and keep them refrigerated (covered) for a few hours before frying.
- To keep leftovers crisp, pop them in an oven or toaster oven for a few minutes before eating instead of the microwave.
Equipment You’ll Need
- Large skillet (for cooking the beef and then frying the sticks)
- Mixing spoon or spatula (to break apart and stir the meat)
- Cutting board and knife (for chopping onion, garlic, and garnish)
- Grater (if you’re shredding cheese yourself)
- Microwave-safe plate or warm skillet (to warm tortillas)
- Paper towels (to drain excess oil)
- Serving plates and small bowls for salsa and sour cream
Adaptable Variations You Can Try
- For a healthier twist: Try baking the rolled tortillas on a parchment-lined baking sheet at 400°F (200°C) for about 15-20 minutes instead of frying.
- Make it vegetarian: Replace ground beef with cooked lentils or seasoned crumbled tofu.
- Spice it up: Add jalapeños or hot sauce inside before rolling, or increase the chili powder in your taco seasoning.
- Cheese swaps: Use pepper jack or a Mexican cheese blend instead of cheddar and mozzarella for a different flavor vibe.
- Gluten-free option: Use gluten-free tortillas so everyone can enjoy them!
Frequently Asked Questions
- Can I make these ahead of time? Definitely! You can roll them up and keep them covered in the fridge for a few hours before frying.
- How do I store leftovers? Keep any extras in an airtight container in the fridge for up to 3 days. Reheat in the oven or toaster oven for best results.
- Can I freeze these taco sticks? Yes! Freeze them after frying (or before, if you prefer) in a sealed bag for up to 2 months. Reheat in the oven from frozen.
- What if I don’t like cooking with oil? Swap frying for baking—you’ll miss a bit of crispiness but they’ll still be tasty and less greasy.
- Can I use corn tortillas? You can, but they tend to be less flexible and might crack when rolled. Warming them really well or brushing lightly with oil can help.
Ready to Try These Crispy Cheesy Taco Sticks?
I’d love to hear what you think after making this recipe! It’s such a fun, casual dish, and a perfect way to bring some sizzle and melty-cheese happiness to your table. Don’t forget to snap a pic and share it on Pinterest — I always enjoy seeing your tasty creations and swapping tips! Happy cooking!
