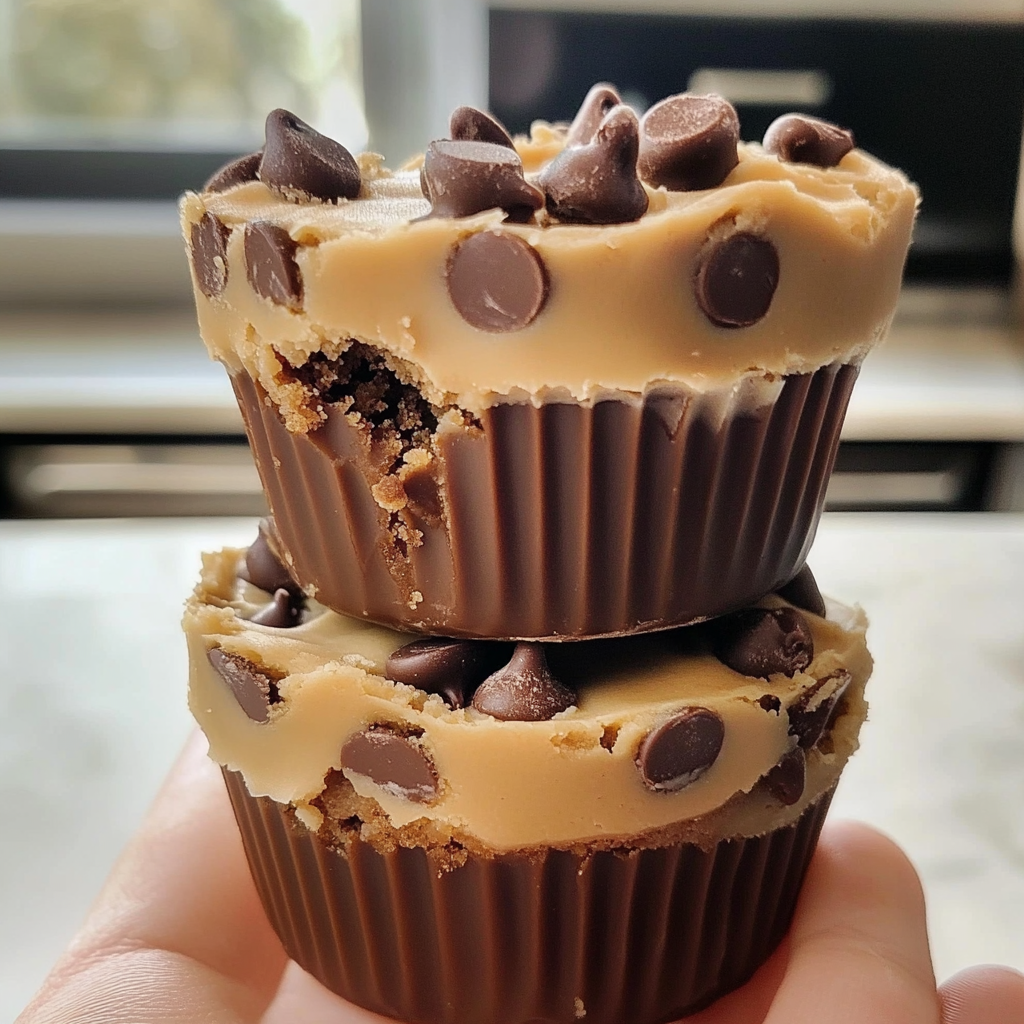
Chocolate Chip Cookie
Hello, fellow sweet treat lover! Today, I’m excited to share a delightful recipe that’s not only delicious but super easy to whip up—Chocolate Chip Cookie Dough Cups. I don’t know about you, but I have a serious love affair with cookie dough, and pairing that with chocolate? Absolute heaven! These no-bake treats are perfect for a quick snack, a party, or just to satisfy that sweet craving without turning on the oven. Let’s dive into this indulgent, creamy delight!
Why You’ll Love These Cookie Dough Cups
One of the best parts about making these Cookie Dough Cups is that you get to skip the oven and still indulge in the taste of fresh-baked cookies! Plus, there’s something really fun about layering creamy peanut butter cookie dough and rich chocolate. You can enjoy these guilt-free since they’re made with simple ingredients that you probably already have in your pantry.
Nutritional Benefits
Though these treats are sweet and indulgent, they’re also packed with some nutritious goodness! The peanut butter or almond butter provides protein and healthy fats, while the sugars give you that instant energy you might need during a long day. Using heat-treated flour makes it safe to eat raw cookie dough—so you can enjoy every bite without worry! It’s all about balance, and these cups can definitely be a part of that balance.
Adaptable Variations to Try
- Nut-Free Option: Swap out peanut butter for sunbutter or another nut-free spread if you’re avoiding nuts.
- Gluten-Free Bliss: Use a gluten-free flour blend instead of regular flour to make these treats gluten-free.
- Vegan Version: Substitute the butter with coconut oil and use maple syrup or a vegan sweetener to create a vegan-friendly treat.
- Flavor Twist: Add a pinch of sea salt or a sprinkle of cinnamon to elevate the flavor profile of your cookie dough!
No-Bake Chocolate Chip Cookie Dough Cups Recipe
Ingredients
- 1 cup creamy peanut butter or almond butter
- 1/2 cup unsalted butter, softened
- 1/2 cup brown sugar, packed
- 1/4 cup granulated sugar
- 1 teaspoon vanilla extract
- 1 1/2 cups all-purpose flour (heat-treated)
- 1 cup mini chocolate chips
- 1 cup chocolate chips (for the bottom layer)
- Cupcake liners (or silicone molds)
Instructions
- Prepare the Chocolate Layer: Start by melting the 1 cup of chocolate chips in a microwave-safe bowl. Heat them in 30-second intervals, stirring well each time until the chocolate is smooth and creamy. You can also use a double boiler if you prefer.
- Coat the Molds: Grab your muffin tin and line it with cupcake liners or use silicone molds. Spoon a layer of the melted chocolate into each liner, just enough to coat the bottom. Use a spoon or pastry brush to spread it evenly, making sure to cover the sides too. Pop these in the freezer for about 15 minutes to set.
- Make the Cookie Dough Mixture: In a mixing bowl, beat together the softened butter, creamy peanut butter, brown sugar, granulated sugar, and vanilla extract until everything is smooth and creamy. It should smell incredible!
- Add the Dry Ingredients: Gradually mix in the heat-treated flour until everything is well combined. Your mixture should feel like cookie dough—soft, smooth, and oh so tempting!
- Fold in the Chocolate Chips: Now, gently fold in those mini chocolate chips until they’re evenly spread throughout your dough. This is where the magic happens!
- Assemble the Cups: Once the chocolate layer has fully set, take out your molds. Spoon the cookie dough mixture into each cup on top of the chocolate layer, filling it generously.
- Top with More Chocolate: If you want, melt a bit more chocolate and drizzle or spoon it over the cookie dough layer. Sprinkle some mini chocolate chips on top for that extra flair!
- Chill and Set: Now it’s time for the final chill. Place your filled cups back in the freezer for at least 30-60 minutes until they’re fully set.
- Serve: Once they’re nice and firm, gently remove the cups from the molds. Enjoy these heavenly delights immediately—or store any leftovers in an airtight container in the fridge!
Practical Tips for Success
- If you find your chocolate layer is too thick, add a bit of coconut oil to thin it out for easier spreading.
- Make sure to heat-treat the flour by microwaving it for 1 minute to ensure it’s safe to eat.
- For easier serving, let the cups sit at room temperature for a few minutes before eating.
- Feel free to double the recipe if you’re expecting guests—these go fast!
- If you’re short on time, use store-bought cookie dough to fill the cups instead!
Equipment Needed
Before you get started, here’s a quick list of all the handy tools you’ll need:
- A microwave-safe bowl or a double boiler for melting chocolate
- A muffin tin with cupcake liners or silicone molds
- A hand mixer or whisk for blending the ingredients together
- A spatula for folding in chocolate chips and transferring dough
- A spoon for drizzling chocolate and filling cups
Frequently Asked Questions
- Can I use almond butter instead of peanut butter? Absolutely! Almond butter works just as great.
- How long do these last in the fridge? They can last up to a week if stored properly in an airtight container!
- Is it safe to eat raw flour? Only if it is heat-treated! Make sure to do that step for safety.
- What can I use instead of chocolate chips? You can use white chocolate chips, crushed candies, or even dried fruit for a fun twist!
- Can I freeze these cookie dough cups? Yes, you can! Just wrap them in plastic wrap and store in an airtight container for about 2-3 months.
Chocolate Chip Cookie
Once you make these Chocolate Chip Cookie Dough Cups, I’d love to hear how you enjoyed them! Did you try any variations? Snap a picture and share it with me on Pinterest! Your sweet creations could inspire someone else to whip up their own version. Happy indulging!
