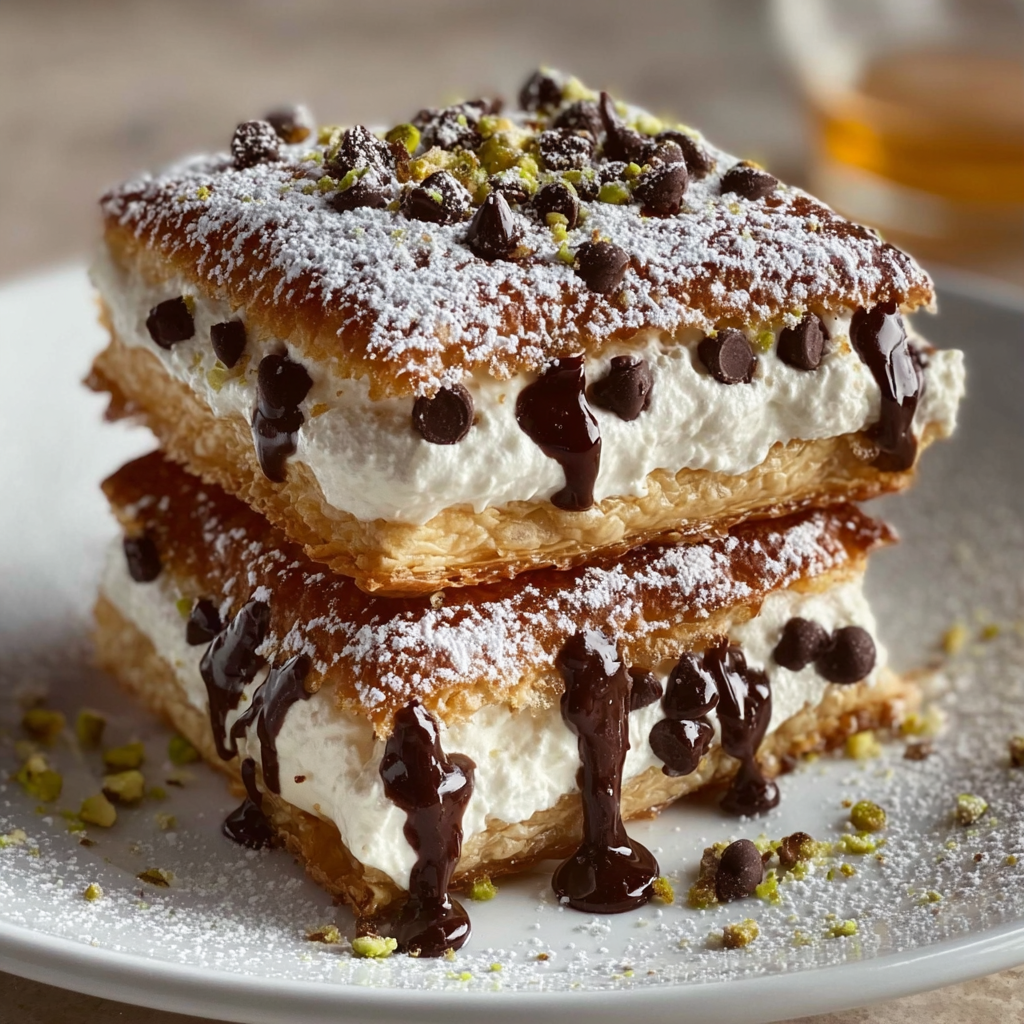
Welcome to the Wonderful World of Cannoli Squares!
Hey there, dessert lovers! If you’re craving a sweet bite of Italy, you’re in for a delightful treat today with my Classic Cannoli Squares. I absolutely love this recipe—not only do they taste divine, but they also bring a touch of fancy to any gathering without much fuss in the kitchen! Plus, who doesn’t enjoy that creamy filling paired with flaky pastry? Let me show you how I whip these up so you can impress your family and friends (and yourself!) next time you have a sweet tooth.
Nutritional Benefits
You might be surprised to learn that cannoli can have some nutritional perks! By using ricotta cheese, you’re incorporating a good source of calcium and protein. The heavy cream adds richness but also more calories, so feel free to adjust the amounts if you’re looking for something a bit lighter. And let’s not forget the wonderful pistachios—you’re getting some healthy fats and antioxidants from them. So while this dessert is indulgent, you can enjoy it with a tad less guilt!
Fun Variations to Make
What I love about these cannoli squares is their versatility! Here are a few ideas for you to customize them to your taste:
- Fruit Flavor Boost: Add some crushed strawberries or raspberries into the filling for a fruity twist.
- Nutty Delight: Swap out the chocolate chips for chopped almonds or hazelnuts for a different crunch.
- Spice it Up: Add a pinch of cinnamon or even some orange zest to the ricotta mixture—trust me, it elevates the flavor beautifully!
Classic Cannoli Squares Recipe
Ingredients
- 1 sheet of puff pastry, thawed
- 2 cups ricotta cheese, drained
- 1 cup powdered sugar, plus extra for dusting
- 1 teaspoon vanilla extract
- 1 cup heavy cream
- 1/2 cup mini chocolate chips
- 1/4 cup chopped pistachios (for garnish)
- Chocolate sauce (for drizzling)
Cooking Instructions
- Preheat your oven to 400°F (200°C) and line a baking sheet with parchment paper.
- Roll out the thawed puff pastry sheet on a lightly floured surface to smooth any creases. Cut it into two equal rectangles—these will be your top and bottom layers of the cannoli squares.
- Place the puff pastry rectangles on the prepared baking sheet and bake for 15-20 minutes, or until they are golden brown and puffed up.
- Once baked, take them out of the oven and let the pastry cool completely on a wire rack.
- While the pastry cools, prepare the cannoli filling. In a large mixing bowl, combine the drained ricotta cheese, powdered sugar, and vanilla extract. Stir until everything is smooth and well blended.
- In another bowl, whip the heavy cream until stiff peaks form. Gently fold the whipped cream into the ricotta mixture—this is the magic that makes it light and fluffy.
- Now, stir in those mini chocolate chips for a delightful crunch and extra flavor.
- Once the puff pastry has cooled down, place one pastry rectangle on a serving plate and spread half of the cannoli filling evenly over it.
- Top it with the second pastry rectangle to create a layered square. If you’re feeling indulgent, you can repeat with the remaining filling and pastry piece for a double-layered delight!
- Drizzle chocolate sauce all over the top and sprinkle with chopped pistachios. Don’t forget a light dusting of powdered sugar right before serving!
- Slice into squares, serve immediately, or refrigerate for a few minutes to let the layers set—enjoy!
Practical Tips for Success
- Store any leftovers in an airtight container in the fridge—these are best enjoyed within a day or two for freshness.
- If you like a crunchier pastry, you can bake the layers longer, just keep an eye on them to prevent burning.
- Feeling crafty? You can use homemade puff pastry; just make sure to roll it thin for those flaky layers!
Equipment Needed
Here’s a little checklist of what you’re going to need:
- A baking sheet
- Parchment paper
- A rolling pin
- Mixing bowls (one large for the filling and another for whipping cream)
- A whisk or electric mixer for whipping cream
- A spatula to fold the ingredients together
- A sharp knife or pizza cutter for cutting the pastry
- A serving plate for the final presentation
Frequently Asked Questions
- Can I make these ahead of time? Yes, you can prepare the filling in advance and assemble them the day you plan to serve.
- What if I can’t find mini chocolate chips? No worries! Chopped regular-sized chocolate chips or any chocolate bar of your choice will work just as well.
- Can I substitute the ricotta? You could try mascarpone for a richer flavor, but make sure to adjust the sugar to taste.
- How should I store leftovers? Keep them in the fridge in an airtight container so they stay fresh, but they are best eaten within a couple of days.
- Can I freeze these squares? Honestly, they’re best fresh, but if you have leftovers, freeze just the unfilled pastry. Fill them when you’re ready to eat!
Join the Sweet Journey!
I hope you’re as excited to make these Classic Cannoli Squares as I am! They are such a fun and engaging treat for any occasion. Care to share your creations? I’d love to see your take on this delicious dessert! Check out my Pinterest page for more wonderful recipes, tips, and inspiration. Let’s bake happy today!
