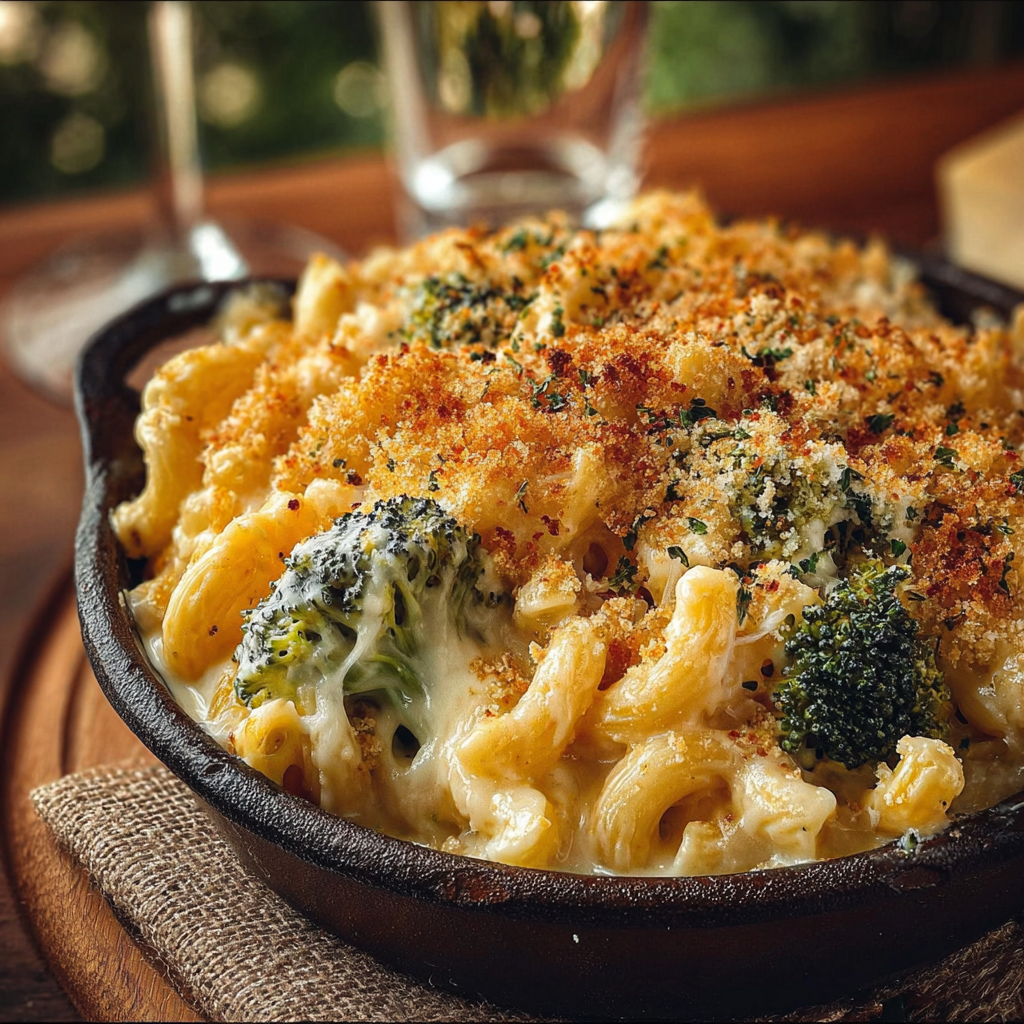
Cozy Autumn Mac & Cheese with Broccoli
Hello, friend! As the leaves change and the air starts to cool, there’s nothing quite like a warm bowl of mac and cheese to brighten your day, right? This Cozy Autumn Mac & Cheese with Broccoli is everything you want in a comfort meal—creamy, cheesy, and a little touch of green to keep it balanced. I can’t wait to share this delicious recipe with you!
Nutritional Benefits of Mac & Cheese with Broccoli
You might think mac and cheese is just a guilty pleasure, but adding broccoli gives it a healthy twist! Broccoli is packed with vitamins C and K, and it offers fiber, which is great for digestion. Plus, with the protein from the cheese and the carbohydrates from the pasta, this dish can be a balanced meal on its own. So you can feel good about enjoying this comforting dish!
Fun Variations to Consider
- Different Cheese Choices: If you’re a cheese lover, experiment with different cheeses like gouda or pepper jack for a spicy kick!
- Dairy-Free Option: Use almond milk and vegan cheese for a dairy-free version that’s still creamy and satisfying.
- More Greens: Try adding spinach or kale for extra nutrients and color. Just sauté them quickly before adding to your dish.
- Protein Boost: Consider adding grilled chicken, tofu, or even some crispy bacon bits to make it heartier.
Easy and Comforting Mac & Cheese Recipe
Ingredients
- 2 cups elbow macaroni
- 1 cup broccoli florets, steamed
- 4 tablespoons unsalted butter
- 1/4 cup all-purpose flour
- 2 cups whole milk
- 2 cups shredded sharp cheddar cheese
- 1 cup shredded mozzarella cheese
- 1 teaspoon garlic powder
- 1 teaspoon onion powder
- Salt, to taste
- Black pepper, to taste
- 1/2 cup breadcrumbs
- 1 tablespoon olive oil
- 1/4 cup grated Parmesan cheese (optional for topping)
Cooking Instructions
- Preheat your oven to 350°F (175°C). This helps to make the topping just right!
- Cook the elbow macaroni according to package instructions until al dente. Drain and set aside. Trust me, you want to avoid mushy pasta!
- In a large skillet or saucepan, melt the butter over medium heat. The smell of butter alone is heavenly!
- Once melted, add the flour to the butter and whisk together to form a paste (roux). Cook for 1-2 minutes until bubbly, but don’t let it brown—it should be a lovely golden color.
- Gradually whisk in the whole milk, stirring continuously to avoid lumps. Bring to a simmer and cook until the sauce thickens (about 5-7 minutes). Isn’t it great to see it come together?
- Remove the sauce from heat and stir in the shredded sharp cheddar and mozzarella cheese until completely melted and smooth. It’s hard not to taste it at this point!
- Add garlic powder, onion powder, salt, and black pepper to taste. Give it a good mix!
- Fold in the cooked macaroni and steamed broccoli, ensuring everything is well coated with that creamy cheese sauce.
- Transfer the mac and cheese mixture to a greased 9×13 inch baking dish or a small cast-iron skillet. The cast iron adds a rustic touch!
- In a small bowl, mix the breadcrumbs with olive oil until evenly coated. Sprinkle the breadcrumb mixture on top of the mac and cheese. This is what will give your dish that delightful crunch.
- If desired, sprinkle some grated Parmesan cheese over the breadcrumbs for an extra cheesy topping.
- Bake in the preheated oven for 20-25 minutes, or until the top is golden brown and crispy. You’ll be able to smell it wafting through your home!
- Remove from the oven and let cool slightly before serving. That first scoop will be everything you hoped for!
Helpful Tips for the Best Mac & Cheese
- Store any leftovers in an airtight container; these usually keep well in the fridge for about 3-4 days.
- If reheating, add a splash of milk to loosen up the sauce and keep it creamy.
- Feel free to double this recipe for gatherings—it’s always a hit at potlucks!
- You can even prep this ahead of time; just cover and place it in the fridge until you’re ready to bake!
Equipment You’ll Need
Here’s what you’ll need to get started:
- A large pot for boiling pasta
- A colander for draining pasta
- A large skillet or saucepan for making the cheese sauce
- A whisk for mixing well
- A baking dish or cast-iron skillet for baking
- A mixing spoon or spatula
Frequently Asked Questions
- Can I use gluten-free pasta? Absolutely! Just substitute the regular macaroni with your favorite gluten-free pasta, and you’re good to go.
- What can I use instead of broccoli? Feel free to swap it with any veggie of your choice like spinach, peas, or even roasted bell peppers!
- How do I know when my mac and cheese is done? It’s ready when the top is golden brown and the edges are bubbling—that’s the best part!
- Can I make it ahead of time? Yes! You can assemble it in advance and store it in the fridge. Just bake it before serving.
- How do I keep mac and cheese creamy? Add a little milk when reheating—this helps bring back that creamy texture.
Conclusion
I hope you try this recipe and enjoy it as much as I do! It’s the perfect dish to warm up a chilly evening. So, gather your loved ones, scoop out some cozy mac & cheese, and make those autumn nights even more delightful. And if you loved it, be sure to share your photos and tag me on Pinterest! Happy cooking!
