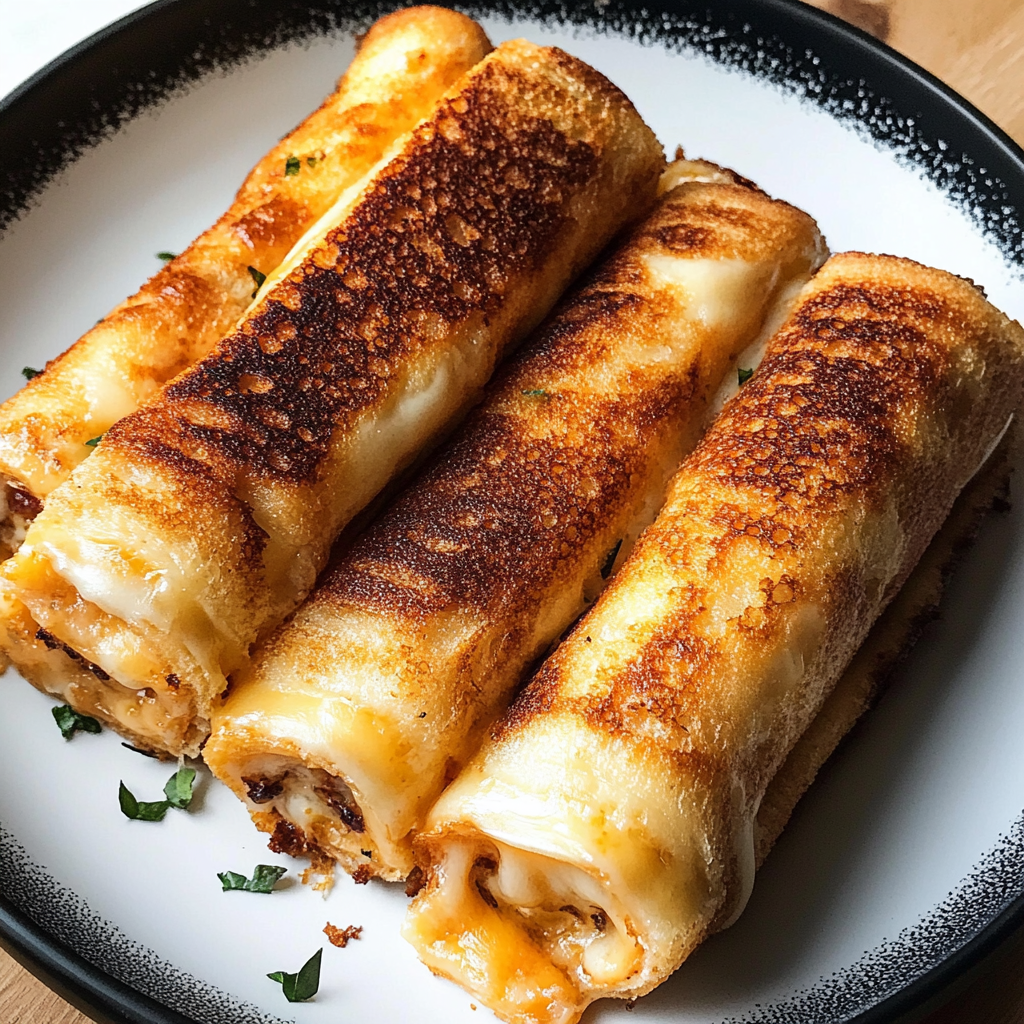
Make Lunchtime Fun with Grilled Cheese Roll-Ups!
Hey there! Are you looking for a lunch idea that’s not only super easy but also fun for kids? Let’s dive into deliciousness with these Grilled Cheese Roll-Ups! I absolutely love making these because they’re quick to prepare, and you can get the little ones involved in the kitchen, making it a family affair. Plus, who can resist gooey, melty cheese wrapped in crispy toast? Not me!
Why You’ll Love These Roll-Ups
First off, these roll-ups aren’t just fun—they’re also a fantastic way to be creative with cheese! You can use pretty much any cheese you like, but cheddar is usually a big hit. And if you’re feeling generous, adding a bit of cream cheese makes them extra creamy, bringing that beloved grilled cheese flavor you crave in a fun, rolled format.
Nutritional Benefits
Let’s talk about the good stuff! While these roll-ups are a tasty treat, they can provide some nutritional benefits too. Whole wheat bread offers a bit more fiber compared to white bread, making it a heartier option. Cheese gives you calcium, which is great for bones, especially for growing kids. Plus, adding in extra ingredients like veggies can boost the nutritional profile even more!
Adaptable Variations
- Cheese Lovers: Try mixing cheeses! Mozzarella, pepper jack, or even a blend can add an exciting twist.
- Add Veggies: Sneak in some spinach or sliced tomatoes for an extra dose of vitamins.
- Gluten-Free Option: Use gluten-free bread. It’s just as tasty and friendly for those with dietary restrictions.
- Herbs & Spices: Experiment with different spices like oregano or Italian seasoning instead of garlic powder for a change in flavor!
Delicious Grilled Cheese Roll-Ups Recipe
Ingredients
- 4 slices of bread (white or whole wheat)
- 4 slices of cheddar cheese (or your favorite cheese)
- 2 tablespoons of butter (softened)
- 1 tablespoon of cream cheese (optional for extra creaminess)
- 1 teaspoon of garlic powder (optional for flavor)
- Salt and pepper to taste
- Cooking spray (optional)
Instructions
- Prepare the Bread: Start by trimming the crusts off the bread slices to create even rectangles. Then, grab your trusty rolling pin and flatten each slice of bread until they are about 1/4 inch thick.
- Spread Cream Cheese: If you’re using cream cheese, spread a thin layer on each slice. This will give the roll-ups an extra creamy texture!
- Layer the Cheese: Now, place a slice of cheddar cheese on each flattened slice. If you’d like, sprinkle a bit of garlic powder over the cheese for that extra kick.
- Roll It Up: Carefully roll each bread slice tightly around the cheese, ensuring it’s fully enclosed. You don’t want the cheese escaping!
- Prepare for Cooking: Heat a skillet over medium heat and add your softened butter, letting it melt and coat the pan like a warm hug.
- Cook the Roll-Ups: Place your rolled-up sandwiches seam side down in the skillet. Cook for about 3-4 minutes on each side until they’re golden brown and the cheese is nice and melted.
- Optional Cooking Spray: If you like a crispier texture, lightly spray the roll-ups with cooking spray before flipping them.
- Serve: Remove the roll-ups from the skillet and place them on a plate to cool for a minute. You can cut them in half for easier eating. Enjoy your deliciousness!
Practical Tips for Making the Best Roll-Ups
- Want to avoid sticking? Make sure the skillet is nicely greased before cooking.
- Cook in small batches to avoid crowding the skillet. It helps them cook evenly.
- These roll-ups are best served fresh but can last up to a day in the fridge—simply reheat in a skillet!
Equipment Needed
Before you start cooking, gather these essentials:
- A rolling pin (for flattening the bread)
- A skillet (non-stick works great!)
- A spatula (to flip those roll-ups with love)
- A butter knife (for spreading the cream cheese)
Frequently Asked Questions
- Can I use different types of cheese? Absolutely! Use any cheese that melts well—think mozzarella, gouda, or pepper jack for something spicy!
- Can I make these ahead of time? Yes! You can prepare the roll-ups and store them uncooked in the fridge, then fry them up when you’re ready to eat.
- What if I don’t have cream cheese? No worries! The roll-ups are perfectly fine without it; just go heavy on the cheddar!
- Can these be made in the oven? For a healthier option, try baking them at 400°F (200°C) for about 15 minutes—flip halfway through!
- Are these good for adults too? Absolutely! Adults love these roll-ups when paired with a tasty tomato soup for dipping.
Let’s Stay In Touch!
So there you have it—delicious Grilled Cheese Roll-Ups that everyone will love! I’d love to hear how yours turn out, so feel free to share your thoughts or any variations you try. Be sure to follow me on Pinterest for more fun and easy recipes that make cooking enjoyable for the whole family!
