My Favorite Chicken Caesar Pasta Salad Recipe Just for You
Hey there! If you’re anything like me, you love meals that come together quickly, taste amazing, and are just perfect for lunch, dinner, or even a picnic. One of my go-to dishes is this Chicken Caesar Pasta Salad. It’s fresh, creamy, and packed with flavor – plus, it’s super easy to make! I’m excited to share this recipe with you because it’s great for those warm days or anytime you want something light but satisfying.
Why I Love Chicken Caesar Pasta Salad (and You Might Too!)
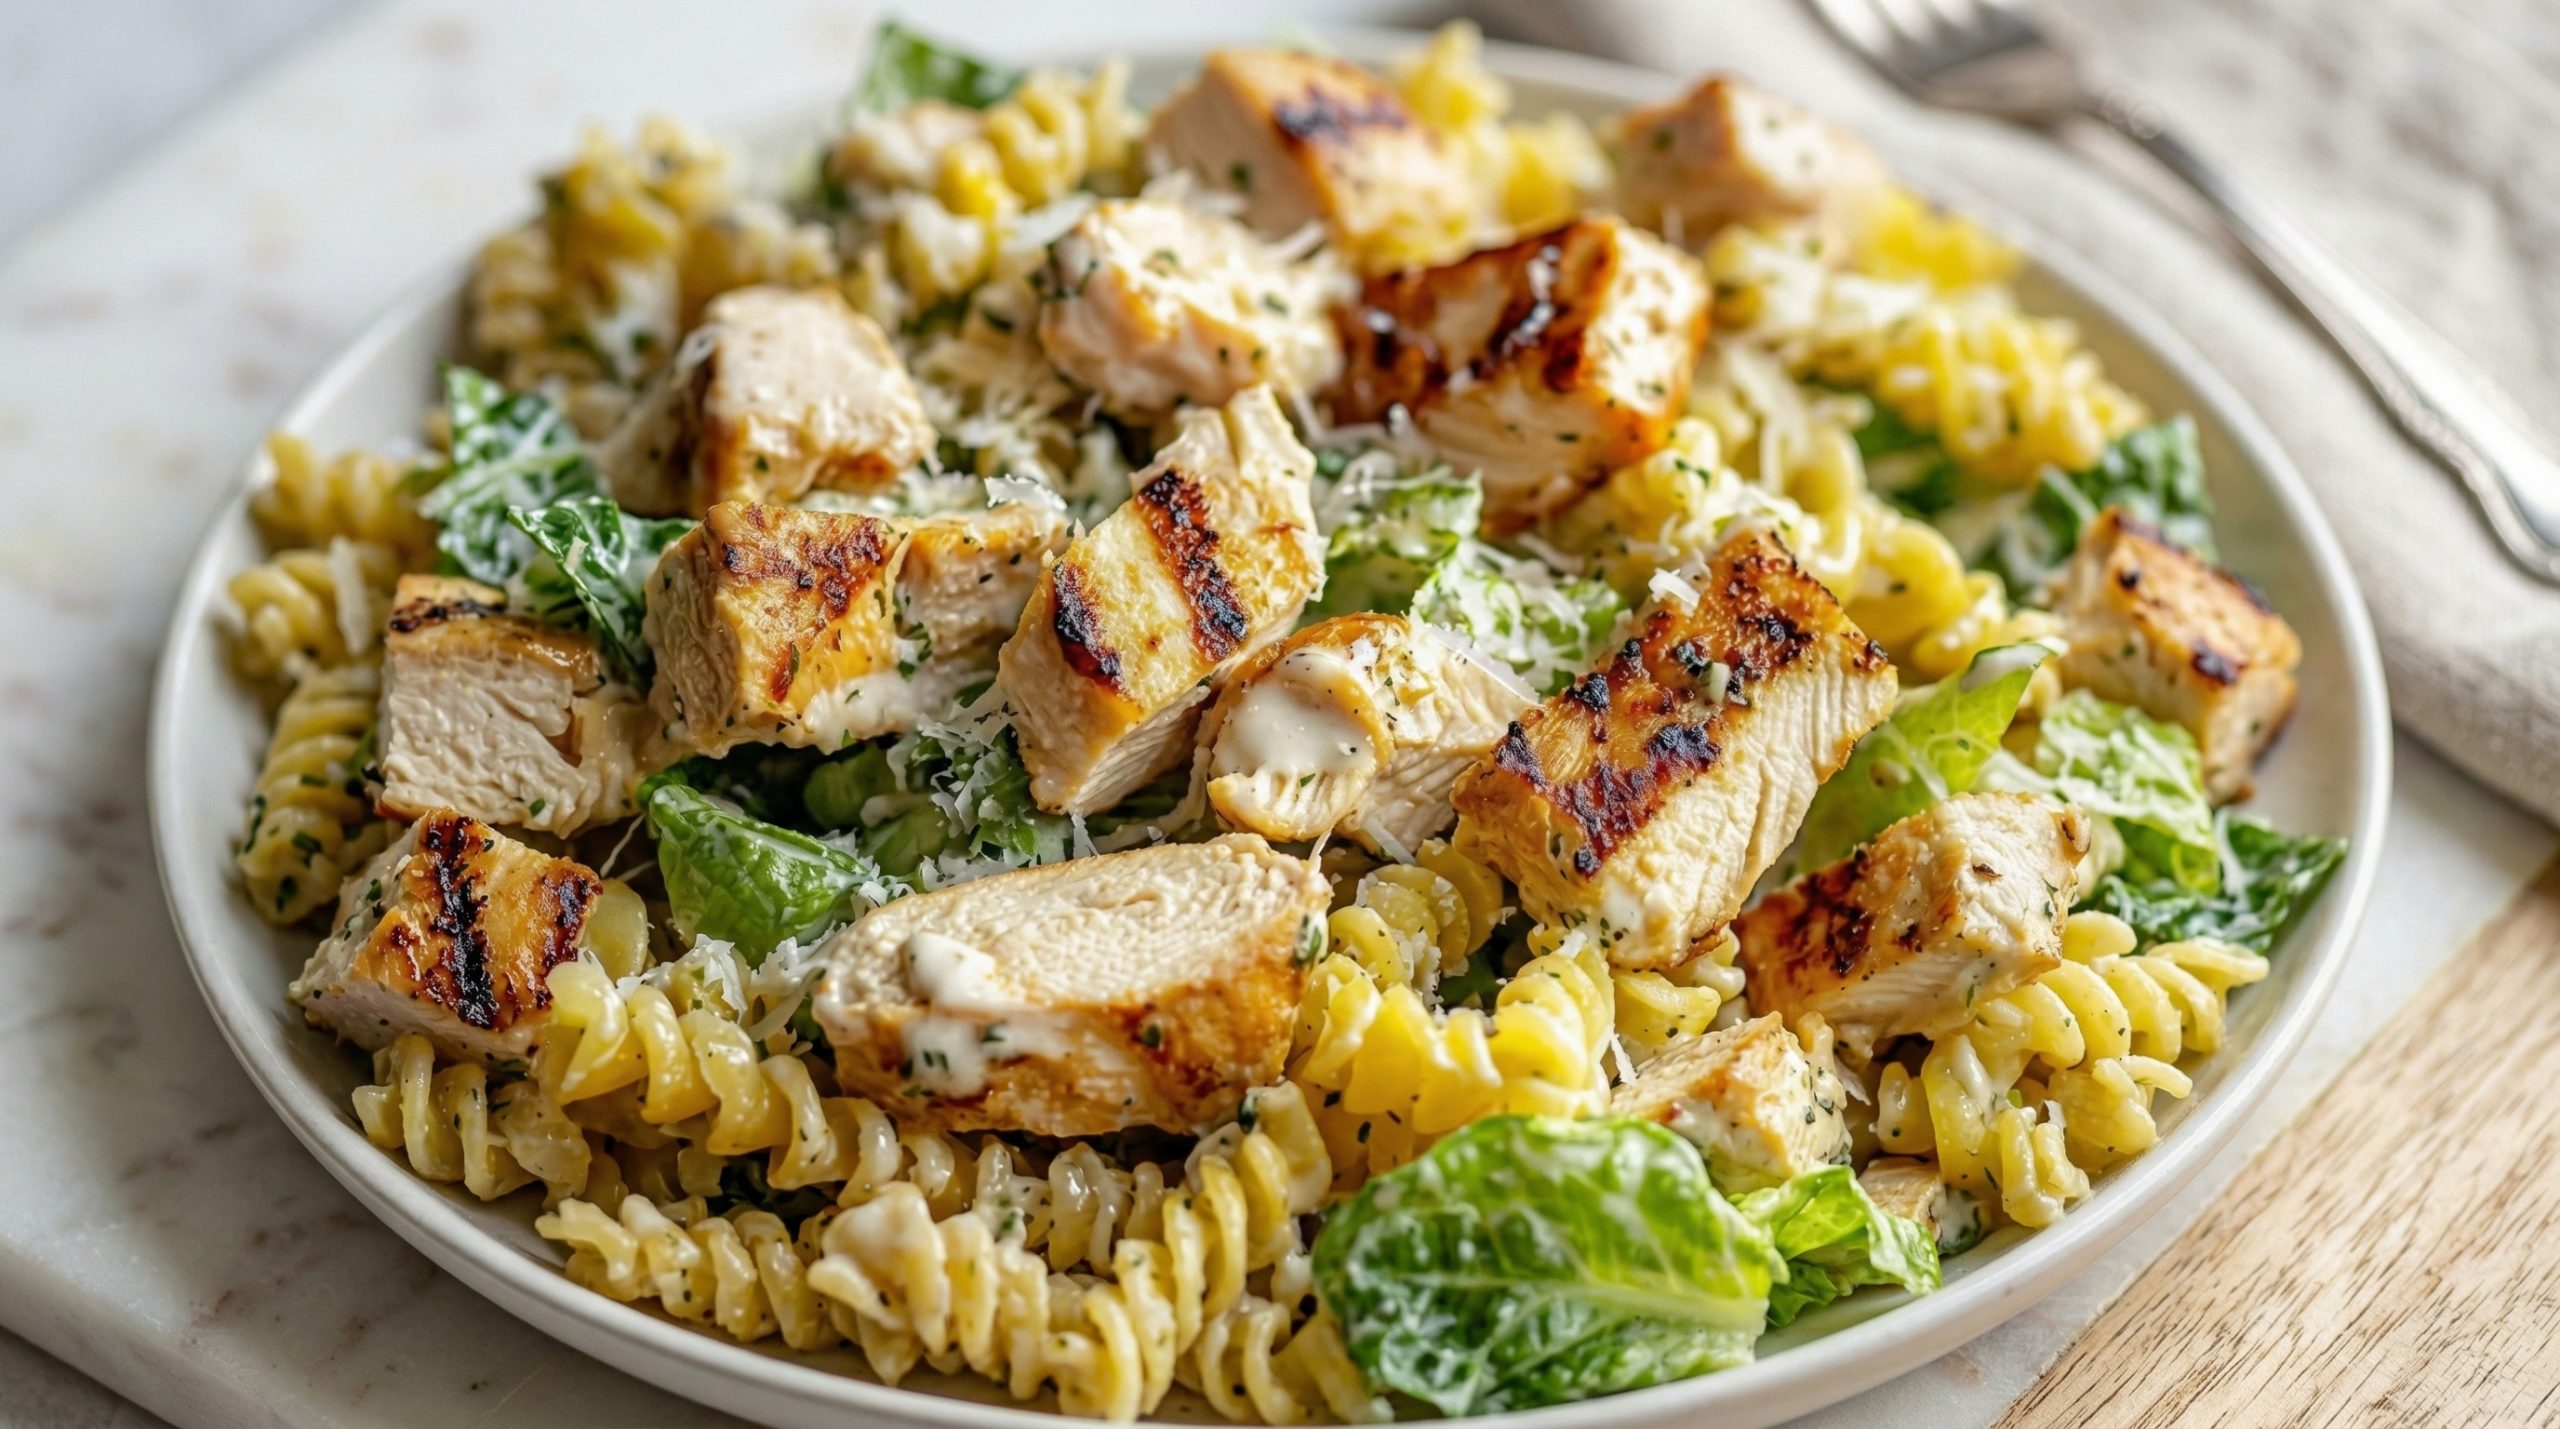
This recipe combines all the best things: protein from the grilled chicken, carbs from the pasta for energy, and crisp romaine for a refreshing crunch. The creamy Caesar dressing ties it all together, giving it that classic tangy taste we all know and love. It’s not just delicious—it’s also balanced and perfect for a well-rounded meal.
Ingredients You’ll Need
- 2 boneless, skinless chicken breasts
- 3 cups rotini pasta (or any spiral pasta you like)
- 3 cups chopped romaine lettuce
- ½ to ¾ cup freshly grated Parmesan cheese
- ½ to ¾ cup creamy Caesar dressing (homemade or store-bought, your call!)
- 1 tablespoon olive oil (for grilling the chicken)
- Salt and freshly ground black pepper, to taste
- Optional: 1 teaspoon garlic powder (for seasoning chicken)
- Optional: 1 tablespoon fresh chopped parsley (perfect for garnish or adding to the dressing)
Step-by-Step Cooking Instructions
- Cook the Pasta: Bring a large pot of salted water to a boil. Add the rotini pasta and cook it according to the package instructions until it’s al dente (meaning cooked but still with a little bite). Once done, drain the pasta and rinse it under cold water to stop it from cooking further and to cool it down. Set it aside.
- Prepare the Chicken: Pat your chicken breasts dry with a paper towel. Sprinkle salt, pepper, and garlic powder (if using) on both sides. Lightly brush or rub the chicken with olive oil to keep it juicy and help it grill nicely.
- Grill the Chicken: Heat up your grill or grill pan over medium-high heat. Grill the chicken breasts about 5-7 minutes on each side, or until they’re cooked through and have beautiful grill marks. Once cooked, remove the chicken from heat and let it rest for about 5 minutes to keep it juicy.
- Slice the Chicken: After resting, slice or cube the chicken into bite-sized pieces. This makes it easier to eat and mix with the salad.
- Build the Salad: In a large mixing bowl, toss together the cooled pasta, the chopped romaine lettuce, and the creamy Caesar dressing. Make sure everything gets a nice coating but be gentle so you don’t squash the lettuce.
- Add the Chicken: Mix in the grilled chicken pieces or, if you’re feeling fancy, neatly arrange the chicken on top for a pretty presentation.
- Cheese Time: Sprinkle the freshly grated Parmesan cheese over the salad. You can toss it lightly again or leave the cheese on top for extra flair.
- Final Taste Check: Give it a quick taste. Add more salt, pepper, or dressing if you think it needs a little extra love.
- Chill or Serve: You can enjoy the salad right away, or if you want it cold for a picnic or make-ahead lunch, pop it in the fridge for at least 30 minutes. Then dig in and enjoy!
Nutritional Benefits of This Salad
This salad is honestly a great balance. The chicken is an awesome source of lean protein, helping keep you full and energized. Romaine lettuce adds a fresh crunch with fiber and lots of vitamins like A and K. The pasta gives you the carbs for fuel, and Parmesan cheese adds a tasty dose of calcium and protein too. While Caesar dressing does have some fat (hello, creamy deliciousness!), choosing a light or homemade dressing means you can control how indulgent it gets. Overall, it’s a well-rounded meal that’s both tasty and nourishing!
Fun Ways to Customize Your Chicken Caesar Pasta Salad
- Swap the Chicken: Want to make it vegetarian? Try grilled tofu, tempeh, or even chickpeas instead of chicken.
- Change Up the Pasta: Whole wheat or gluten-free pasta work great if you want to make it a bit healthier or accommodate dietary needs.
- Add More Veggies: Cherry tomatoes, sliced cucumbers, or avocado cubes add extra color and nutrition.
- Make it Zesty: Add a squeeze of fresh lemon juice or a dash of red pepper flakes to the dressing for a little kick.
- Use Different Cheeses: Swap Parmesan for pecorino or even a sprinkle of crumbled feta for a new twist.
Handy Tips for the Best Chicken Caesar Pasta Salad
- If you’re making this ahead, keep the dressing separate until just before serving to avoid soggy lettuce.
- Leftover salad? Store it in an airtight container in the fridge for up to 2 days. The flavors get better over time, but the lettuce might lose a bit of crunch.
- When grilling chicken, use a meat thermometer if you have one. Chicken should reach 165°F (74°C) internally for safe eating.
- To speed up prep, you can buy pre-grilled chicken strips from the store, but I highly recommend grilling your own for the best flavor.
Equipment You’ll Want to Have
- Large pot for boiling pasta
- Colander for draining
- Grill or grill pan
- Cutting board and sharp knife for slicing chicken
- Large mixing bowl to toss the salad
- Measuring cups and spoons for accuracy
Frequently Asked Questions
- Can I use a different type of lettuce? Yes! Romaine is classic, but you could also try kale or mixed greens if you prefer.
- What if I don’t have a grill? No worries! You can pan-sear the chicken on the stovetop or bake it in the oven. Just make sure it’s fully cooked.
- Can I make this salad vegan? Definitely. Use vegan Caesar dressing, skip the cheese, and swap chicken for grilled tofu or chickpeas.
- Is it okay to use store-bought Caesar dressing? Absolutely! Store-bought dressing works just fine when you’re short on time.
- How long can I store leftovers? Store the salad in an airtight container in the fridge and eat within 2 days for the best freshness.
Give It a Try & Let’s Chat!
I really hope you enjoy making and eating this Chicken Caesar Pasta Salad as much as I do. It’s one of those dishes I always come back to. When you try it, pin the recipe to your Pinterest board and drop me a comment about how it turns out or your own twist on it—I’d love to hear from you!
