Welcome to a Slice of Summer!
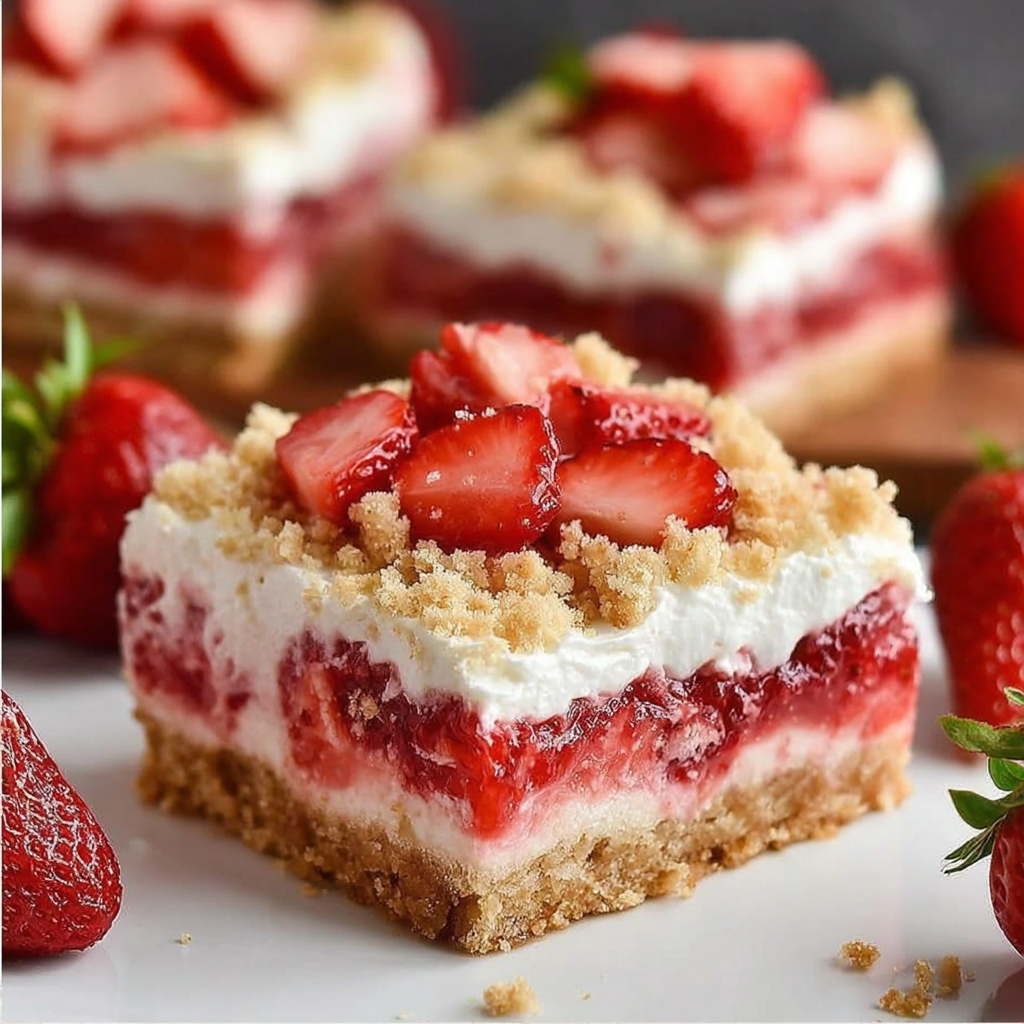
Hello there! If you think summer is all about sun-soaked days and barbecues, you’re absolutely right! But you know what else is a summertime staple? Delicious Strawberry Shortcake Bars! Trust me when I say, these bars are like a sweet hug on a plate. They’re cool, creamy, and bursting with fruity flavor—perfect for any summer gathering or simply to enjoy on a lazy afternoon. Let’s dive into how you can whip these up in no time!
Nutritional Benefits of Strawberry Shortcake Bars
You might be surprised, but strawberries are nutritional powerhouses! They’re packed with antioxidants, vitamins, and even fiber. In fact, one cup of strawberries has about 49 calories and is an excellent source of vitamin C. Plus, homemade versions mean you can control the sugar level, making these bars a treat you can share without worry.
Delicious Variations to Consider
Now, let’s chat about how you can amp up these bars according to your taste or dietary needs! Here are a few fun twists:
- Berry Blast: Try mixing in other berries like blueberries or raspberries along with strawberries for a fruity explosion!
- Gluten-Free Version: Swap out the all-purpose flour for almond flour or a gluten-free blend to make it friendly for gluten sensitivities.
- Less Sugar? No Problem: You can use a sugar substitute for the granulated sugar and whipped topping for a lighter version. Just check that it’s suitable for baking!
Your Easy Strawberry Shortcake Bars Recipe
Ingredients
- 1 cup all-purpose flour
- 1/2 cup granulated sugar
- 1/2 cup unsalted butter, softened
- 1 cup strawberries, hulled and sliced
- 1 cup whipped cream (or whipped topping)
- 1/2 teaspoon vanilla extract
- 1 cup strawberry jam
- 1/4 cup powdered sugar (for dusting)
- Fresh strawberries for garnish
Step-by-Step Instructions
- Let’s get the fun started! Preheat your oven to 350°F (175°C) and grease an 8×8 inch baking pan.
- In a medium bowl, toss together the all-purpose flour and granulated sugar. Next, add the softened butter and mix until the mixture is crumbly. It should remind you of sandy beach vibes!
- Now, it’s time to press half of that crumbly goodness into the bottom of your baking pan. This will be the base crust. Bake it for about 10-12 minutes until it turns lightly golden. This part always gets me excited!
- Once that’s out of the oven, let it cool a bit. Spread a luscious layer of strawberry jam evenly over the baked crust—this is where the magic starts to happen!
- In another bowl, whip your cream with the vanilla extract until soft peaks form. It’s going to be creamy and dreamy! Gently spread this whipped cream mix over the jam layer.
- Time to sprinkle the remaining crumb mixture on top of the whipped cream. Press down gently, just enough to create an even surface.
- Pop this beauty into the fridge for at least 2 hours. This will help set everything just right, making your bars perfect for cutting!
- Once set, slice them into squares and dust with powdered sugar for that touch of sweetness.
- Don’t forget to garnish with fresh strawberries on top—because, why not make it extra fancy?
- Finally, take a bite and revel in that refreshing summer sweetness. You did it!
Helpful Tips for Success
- For the best flavor, use ripe strawberries. You’ll be amazed at how sweet they can be!
- If you prefer a creamier texture, you might want to whip the cream a little longer but avoid overdoing it—nobody likes butter!
- Store any leftovers (if there are any!) in an airtight container in the refrigerator. They’ll be good for about 3-4 days, but let’s be real—will they last that long?
Equipment Needed
Here’s your checklist of what you might need for these scrumptious bars:
- An 8×8 inch baking pan
- A mixing bowl for the dry ingredients and another for the whipped cream
- A whisk or electric mixer for the cream (I love my handheld mixer for this!)
- A spatula for spreading the mixtures
- A sharp knife for cutting the bars neatly
- Optional: A cooling rack if you prefer to cool the base before adding the jam.
Frequently Asked Questions
- Can I use frozen strawberries? Sure thing! Just thaw and pat them dry to avoid excess moisture.
- Can I make these bars a day in advance? Absolutely! It’s actually better, as the flavors meld beautifully overnight.
- How do I know when my crust is done? Look for a lightly golden color, and it will smell buttery and toasty!
- What can I substitute for whipped cream? You can use any non-dairy whipped topping if you’re looking for a vegan option, or skip it altogether for a lighter bar.
- Can I use another type of fruit? Yes! This recipe can be adapted for peaches, blueberries, or even mixed berries—get creative!
Share Your Joy!
Did you make these delightful strawberry shortcake bars? I would love to hear how they turned out for you! Feel free to share your creations and thoughts. And don’t forget to follow me on Pinterest for more delicious recipes that brighten up everyday cooking. Happy baking!
