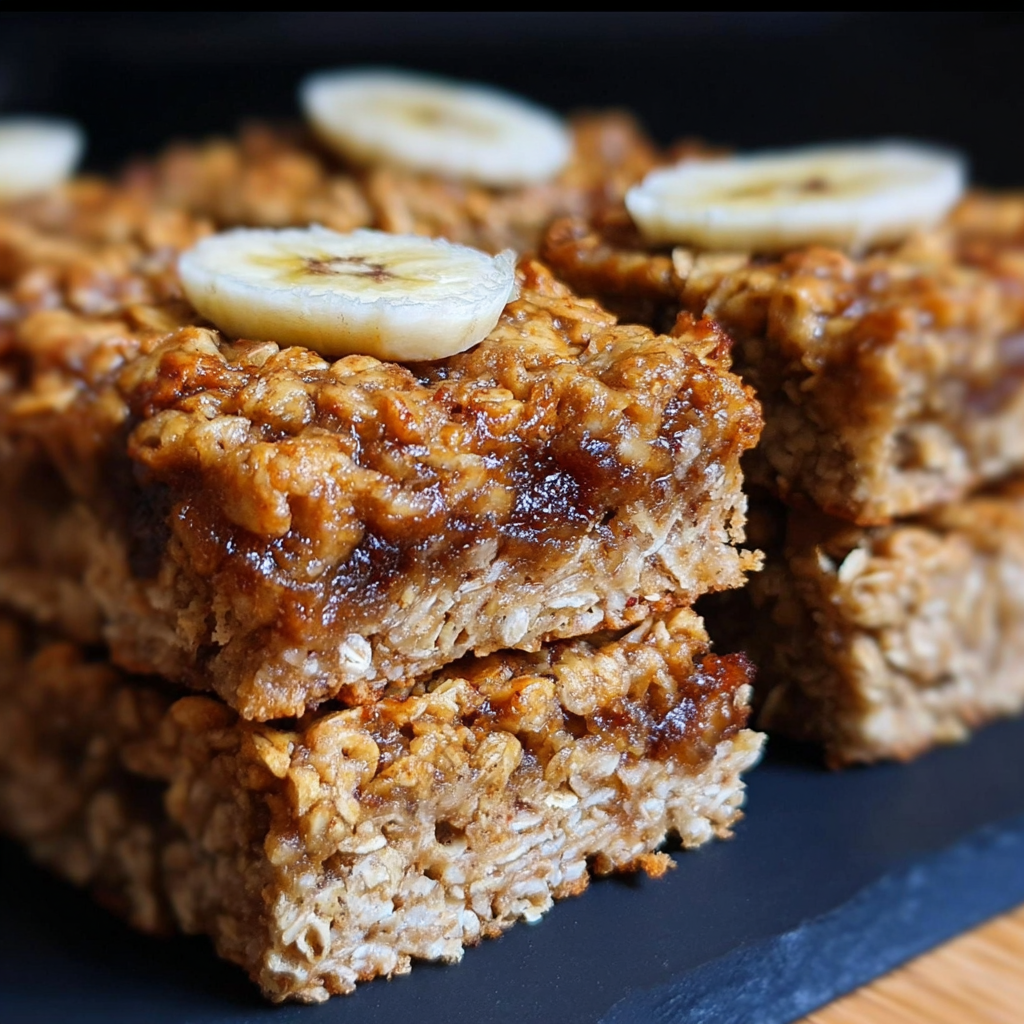
Hi Friend, Let’s Make Some Healthy Banana Oat Bars!
If you’re anything like me, you love a snack that feels good AND tastes amazing. These banana oat bars are exactly that—super simple to make, naturally sweetened, and perfect for breakfast or a quick pick-me-up during your busy day. I first tried these when I was looking for a way to use up some ripe bananas, and now I make them regularly. I’d love to share how you can make them, plus some tips and ideas to tweak the recipe just how you like it.
Why These Banana Oat Bars Are Great for You
First off, the nutritional benefits of these bars are pretty impressive! Bananas bring potassium and natural sweetness without any added sugar. Rolled oats give you fiber and keep you full longer, which is awesome if you’re trying to avoid mid-morning snack cravings. Plus, with cinnamon included, you get that lovely warming spice which may help with blood sugar control. Using natural sweeteners like maple syrup or honey (or leaving them out!) makes this an even healthier alternative to many store-bought snack bars loaded with additives.
Fun Ways to Mix It Up
- Nutty Twist: Try adding chopped walnuts or pecans into the batter for extra crunch and healthy fats.
- Different Binders: If you’re vegan or allergic to eggs, using nut butter works perfectly to hold everything together.
- Chocolate Lovers: Toss in some dark chocolate chips for a little indulgence that still keeps the snack wholesome.
- Fruit Variations: Swap out the sliced banana layer with thin apple slices or berries for a new flavor profile.
- Nut-Free Option: Replace nut butter with a flaxseed or chia seed egg (1 tbsp seeds + 3 tbsp water, let sit 5 minutes).
Here’s How to Make These Yummy Banana Oat Bars
Ingredients You’ll Need
- 3 ripe bananas (2 mashed, plus 1 sliced for layering)
- 2 cups rolled oats
- 1 tsp baking powder
- 1/2 tsp ground cinnamon
- 1/2 tsp vanilla extract
- 1/4 tsp salt
- 1 egg (or 1/4 cup nut butter for vegan option)
- 2 tbsp maple syrup or honey (optional for extra sweetness)
- For topping: 1/4 cup natural date caramel (date paste blended with water) or natural caramel sauce
- Extra rolled oats for sprinkling
Step-by-Step Instructions
- Start by preheating your oven to 350°F (175°C). Grease or line an 8×8 inch baking pan with parchment paper to make cleanup easier.
- In a large bowl, mash 2 of the ripe bananas until they become nice and smooth.
- Add in the egg (or nut butter), vanilla extract, and maple syrup or honey if you’re using any. Give it a good mix until everything is blended well.
- Now, stir in the rolled oats, baking powder, cinnamon, and salt. Mix it all together until you get a sticky batter.
- Pour and spread half of this batter evenly into the prepared pan.
- Next, arrange the sliced banana evenly over this layer of batter. This makes a lovely, moist banana layer in the middle!
- Carefully spread the remaining half of the batter over the banana slices, covering them gently.
- Sprinkle a bit of extra rolled oats on top to add a little crunch after baking.
- Pop the pan into your preheated oven and bake for about 30-35 minutes. You’ll know it’s done when the bars turn a golden brown and feel set in the center.
- Once baked, let the bars cool completely in the pan—this helps them hold their shape when you cut them.
- When cooled, drizzle your natural date caramel or caramel sauce over the top for a delicious finishing touch.
- Allow the bars to sit for at least 10 minutes to let the caramel set before slicing into squares. Then dig in!
Handy Tips to Make Your Baking Smooth
- If you want your bars a little sweeter, you can add that extra maple syrup or honey, but they’re pretty naturally sweet with just the bananas.
- Try to use very ripe bananas—they’re easier to mash and bring the best natural sweetness.
- Want softer bars? Don’t overbake; they’ll firm up as they cool but can get dry if left too long in the oven.
- These bars keep really well in an airtight container at room temp for 2-3 days, or in the fridge for about a week.
- You can freeze individual bars wrapped in parchment or foil for up to 3 months. Just thaw them in the fridge or microwave before enjoying.
Equipment You’ll Find Helpful
- Large mixing bowl
- A fork or potato masher to mash bananas
- Measuring cups and spoons
- 8×8 inch baking pan (square)
- Parchment paper or non-stick spray to line/grease the pan
- Spatula for spreading batter
- Sharp knife for slicing bars when cooled
Got Questions? Here Are Some Common Ones!
- Can I use quick oats instead of rolled oats? Quick oats can work but the texture will be softer and less chewy. Rolled oats give a better bite.
- What if I don’t have date caramel? You can make simple date paste by blending soaked dates with water, or try drizzling honey or maple syrup as a quick alternative.
- Can I add other mix-ins like nuts or dried fruit? Yes! Feel free to fold in chopped nuts, raisins, or chocolate chips into the batter for extra excitement.
- How should I store leftover bars? Store them in an airtight container at room temperature or in the fridge for longer freshness.
- Is this recipe gluten-free? It can be if you use certified gluten-free oats. Otherwise, oats sometimes contain gluten through cross-contamination.
Let’s Hear From You!
Have you tried making these banana oat bars yet? I’d love to know how you like them—any twists or favorite additions? Pin this recipe to your Pinterest board or share your photos with me! It’s always so fun to see your delicious creations and swap snack ideas. Here’s to healthy, tasty treats that keep us energized and happy!
