Welcome to a Flavor Wonderland!
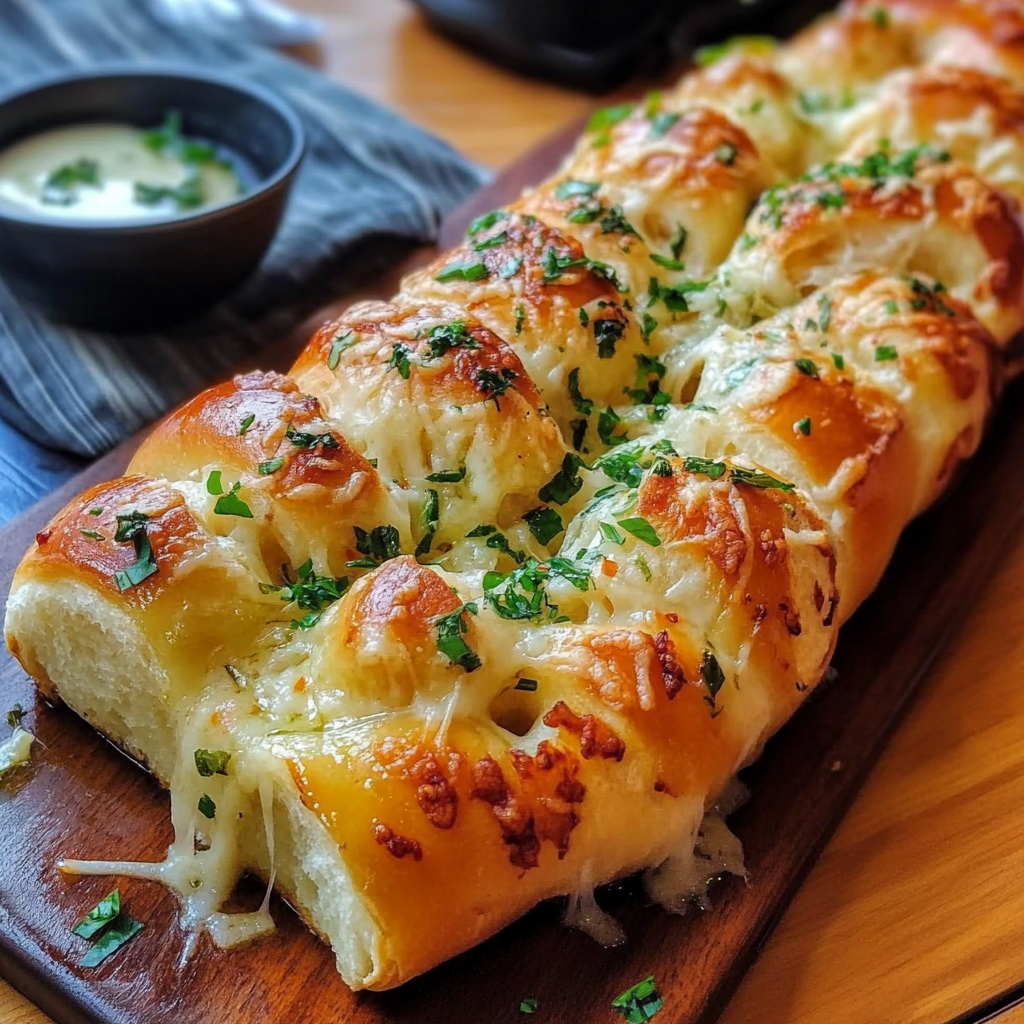
Hey there, food lovers! Are you ready to take your gatherings to a whole new level? If you haven’t tried making Hawaiian Roll Garlic Bread, you’re missing out big time! Seriously, this soft, buttery, and pull-apart delight is not only incredibly tasty but also super easy to whip up. I absolutely adore making this for parties or family dinners—it’s always a hit! Who doesn’t love the heavenly combination of bread, garlic, and gooey cheese?
Why You’ll Love This Garlic Bread
What makes this garlic bread the perfect choice for your next get-together? Well, it’s packed with flavor, and its pull-apart style makes it fun and interactive. Guests can just tear into it, and the warm, gooey cheese oozing out is simply irresistible. Plus, using Hawaiian rolls means you get that sweet hint of flavor that balances perfectly with savory garlic. It’s a match made in foodie heaven!
Nutritional Benefits
While garlic bread is often considered a treat, there are little ways to make it a touch healthier. Garlic itself has wonderful health benefits, such as boosting the immune system and reducing blood pressure. You can also make this dish lighter by using less cheese and even incorporating some herbs for added freshness without the extra calories!
Play with the Ingredients
One of the greatest things about this recipe is how adaptable it is! Here are a few variations you might enjoy:
- Cheesy Spinach Addition: Want to sneak in some greens? Add a layer of fresh spinach or kale between the rolls and cheese for a nutritious boost!
- Herb Swaps: Instead of parsley, try using fresh basil or oregano to really elevate the flavor.
- Spice It Up: If you love a little heat, toss in some red pepper flakes into the butter mixture!
- Dairy-Free Option: Use mayonnaise in place of butter and sprinkle nutritional yeast for that cheesy flavor.
Hawaiian Roll Garlic Bread Recipe – Let’s Get Cooking!
Ingredients
- 12 Hawaiian rolls
- 1/2 cup unsalted butter, melted
- 4 cloves garlic, minced
- 1 cup shredded mozzarella cheese
- 1/2 cup grated parmesan cheese
- 1 tablespoon fresh parsley, chopped (plus extra for garnish)
- 1/2 teaspoon garlic powder
- 1/2 teaspoon salt
- 1/4 teaspoon black pepper
- Optional: marinara sauce for dipping
Cooking Instructions
- First up, preheat your oven to 350°F (175°C). This is essential for creating that crispy goodness!
- In a mixing bowl, I like to combine the melted butter, minced garlic, garlic powder, salt, and black pepper. Stir it well so those flavors really come together.
- Now grab a baking dish and line it with parchment paper. Place your Hawaiian rolls in, keeping them all attached. They look so cute all together!
- With a sharp knife, carefully slice the rolls in a grid pattern. Make deep cuts without cutting all the way through—this is where the magic happens!
- Next, brush that delicious butter and garlic mixture generously over the tops of the rolls. Let it seep into those cuts—you’re going to love this part!
- Now for the cheesy goodness! Stuff that shredded mozzarella into the cuts, distributing it evenly. Don’t skimp on the cheese, my friend!
- Sprinkle the grated parmesan cheese on top like you’re decorating a masterpiece!
- Cover your dish with aluminum foil and pop it in the oven for 10-15 minutes. You want to soften the cheese and rolls initially.
- After that, remove the foil and continue baking for another 5-10 minutes, until everything is beautifully golden and bubbly.
- Once it’s out of the oven, let it cool for a couple of minutes before sprinkling fresh parsley on top for that lovely pop of color.
- Serve the roll warm, and if you like, have some marinara sauce on the side for dipping. It’s absolutely delicious!
Practical Tips for Success
- Storing leftovers? Place any uneaten garlic bread in an airtight container. It’s best warm, but you can gently reheat it in the oven.
- If you want that extra crispy top, broil for a minute or two after baking—but keep a close eye so it doesn’t burn!
- For even more flavor, consider adding some Italian seasoning or garlic herb cheese to your mixture!
Equipment Needed
Here’s a handy list of what you’ll need to make this delightful garlic bread:
- A sharp knife for slicing
- A mixing bowl for your butter mixture
- A baking dish (I recommend a 9×9-inch) for the rolls
- Spoon or brush for spreading the butter
- Aluminum foil to cover while baking
Frequently Asked Questions
- Can I make this ahead of time? Yes! You can prepare everything up to the baking step and store it in the fridge. Just let it come to room temperature before baking.
- What can I substitute for garlic? If you’re not a fan, you can skip it! Or try using garlic powder instead for a gentler flavor.
- How can I make this gluten-free? There are gluten-free Hawaiian rolls available at some stores, which would work perfectly!
- Can I freeze the garlic bread? Absolutely! Wrap it tightly and freeze for up to a month. Just let it thaw in the fridge before baking.
- What’s a great dipping sauce? Marinara is a classic choice! But you could also try ranch dressing or garlic aioli for fun findings!
Join the Garlic Bread Fun!
I can’t wait for you to try this Hawaiian Roll Garlic Bread! Let me know how yours turns out, and if you experiment with any fun twists. This dish is just begging to be shared! Follow me on Pinterest for more delicious recipes that’ll bring joy to your kitchen and table!
