Welcome to Summer with Heavenly Peach Bars!
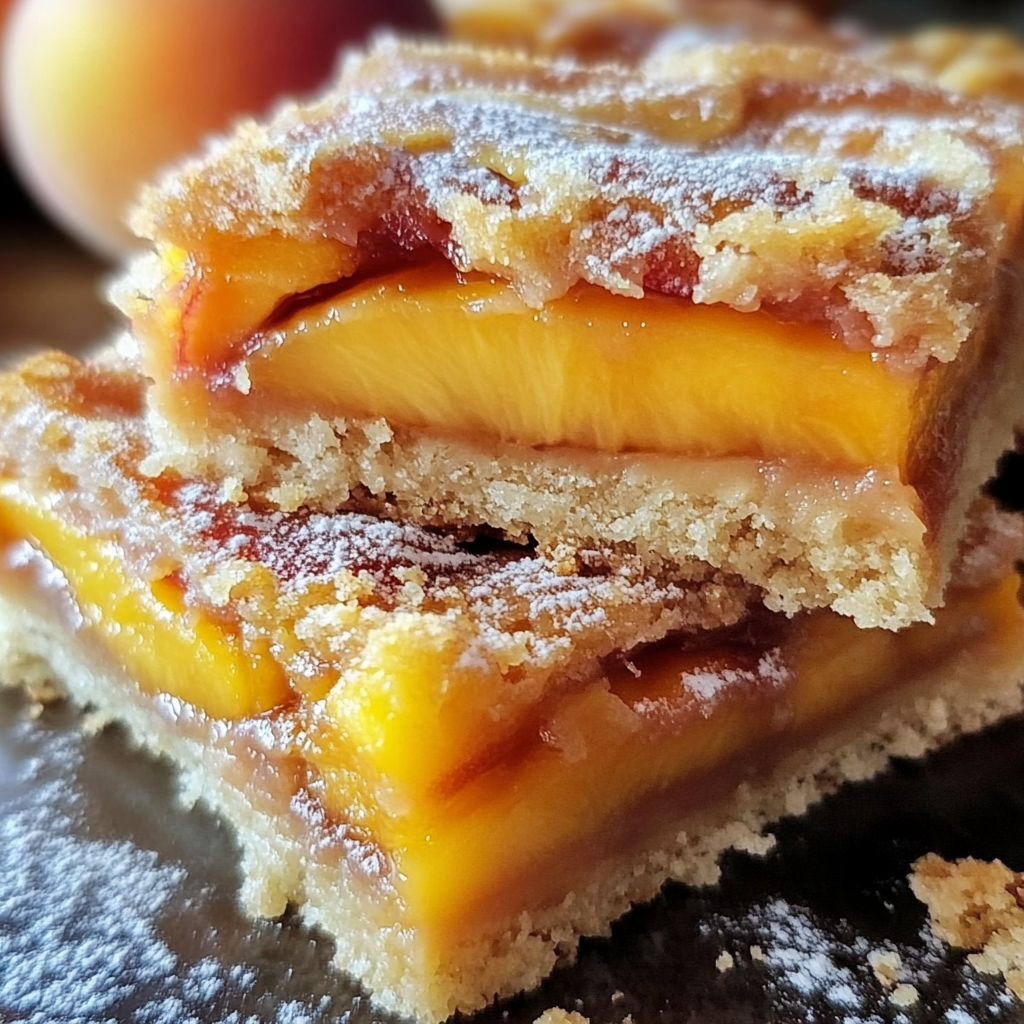
Hello, my lovely baking friends! Are you ready for a delightful summer treat that captures the essence of warm, sunny days? Today, I’m excited to share with you my recipe for Heavenly Summer Peach Bars. With a buttery crust, juicy peach filling, and a crumbly topping that is simply irresistible, these bars are bound to become a favorite in your household. Trust me, once you take a bite, you’ll be back for seconds!
Nutritional Benefits of Peaches
Let’s chat about peaches for a moment. They’re not just delicious—they come packed with nutrients! Peaches are a great source of vitamins A and C, which are fantastic for skin health and boosting your immune system. Plus, they’re relatively low in calories, making them a guilt-free addition to our dessert. By using fresh peaches, you not only get vibrant flavor but also a healthy dose of fiber. Who knew a sweet treat could be a little bit good for you, right?
Adaptable Variations
I love that this recipe is super flexible! Here are a few ideas if you want to switch things up:
- Fruit Swap: Don’t have peaches? No problem! Try making these bars with fresh apricots, nectarines, or even berries like blueberries or raspberries.
- Gluten-Free Option: Simply replace all-purpose flour with a gluten-free blend, and you’re good to go!
- Extra Flavor: If you want an additional kick, feel free to add a teaspoon of almond extract or a touch of grated ginger to the peach mixture.
Heavenly Summer Peach Bars Recipe
Ingredients
- 2 cups all-purpose flour
- 1 cup unsalted butter, softened
- 1 cup granulated sugar
- 1 teaspoon vanilla extract
- 1 teaspoon baking powder
- 1/2 teaspoon salt
- 3 cups fresh peaches, peeled and diced
- 1/4 cup brown sugar
- 1 tablespoon cornstarch
- 1 teaspoon lemon juice
- 1/2 teaspoon ground cinnamon
- Optional: powdered sugar for dusting
Cooking Instructions
- First things first, preheat that oven of yours to 350°F (175°C). While that’s warming up, grease a 9×13 inch baking dish to prevent any sticking!
- In a large mixing bowl, cream together the softened butter and granulated sugar until the mixture is light and fluffy—this is the foundation of our tasty crust.
- Next, add in the vanilla extract and mix it all together until well combined.
- In a separate bowl, whisk together the flour, baking powder, and salt. This ensures everything is evenly distributed before we combine the mixtures.
- Gradually add the dry ingredients to the butter mixture, mixing until the dough forms. You want it to be crumbly but hold together.
- Take a moment to reserve 1 cup of this crumbly mixture for the topping. Then, firmly press the remaining dough into the bottom of your greased baking dish to create a nice, even crust.
- Now let’s make that peach filling! In another bowl, combine the diced peaches, brown sugar, cornstarch, lemon juice, and ground cinnamon. Toss it gently until all the peaches are coated in sweetness.
- Spread this delicious peach filling evenly over the crust you just made. This is where the real magic begins!
- Next, crumble the reserved dough evenly over the peach layer to create a crumbly topping.
- Pop this heavenly creation into the oven and bake for 30-35 minutes, or until the top is a beautiful golden brown and the filling is bubbly.
- Once it’s done, remove it from the oven and let it cool in the pan on a wire rack.
- When it’s cool enough, cut it into squares and serve them warm or at room temperature. If you want to kick it up a notch, dust with powdered sugar before serving—they’ll look like a little piece of heaven!
Practical & Valuable Tips
- If you have leftover bars, store them in an airtight container at room temperature for up to 3 days. Or for longer storage, pop them in the fridge!
- To reheat, simply warm them in the microwave for a few seconds to bring back that fresh-out-of-the-oven warmth.
- Want to change the fruit? You can mix and match as you like! Just keep the ratios similar for the best results.
Equipment Needed
Here’s a handy list of what you’ll need to whip up these tasty bars:
- 9×13 inch baking dish (for all those glorious layers)
- Mixing bowls (you’ll need a few of these)
- A whisk and a spatula (for mixing and spreading)
- A measuring cup and spoons (because precision is key!)
- A cooling rack (to cool those bars evenly)
Frequently Asked Questions
- Can I use canned peaches instead of fresh? Yes, but be sure to drain them well. Fresh is best for flavor, but canned is a good alternative in a pinch!
- Can I make these ahead of time? Absolutely! These bars stay fresh and delicious for up to 3 days when stored properly.
- Can I freeze the peach bars? Yes! Wrap them tightly in plastic wrap and store in the freezer for up to 3 months. Thaw before enjoying.
- Can I add nuts to the topping? Definitely! Chopped pecans or walnuts would add a delicious crunch.
- What can I serve these with? A scoop of vanilla ice cream or a dollop of whipped cream pairs beautifully with these bars!
Let’s Connect!
Once you’ve made these heavenly peach bars, I’d love to hear your thoughts! Did you add your own twist? Or, how did they turn out? Share your experience and connect with me on Pinterest for more delightful recipes and baking inspiration. Happy baking, and may your summer be filled with sweetness!
