Welcome to the World of Homemade Cheesy Pizza Pockets!
Hey there! If you’re anything like me, you absolutely love a cheesy, gooey snack that ticks all the boxes of comfort food. That’s exactly why I’m thrilled to share my favorite homemade pizza pockets with you! They’re the ultimate quick and easy snack option for movie nights, lunchboxes, or just whenever you’re craving something delicious. What’s even better? You can easily customize them with your favorite toppings! Let’s dive in!
Nutritional Benefits of Pizza Pockets
You might be surprised to hear that homemade pizza pockets can actually be a reasonably healthy option! By making them yourself, you get to control the ingredients, which is fantastic. For instance, you can choose whole-grain dough instead of white, and sneak in lots of veggies like bell peppers or spinach. Plus, using less cheese than a traditional pizza can slim down the calories a bit. You also get to skip the preservatives and mystery ingredients often found in store-bought snacks. So, you can feel a little extra pride in serving these to your friends and family!
Fun Variations to Try!
- Gluten-Free Dough: If you’re following a gluten-free diet, you can find pizza dough made from rice or almond flour in stores. Just make sure it’s certified gluten-free!
- Veggie Lovers: Load your pockets with all kinds of colorful veggies! Consider adding spinach, zucchini, or even some finely chopped broccoli.
- Cheesy Surprise: Mix in different kinds of cheese like cheddar, provolone, or even cream cheese for a surprise creamy center!
- Sweet Treat: Feeling adventurous? Try a dessert version! Use Nutella or sweetened cream cheese with chocolate chips inside instead of savory fillings.
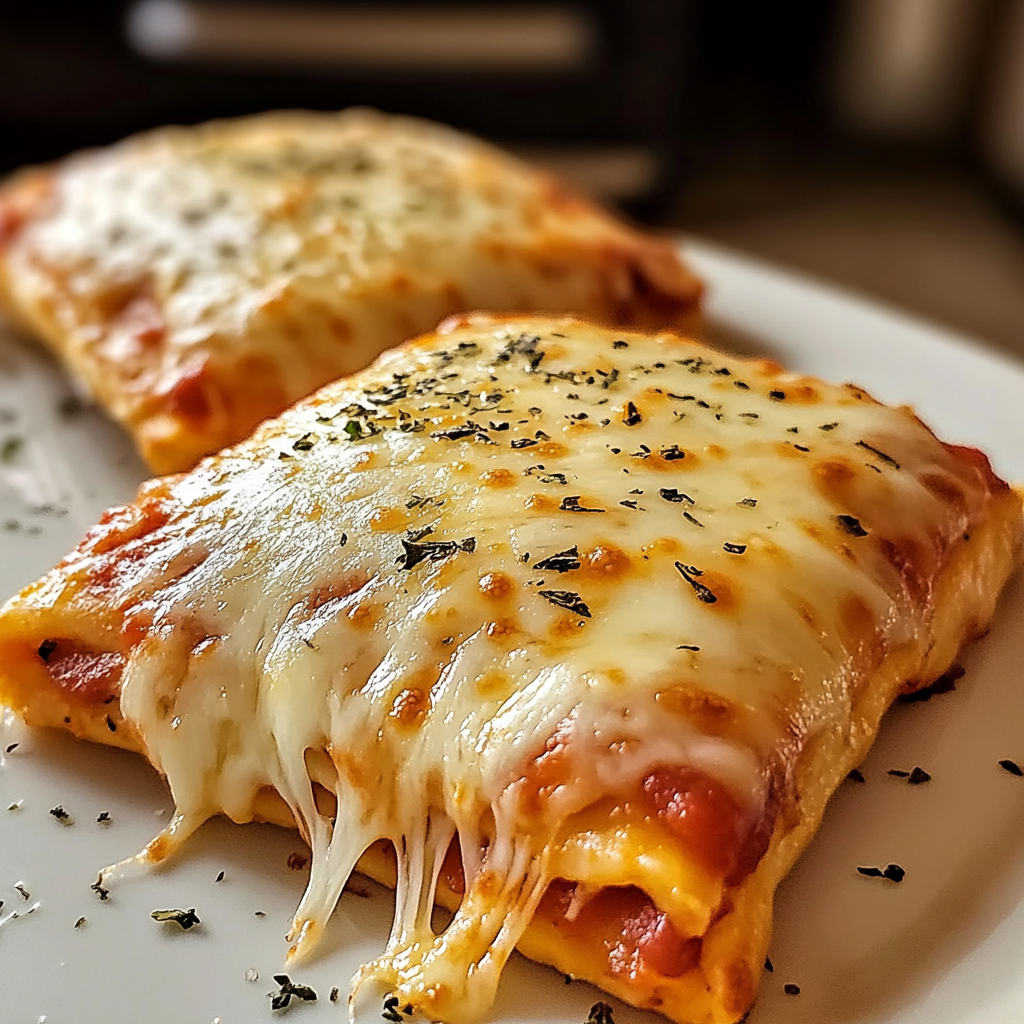
Easy Recipe for Cheesy Pizza Pockets
Ingredients
- Pizza dough (store-bought or homemade)
- Pizza sauce (or marinara sauce)
- Shredded mozzarella cheese
- Various pizza toppings (pepperoni, bell peppers, olives, mushrooms, etc.)
- Dried oregano
- Olive oil
- Cornmeal (for dusting, optional)
- Flour (for rolling out dough)
- Salt and pepper to taste
Instructions
- First things first, preheat your oven to 400°F (200°C). Line a baking sheet with parchment paper for easy cleanup—and if you want, dust it with a little cornmeal to give those pizza pockets a crispy bottom!
- If you’re using store-bought pizza dough (my go-to), take it out of the package and let it sit for about 5-10 minutes to relax. This makes it easier to roll out.
- On a floured surface, roll out the pizza dough into a large rectangle, or if you’re feeling generous, divide it into smaller sections for individual pizza pockets.
- Using a pizza cutter or knife, slice the dough into squares of about 4×4 inches. Think of them as little blank canvases waiting to be filled!
- Spread a tablespoon of pizza sauce onto the center of each square, being careful to leave a small border around the edges—this is where the magic happens!
- Sprinkle generously with shredded mozzarella cheese; you can never have too much cheese, right?
- Now, add your favorite toppings on top of the cheese. Go wild with your choices!
- Carefully fold the dough over to create a pocket. Press the edges tightly to seal, then use a fork to crimp them for extra flair and security.
- Place your pizza pockets on the prepared baking sheet.
- Brush the tops lightly with olive oil. This will help them get a delicious golden color in the oven.
- Finish off by sprinkling some dried oregano on top to enhance that classic pizza flavor!
- Now it’s time to bake these beauties! Pop them in the oven for about 15-20 minutes or until they’re golden-brown and the cheese is extra bubbly.
- Once they’re out of the oven, let them cool for a few minutes before you dive in. You don’t want to burn your mouth on deliciousness!
- Cut them in half if you like, and serve them warm with extra pizza sauce for dipping. Enjoy your gooey, cheesy snack!
Practical Tips for Making the Best Pizza Pockets
- If you want crispier pockets, bake them a few extra minutes until they reach your desired golden color.
- Store any leftover pizza pockets in an airtight container in the fridge and enjoy them within 2-3 days. You can even reheat them in the oven for that fresh-baked taste!
- If you want to freeze some, wrap them tightly in plastic wrap and store them in a freezer bag. They can last for up to 3 months—just remember to thaw them overnight before baking!
- Feel free to experiment with different sauces like pesto, BBQ sauce, or even ranch for a flavor twist!
Equipment Needed
Before you start cooking, here’s a quick list of handy equipment you’ll need:
- A baking sheet lined with parchment paper
- A rolling pin for rolling out the dough
- A pizza cutter or a sharp knife for slicing
- A mixing bowl if you’re making your own pizza sauce or dough
- A pastry brush for applying olive oil
- A fork for crimping the edges
Frequently Asked Questions
- Can I use other kinds of cheese? Absolutely! Cheddar, provolone, or even a blend of cheeses work fantastic!
- What if I don’t have pizza sauce? No worries! Marinara, homemade tomato sauce, or even just a smear of pesto makes a great alternative.
- Can these pizza pockets be baked in an air fryer? Yes! Bake at 375°F (190°C) for about 10-12 minutes for a crispy finish.
- What are the best toppings to use? The sky’s the limit! Try pepperoni, veggies, or cooked sausage, or even experiment with unusual toppings like artichokes!
- Can I make these ahead of time? Sure! Prepare them, seal them well, and store them in the fridge before baking. Just add a few extra minutes to the baking time if they’re chilled.
Let’s Get Cooking!
Now that you have all the info you need, it’s time for you to make these delicious cheesy pizza pockets! I’d love to know how they turn out for you. Feel free to share your delicious creations on Pinterest and let’s spread the joy of cooking together! Happy snacking!
