Welcome to Your New Favorite Dish: Japanese Katsu Bowls!
Hey there, food lover! Let me ask you a question: what’s better than a delicious bowl of crispy, savory katsu? It’s a treat that feels like a restaurant experience right in your kitchen! Trust me, once you’ve made this Japanese Katsu Bowl at home, you might just find it’s better than takeout. I’m excited to share this recipe with you, complete with tips and variations, so let’s dive in!
Why You’ll Love This Katsu Bowl
This katsu bowl comes together easily and will leave everyone raving about your cooking skills. The juicy fried pork (or chicken, if that’s your jam) is balanced perfectly with fluffy jasmine rice and topped off with tangy tonkatsu sauce. It’s like a little party in a bowl! Plus, you get to customize it to your liking. Ready? Let’s get cooking!
Nutritional Benefits of Katsu Bowls
One of the great things about making Katsu Bowls at home is knowing exactly what goes into it. The protein from the pork or chicken helps keep you full, while the rice gives you that wonderful energy boost. If you want to make it even healthier, consider using chicken breast instead of pork. With the freshness of the green onions and nori, and the addition of sesame seeds, you’re not just treating yourself—you’re also getting a bit of nutrition!
Fun Variations to Consider
This recipe is super flexible! Here are a few ideas to change things up:
- Swap the Meat: Try using chicken breasts for a lighter option. You could also experiment with tofu for a vegetarian twist!
- Switch the Rice: If jasmine rice isn’t your thing, brown rice or quinoa could work, adding some extra fiber and nutrients.
- Add Veggies: You can throw in some shredded carrots, pickled radish, or steamed broccoli on top of the rice for added crunch and color!
Your Delicious Katsu Bowl Recipe
Ingredients
- 2 boneless pork chops (or chicken breasts for a variation)
- Salt and pepper to taste
- 1 cup all-purpose flour
- 2 large eggs, beaten
- 1 cup panko breadcrumbs
- Vegetable oil (for frying)
- 2 cups cooked jasmine rice (or sushi rice)
- 1/4 cup tonkatsu sauce
- 2 tablespoons mayonnaise (preferably Japanese Kewpie mayo)
- Nori seaweed, cut into strips (for garnish)
- Green onions, finely chopped (for garnish)
- Sesame seeds (optional, for garnish)
Instructions
- Prepare the Rice: Cook your jasmine or sushi rice according to the package instructions. Once done, fluff it with a fork and set it aside.
- Prepare the Pork: Pat the pork chops dry using a paper towel, then season both sides with salt and pepper.
- Set Up Your Breading Station: In three shallow dishes, place flour in the first, beaten eggs in the second, and panko breadcrumbs in the third.
- Coat the Pork: Dredge each pork chop in flour, shake off the excess, dip it into the eggs, and finally coat with panko breadcrumbs. Press gently to help the crumbs stick.
- Heat the Oil: In a large skillet, pour in about 1/2 inch of vegetable oil and heat it over medium-high until hot (around 350°F / 175°C).
- Fry the Pork: Add the breaded pork chops carefully to the hot oil. Fry for about 4–5 minutes on each side until they’re golden brown and cooked through—aim for an internal temperature of 145°F (63°C).
- Drain and Slice: Once cooked, transfer the pork to a paper towel-lined plate to drain. After a few minutes, slice them into strips.
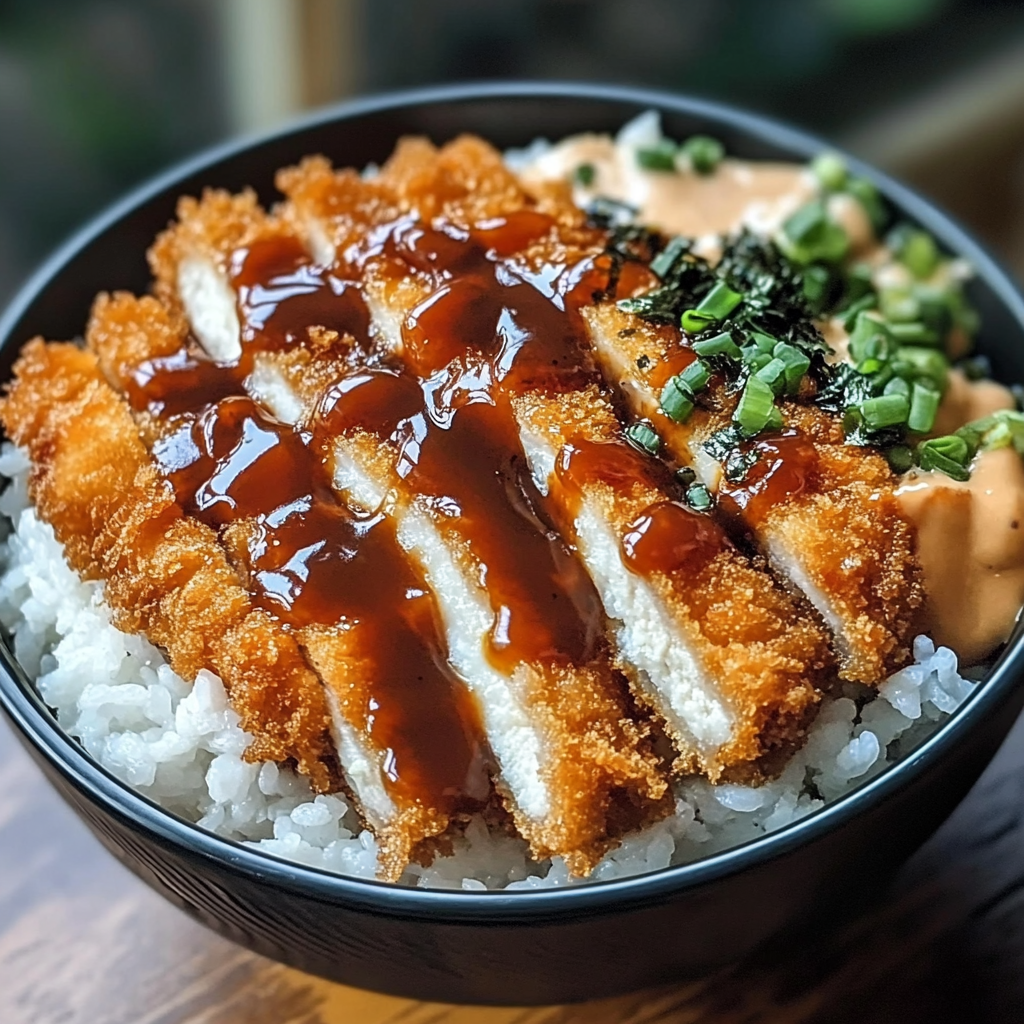
- Assemble the Bowl: Start with a generous portion of cooked rice as your base in a serving bowl. Layer the sliced tonkatsu on top.
- Add the Sauces: Drizzle tonkatsu sauce generously over the pork, then add a light drizzle of mayonnaise.
- Garnish: Top with nori strips and chopped green onions, and sprinkle sesame seeds on top if you want a little crunch.
- Serve: Dig into your delicious homemade Katsu Bowl right away, enjoying every crispy, savory bite!
Practical Tips for Success
- Make sure oil is hot enough before adding the pork to get that perfect crispy coating!
- If you have leftovers, store the pork and rice separately to keep everything fresh. You can reheat them easily in the microwave!
- Don’t forget to let the pork rest after frying. It helps retain those juices for a succulent bite!
Equipment Needed
Here’s everything I recommend having on hand before you get started:
- A large skillet or frying pan for frying
- A shallow dish for each step in the breading process
- A meat thermometer (helpful if you’re unsure about the pork’s doneness)
- A spatula or tongs for handling the pork
- A serving bowl for assembling your katsu bowl
Frequently Asked Questions
- Can I use chicken instead of pork? Absolutely! Chicken breasts work great for this recipe, giving you a leaner option.
- What sauce can I use besides tonkatsu? You might try sweet and sour sauce or even a spicy mayo for something different!
- How do I store the leftovers? Keep the pork and rice in the fridge separately in airtight containers for up to 3 days.
- Can I make this gluten-free? You can use almond flour or a gluten-free breadcrumb alternative for the coating.
- Can I bake the katsu instead of frying? While frying gives it that perfect crunch, you can bake it at 425°F (220°C) for about 20-25 minutes, turning halfway for even cooking.
So, how did your Katsu Bowl turn out? I’d really love to hear your thoughts and any fun variations you tried! Feel free to share your creations and follow me on Pinterest where I post more delicious recipes to inspire your inner chef!
