My Favorite Buttery Glazed Cookies Recipe – Soft, Sweet, and Totally Irresistible!
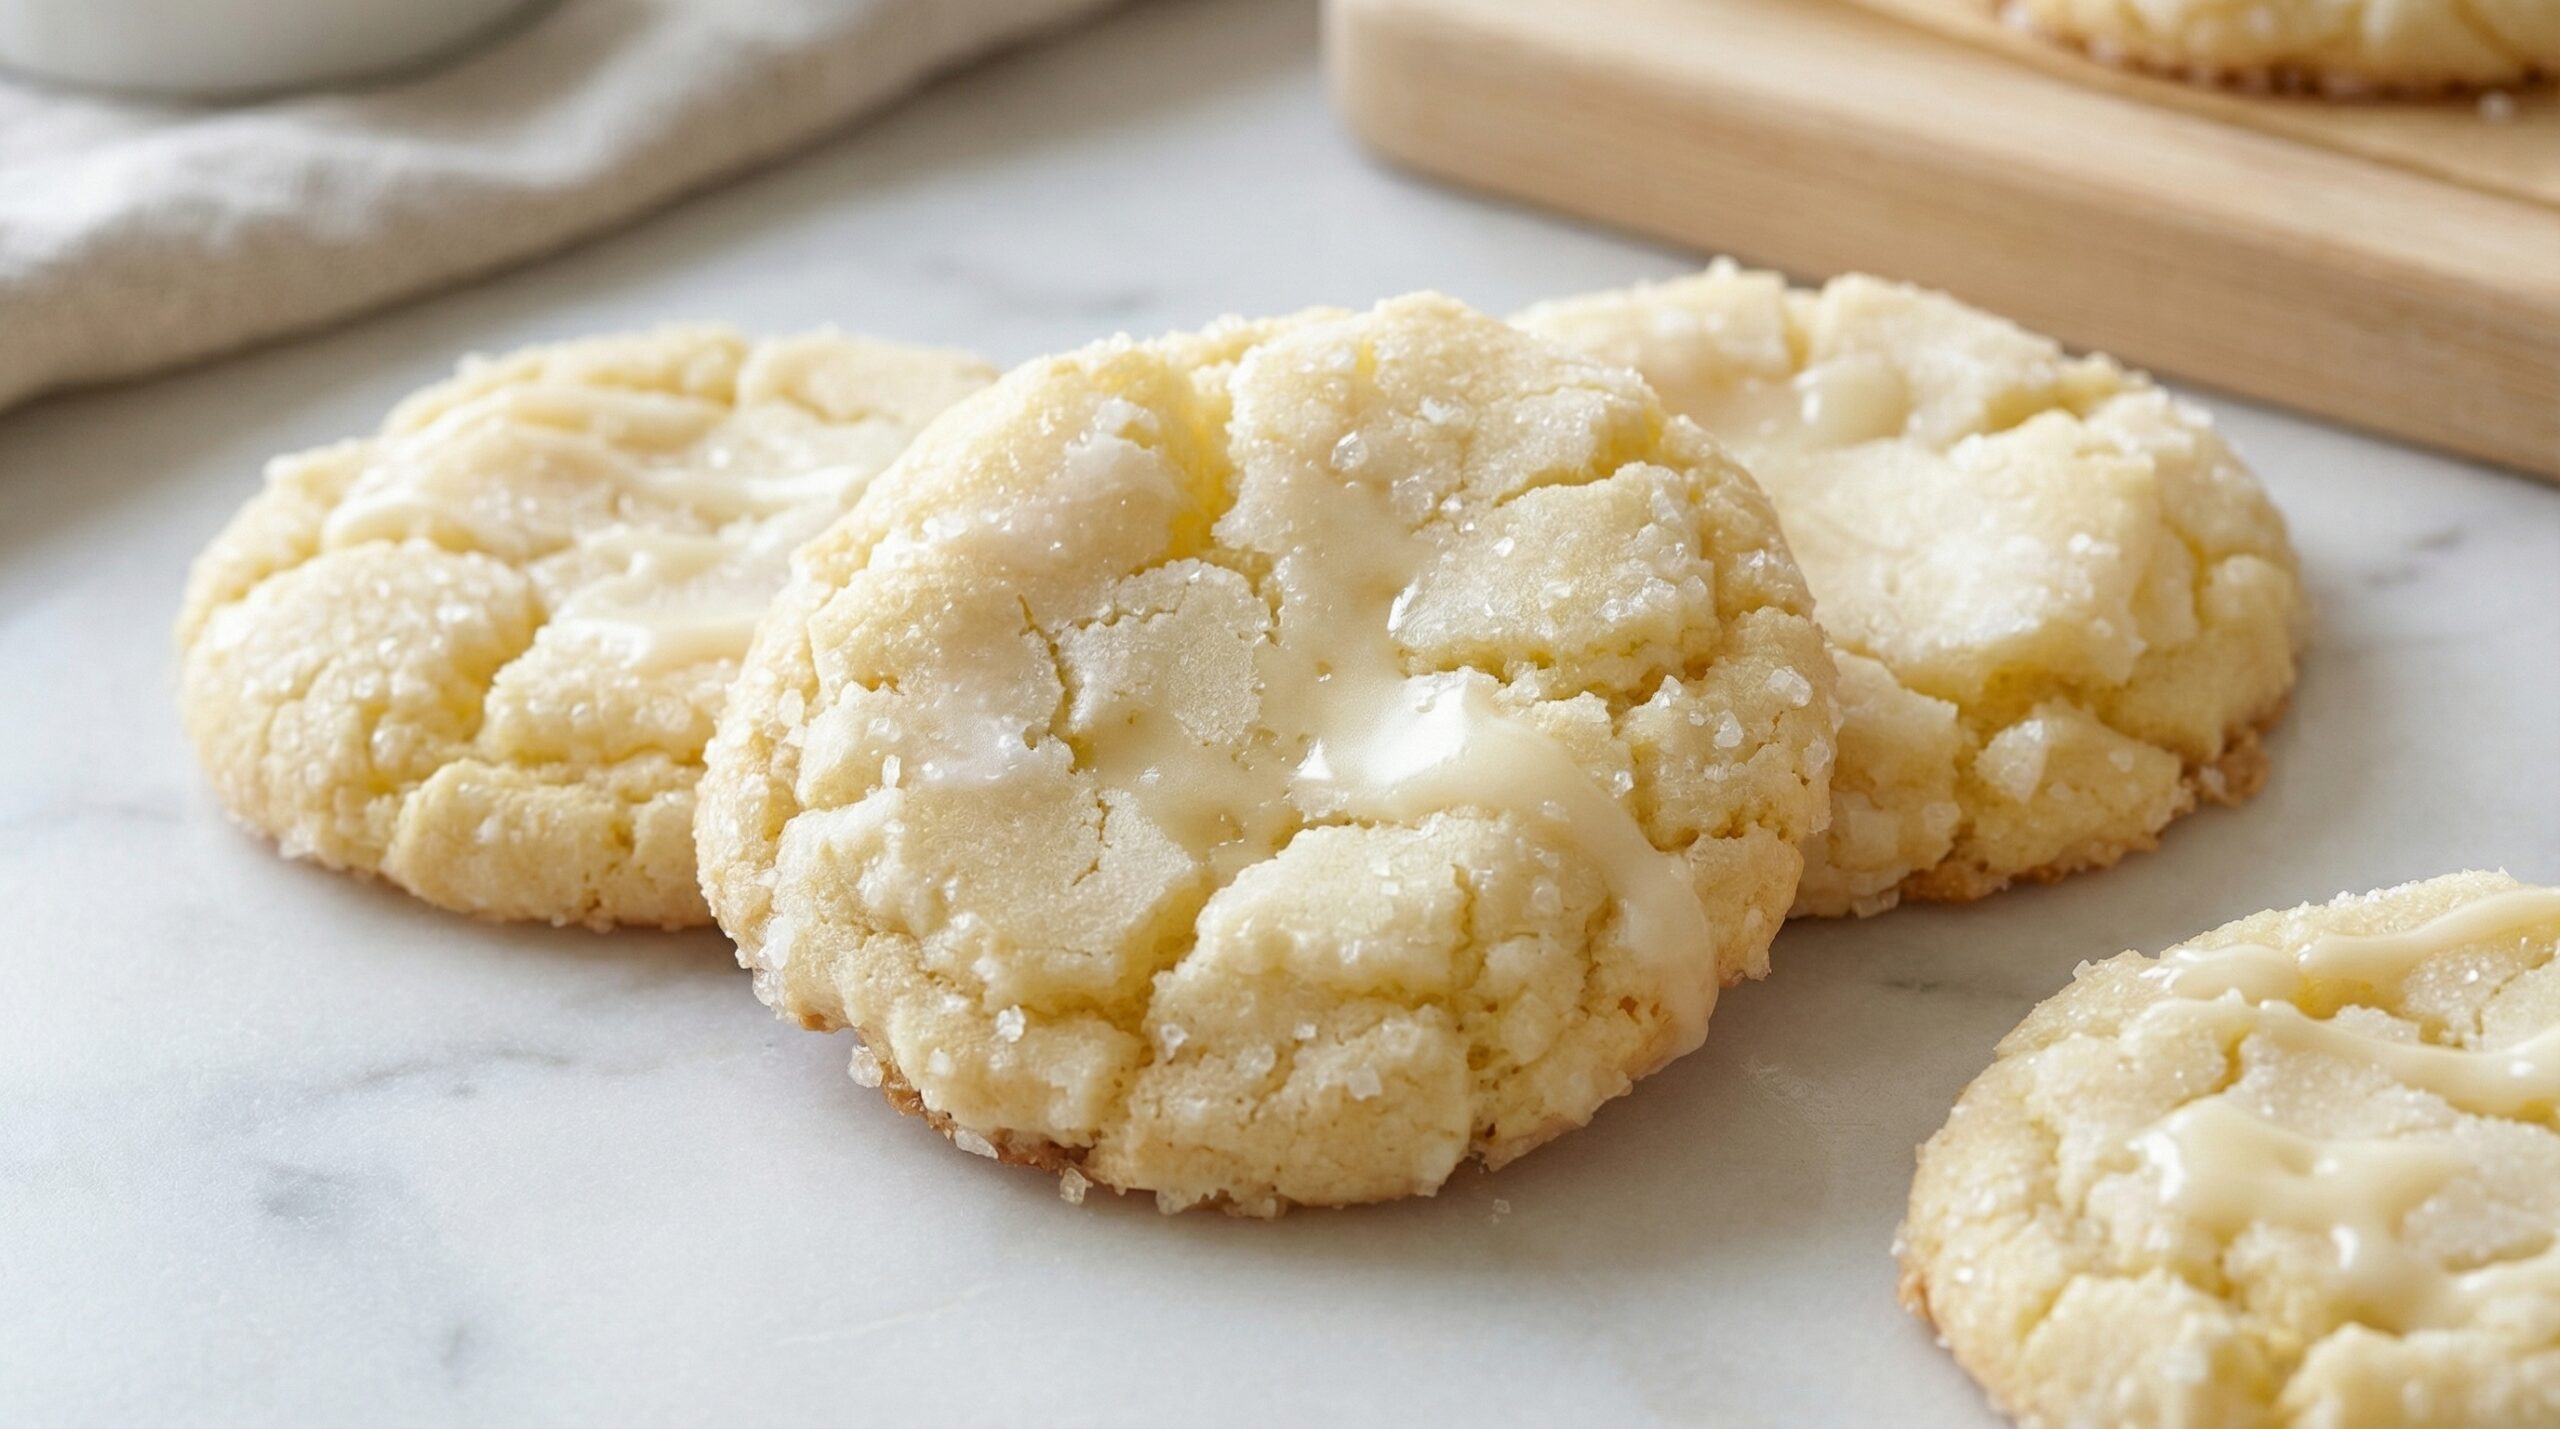
Hi there! If you’re anything like me, you love biting into a soft, buttery cookie that just melts in your mouth—especially when it’s topped with a sweet glaze. These glazed cookies have quickly become one of my go-to recipes whenever I want a simple treat that feels a bit special. They’re soft and pillowy, with a delicate crackled top and that delightful sugary glaze that adds the perfect touch of sweetness.
Plus, they’re surprisingly easy to whip up, and you probably have most of the ingredients at home already. I can’t wait for you to try them and tell me what you think!
Nutritional Benefits: Why These Cookies Are a Cozy Treat
Alright, let’s be honest—these cookies are more about indulgence and comfort than “health food,” but there’s still some good stuff packed in. The butter gives you some essential fats which help your body absorb vitamins, and eggs add a boost of protein to give you a bit more staying power than your average sweet snack. Using a mix of brown and granulated sugar adds a nice depth of flavor without feeling overwhelming.
If you want a little extra, try baking them with a splash of milk or buttermilk for added calcium and creaminess, which also makes the cookies softer and more tender.
Adaptable Variations – Make Them Yours!
- Go Nutty: Add 1/2 cup chopped pecans or walnuts right into the dough for a lovely crunch.
- Citrus Zing: Stir in a teaspoon of lemon or orange zest to the dough for a fresh twist on sweetness.
- Dairy-free Option: Swap the butter for coconut oil or a vegan butter substitute and use almond milk or oat milk for the glaze instead of dairy milk.
- Gluten-free Version: Substitute the flour with a 1-to-1 gluten-free baking flour blend. Just make sure it includes xanthan gum for the right texture!
- Extra Gooey: Add an extra tablespoon of milk to the dough for a super soft cookie that almost feels like a cookie and cake hybrid.
Step-by-Step Buttery Glazed Cookies Recipe
Ingredients
- 1 cup (2 sticks) unsalted butter, softened
- 1 cup granulated sugar (plus extra for rolling)
- 1/2 cup packed brown sugar
- 2 large eggs
- 2 teaspoons vanilla extract
- 3 cups all-purpose flour
- 1 teaspoon baking powder
- 1/2 teaspoon baking soda
- 1/2 teaspoon salt
- 2-4 tablespoons milk or buttermilk (optional, for moisture)
For the Glaze
- 4 tablespoons unsalted butter
- 1 cup powdered sugar
- 1 teaspoon vanilla extract
- 1-2 tablespoons milk or heavy cream (to thin glaze if needed)
Instructions
- Preheat your oven to 350°F (175°C) and line a couple of baking sheets with parchment paper.
- In a big bowl, cream the softened butter with the granulated and brown sugars using a hand mixer or stand mixer until light and fluffy—this usually takes about 3 to 5 minutes.
- Beat in the eggs one at a time, making sure each is fully mixed in before adding the next, then stir in the vanilla extract.
- In a separate bowl, whisk together the flour, baking powder, baking soda, and salt.
- Gradually add the dry ingredients into the wet mixture. Mix just until it all comes together — be careful not to overmix! If the dough feels stiff or dry, add milk or buttermilk one tablespoon at a time until it’s soft but manageable.
- Scoop the dough into 1.5-inch balls (I like using a cookie scoop for even sizes), then roll each ball in granulated sugar—it gives a nice crunch and pretty crackled look after baking.
- Place the coated dough balls on your prepared baking sheets, spacing them about 2 inches apart to give them room to spread.
- Bake for 10-12 minutes. You want the cookies to look set and crackled on top but still soft and pale—don’t overbake or they’ll dry out!
- While those are baking, make the glaze by melting the butter in a small saucepan over low heat. Take it off the heat and whisk in the powdered sugar, vanilla extract, and enough milk or cream to get a smooth, pourable glaze.
- Once the cookies come out of the oven, let them cool on the baking sheet for about 5 minutes. Then transfer them to a wire rack.
- Drizzle the glaze over the warm cookies using a spoon or piping bag. Let the glaze set before digging in—although I won’t blame you if you sneak a bite early!
Helpful Tips for Perfect Cookies
- Don’t overbake: The cookies will look a bit pale and soft but will firm up as they cool.
- Softening butter: Make sure your butter is softened—not melted—to get the right cookie texture.
- Rolling in sugar: This step gives the cookies a bit of crunch on the outside and those pretty crackles on top, so don’t skip it!
- Glaze consistency: If your glaze is too thick, add a tiny splash more milk; if too thin, sprinkle in a little more powdered sugar.
- Storage: Keep the cookies in an airtight container at room temperature to maintain their softness, and enjoy within 3-4 days for the best flavor.
Equipment You’ll Need
- Mixing bowls
- Electric mixer or stand mixer
- Measuring cups and spoons
- Cookie scoop or spoon for shaping dough balls
- Baking sheets lined with parchment paper
- Wire cooling rack
- Small saucepan for melting butter
- Spoon or piping bag for glazing
Frequently Asked Questions
- Can I use salted butter? You can, but reduce the added salt in the recipe a bit to avoid the cookies turning out too salty.
- Is the milk necessary? Not always! The milk or buttermilk helps create a softer texture, but if your dough feels fine, you can skip it.
- Can I skip the glaze? Totally! These cookies are delicious on their own. The glaze just adds an extra layer of sweetness and a pretty finish.
- How should I store leftover cookies? Keep them in an airtight container at room temperature. They stay soft and fresh for about 3-4 days. You can also freeze them if needed!
- Can I make the dough ahead? Yes! Wrap the dough tightly in plastic wrap and refrigerate for up to 48 hours before baking. Let it warm a little before scooping.
Give These Cookies a Try and Share Your Cookie Love!
I hope you’re as excited to make these buttery glazed cookies as I am to share them with you! They’re perfect for a cozy afternoon snack or to bring some warm sweetness to any gathering. When you do make them, don’t forget to snap a picture and share it on Pinterest or your favorite social media. I’d love to see how your batch turns out and hear any fun twists you try!
Happy baking and sweet treats!
