Welcome to the World of Mini Chocolate Cheesecake Bites!
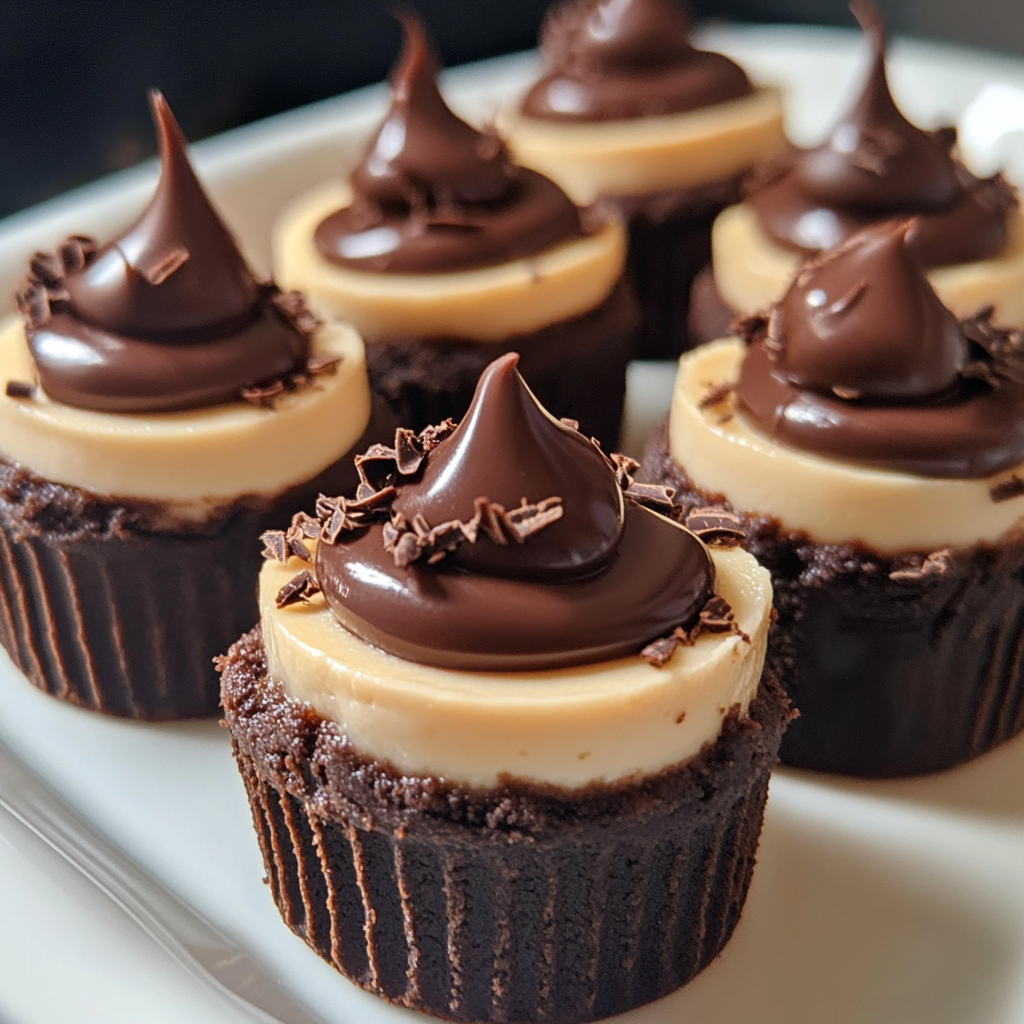
Hi there, dessert lovers! If you’re anything like me, you’re always on the lookout for delicious little treats that can brighten your day. Well, let me introduce you to these delightful Mini Chocolate Cheesecake Bites! They’re the perfect combination of chocolate cake and creamy cheesecake—easy to make and even easier to devour. Plus, they come in adorable bite-sized portions which makes them a hit at any gathering.
Nutritional Benefits of Mini Cheesecakes
While indulging in sweets is a delightful experience, it’s nice to know that you can enjoy treats like these Mini Chocolate Cheesecake Bites in moderation. Cream cheese provides some calcium, and you can easily switch to low-fat versions if you’re looking to cut down on calories. Plus, you get a boost of energy from the chocolate—definitely something to smile about when you need a pick-me-up!
Fun Variations You Can Try
- Swap that Chocolate: If you’re not a chocolate fanatic (gasp!), try using vanilla or red velvet cake mix instead for a unique twist.
- Diet-Friendly Options: Use almond or oat milk instead of heavy cream and lower fat cream cheese, and you’ll have a slightly lighter version.
- Supercharge with Flavor: Add different extracts or citrus zest, like lemon or orange, to the cheesecake filling for an extra zing!
Mini Chocolate Cheesecake Bites Recipe
Ingredients You Will Need
- 1 box chocolate cake mix
- 1 egg (for cake mix)
- 1/3 cup vegetable oil (for cake mix)
- 1 cup water (for cake mix)
- 8 oz cream cheese, softened
- 1/2 cup granulated sugar
- 1 teaspoon vanilla extract
- 1 large egg (for cheesecake filling)
- 1/2 cup sour cream
- 1/2 cup semi-sweet chocolate chips
- 1/2 cup heavy cream
- 1/2 cup powdered sugar
- Shaved chocolate (for garnish)
- Extra chocolate ganache (for topping)
Step-by-Step Instructions
- Let’s kick things off by preheating your oven to 350°F (175°C). Grab a mini muffin tin and line it with paper liners to make serving a breeze!
- In a large mixing bowl, combine the chocolate cake mix, 1 egg, vegetable oil, and water. Just mix it up until it’s all smooth. No lumps allowed!
- Pour that delicious batter into each mini muffin liner, filling them about 2/3 full.
- It’s baking time! Place them in the oven for about 10-12 minutes until a toothpick comes out clean. Once baked, let them cool completely in the tin.
- Now, let’s whip up that creamy cheesecake filling! In another bowl, beat the softened cream cheese until it’s nice and smooth.
- Add in the granulated sugar and vanilla extract, and mix until it’s well combined.
- Beat in 1 large egg and mix until everything is incorporated.
- Then, stir in that delicious sour cream and fold in the semi-sweet chocolate chips until they’re evenly distributed. Yum!
- Now that your mini chocolate cakes are cool, scoop about 1 tablespoon of that cheesecake mixture right on top of each cake. This is where they start to get fancy!
- Lower your oven temperature to 325°F (160°C) and pop these beauties back in for another 15-18 minutes, or until you see they’re set. Then remove them and let cool, because we want those flavors to meld!
- Onto the ganache! Heat the heavy cream in a small saucepan until it’s just about to simmer, then pour it over chocolate chips in a bowl. Let it sit for a couple of minutes and stir until it’s all silky smooth.
- Once your mini cheesecakes have cooled completely, top them off with a dollop of that lush chocolate ganache. If you’re feeling fancy, pipe some extra ganache on top!
- Lastly, sprinkle on some shaved chocolate for a touch of elegance before serving.
- For the best flavor experience, chill these mini bites in the fridge for at least 2 hours. Then, dig in and enjoy the bliss!
Helpful Tips for Success
- Ensure your ingredients are at room temperature for the best mixing results—cream cheese blends beautifully this way!
- Using cupcake liners helps with easy removal and cleanup. Plus, they look adorable!
- Try using a measuring spoon for the cheesecake filling to keep things uniform—everyone loves a perfectly portioned bite!
Equipment You’ll Need
- A mini muffin tin
- Parchment paper or mini cupcake liners
- Mixing bowls and a whisk
- Measuring cups and spoons
- A toothpick to check doneness
- A small saucepan for making ganache
Frequently Asked Questions
- Can I make these ahead of time? Yes! They hold up well in the fridge and can last for about a week—just store them in an airtight container.
- Can I freeze these cheesecake bites? Absolutely! Just wrap them tightly in plastic wrap and store them in a freezer-safe container for up to 2 months. Thaw in the fridge before serving.
- Can I use different flavors of cake mix? Yes! Feel free to experiment with different flavors—red velvet or vanilla would be amazing!
- How can I make them gluten-free? Use a gluten-free chocolate cake mix, and you’re all set!
- What should I do if the cheesecakes pop up while baking? Don’t worry too much! They may settle as they cool. Just make sure to check doneness with a toothpick. It’s a sign of deliciousness!
Join the Fun and Share! 🍰
I can’t wait for you to try making these mini treats! They’re perfect for parties, family gatherings, or just a little self-love moment at home. After you whip up your batch, I’d love to see your creations. Share your photos on Pinterest and tag me, so we can connect over our shared love for desserts! Happy baking!
