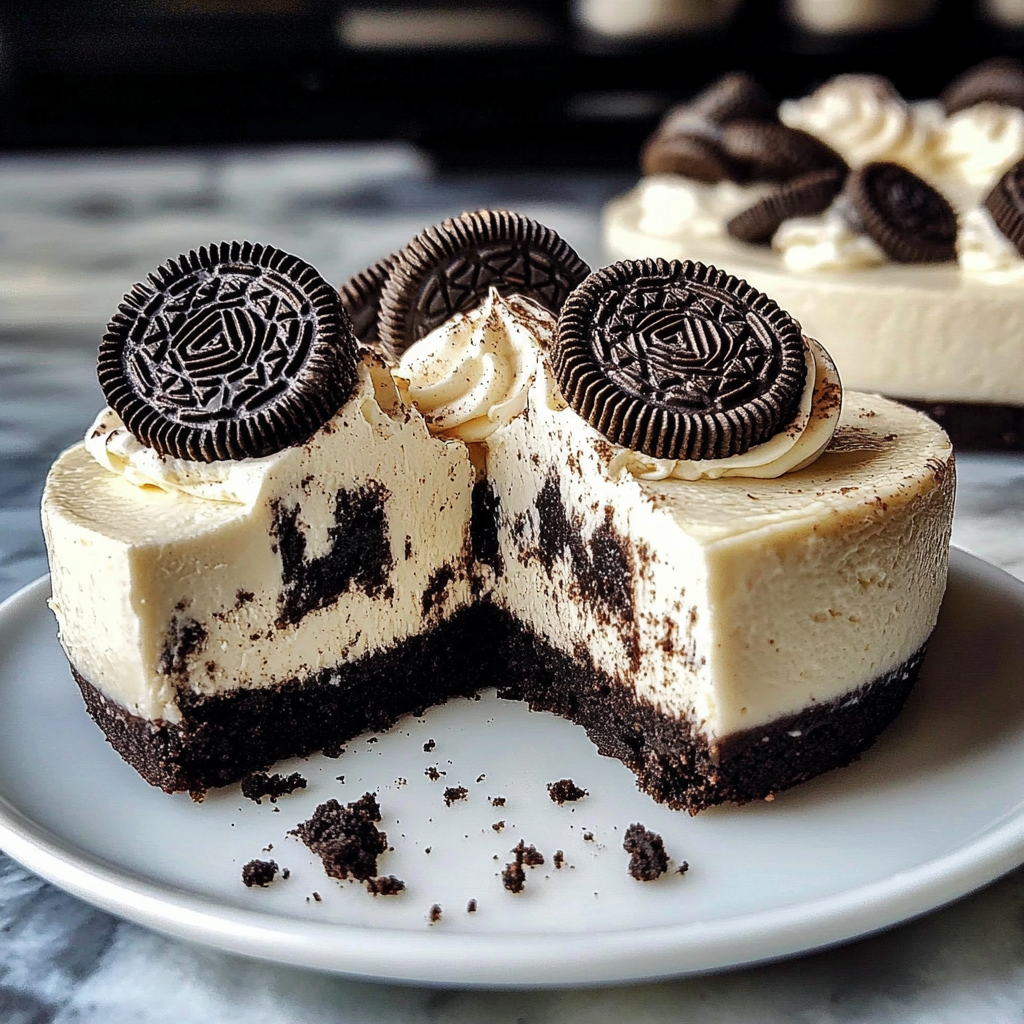
Welcome to the World of No-Bake Oreo Cheesecake!
Hey there, friend! If you’re anything like me, dessert is one of the best parts of any meal and this No-Bake Oreo Cheesecake is a total winner. It’s creamy, dreamy, and packed with that delicious Oreo flavor we all know and love. Plus, it’s no-bake, so you don’t even need to preheat the oven! Perfect for quick and satisfying desserts, right? Kitchen creativity without the hassle? Yes, please!
Nutritional Benefits of This Cheesecake
You might be surprised to know that even something like cheesecake can have its perks! Cream cheese provides calcium and protein, which are essential for strong bones and muscle development. While Oreos are a classic treat and not the healthiest option, you can control the sweetness and add in fun ingredients. For instance, you can use lighter whipped topping to reduce calories or sneak in some yogurt for added health benefits. Balancing indulgence and nutrition is key!
Creative Variations to Customize
Now, let’s get those creative juices flowing! Here are some fun variations to make this dessert even more exciting:
- Minty Fresh: Swap a few Oreos for mint-flavored ones for a refreshing twist!
- Fruit Fusion: Add a layer of your favorite fruits on top before chilling. Strawberries or raspberries would complement it beautifully!
- Nutty Delight: Fold in some crushed nuts for a bit of a crunchy texture in each bite.
Your Easy No-Bake Oreo Cheesecake Recipe
Ingredients
- 24 Oreo cookies (plus extra for garnish)
- 1/4 cup unsalted butter, melted
- 16 oz cream cheese (softened at room temperature)
- 1/2 cup granulated sugar
- 1 tsp vanilla extract
- 2 cups whipped cream or whipped topping
- 1/4 cup sour cream (optional for extra creaminess)
- Pinch of salt
Instructions
- Prepare the Oreo Crust: Start by crushing 24 Oreo cookies into fine crumbs using a blender or food processor. Mix the cookie crumbs with the melted butter in a bowl until everything is coated. Press this mixture firmly into the base of a 9-inch springform pan to create a nice crust.
- Set it! Place your crust in the refrigerator so it can firm up while working on the filling.
- Make the Cheesecake Filling: In a large bowl, beat the softened cream cheese until it’s smooth. Add sugar, vanilla extract, and a pinch of salt, and continue mixing until well incorporated. Gently fold in your whipped cream (and sour cream, if using) until everything is airy and fluffy.
- Bring it Together: Remove the crust from the fridge, and pour your filling over the crust. Use a spatula to smooth it out. For extra fun, fold some chopped Oreos into the filling!
- Chill Time: Cover the springform pan and let it chill in the fridge for at least 4 hours or overnight. This helps the filling set perfectly.
- Final Touches: After it’s all set, carefully remove the cheesecake from the pan. Decorate the top with whipped cream, additional Oreo halves, or crushed cookies.
- Serve Up: Slice it up with a warm, sharp knife and enjoy! You’re going to love how delicious it is.
Practical & Valuable Tips
- Be sure to soften the cream cheese before mixing—that makes a smoother filling!
- Keep leftovers in an airtight container in the fridge. It’s even better the next day!
- If you’re prepping for a party, consider making individual cheesecakes in cupcake liners for fun personal servings!
Equipment Needed
You’ll want these handy tools to make your cheesecake:
- A blender or food processor to crush the Oreos
- A mixing bowl for the filling
- An electric mixer to whip that cream cheese
- A 9-inch springform pan for easy removal
- A spatula for smoothing the filling
Frequently Asked Questions
- Can I use low-fat cream cheese? Yes! Feel free to substitute low-fat cream cheese to cut down on calories a bit.
- What if I’m out of whipped cream? You can use whipped topping or even make homemade whipped cream with heavy cream!
- How do I store leftovers? Keep it covered in the fridge, and it should be good for about 3-4 days.
- Can this be frozen? Absolutely! Just wrap it tightly and it can be frozen for up to a month. Thaw it in the fridge before serving.
- Can I add chocolate to the filling? Of course! A bit of melted chocolate adds a rich twist.
Share Your Delight!
I truly hope you try this No-Bake Oreo Cheesecake! It’s totally scrumptious and so easy to whip up. When you give it a go, I’d love to hear all about it! Snap a photo and share it on Pinterest so we can all drool over your creation. Happy baking!
