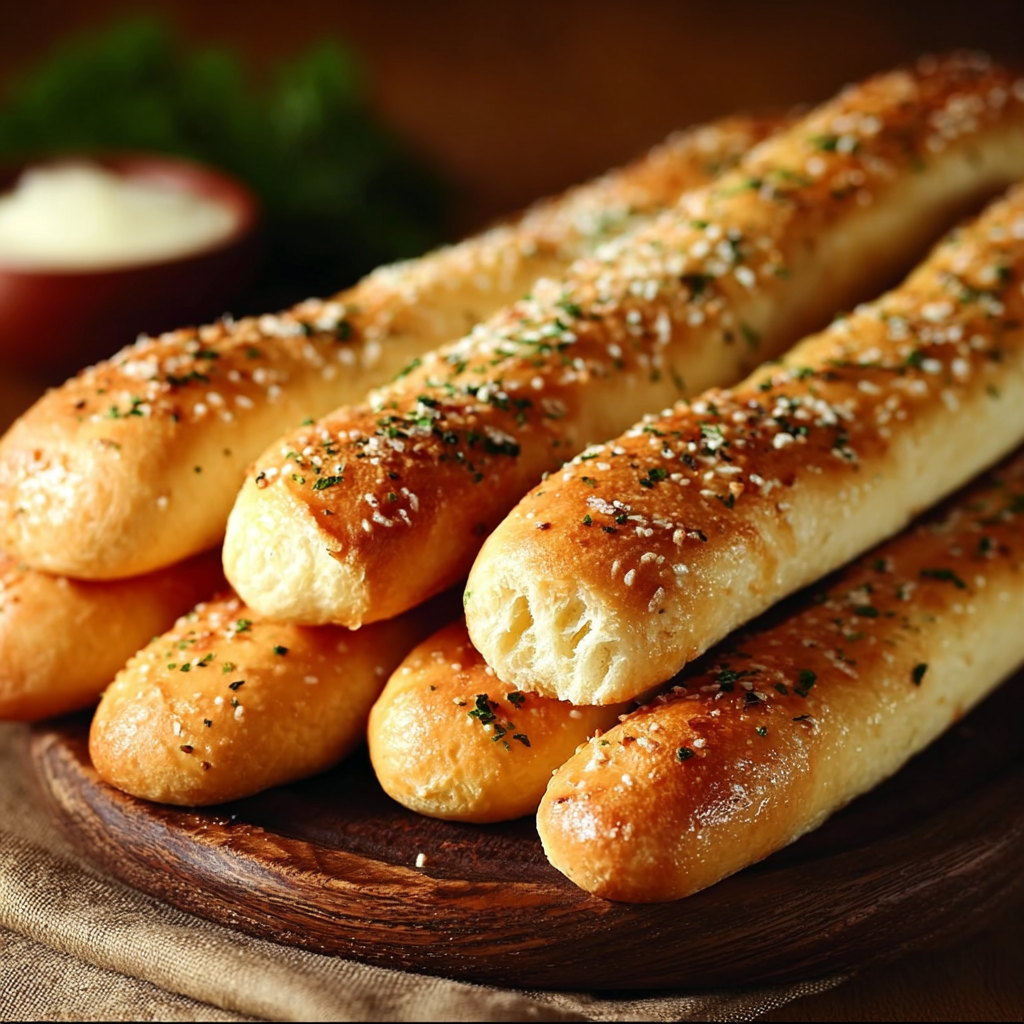
Enjoying Homemade Olive Garden Breadsticks
Hey there, bread enthusiasts! If you love those soft, buttery, garlic-infused sticks from Olive Garden (who doesn’t, right?), you’re in for a treat! I’m super excited to share this recipe with you because they’re simple to make and taste just like the real deal. Imagine pulling warm breadsticks out of the oven, brushing them with garlic butter, and devouring them until you’re completely stuffed. Are you ready? Let’s dive in!
Nutritional Benefits of Breadsticks
Now, I know breadsticks aren’t exactly a health food, but they can be a fun part of a balanced meal! The main ingredient here is flour which provides you with carbohydrates, giving you energy for your day. Plus, if you’re using butter, you’re getting some healthy fats! You can also boost the nutritional value by adding herbs that can support your immune system, like parsley. A little indulgence every now and then is totally okay, especially when it involves bread!
Adaptable Variations for Everyone
While the classic garlic flavor is my absolute favorite, there are tons of ways you can shake things up:
- Herbed Breadsticks: Try mixing in dried herbs like rosemary or thyme into the dough for an aromatic twist.
- Cheesy Delight: Add shredded cheddar or mozzarella to the dough for a cheesy pull with every bite!
- Gluten-Free Version: For a gluten-free take, use a gluten-free all-purpose flour mix. Just make sure it contains xanthan gum for structure.
- Onion Rolls: Mixing in some finely chopped green onions into the dough can create a yummy savory treat—perfect for topping off a bowl of soup.
- Flavor the Butter: Change up the garlic butter by adding some Italian seasoning or red chili flakes for a spicy kick!
Let’s Make Those Delicious Breadsticks!
Ingredients
- 2 cups warm water (110°F – 115°F)
- 1 packet (2 ¼ teaspoons) active dry yeast
- ½ cup granulated sugar
- ⅓ cup unsalted butter, melted (plus extra for brushing)
- 1 teaspoon salt
- 4 cups all-purpose flour
- 2 teaspoons garlic powder
- 1 teaspoon dried parsley (for topping)
- ⅓ cup grated Parmesan cheese (for topping)
Step-by-Step Instructions
- In a large mixing bowl, combine the warm water, active dry yeast, and granulated sugar. Let it sit for about 5-10 minutes, or until it becomes frothy. This means your yeast is doing its thing!
- Add the melted butter and salt to the yeast mixture, stirring gently to combine.
- Gradually, mix in the all-purpose flour, one cup at a time. You want a soft dough that isn’t too sticky.
- Knead the dough on a floured surface for about 5-7 minutes, or until it becomes smooth and elastic.
- Once kneaded, place your dough in a greased bowl, cover it with a clean kitchen towel, and let it rise in a warm location for about 1-2 hours, or until it doubles in size.
- Preheat your oven to 400°F (200°C) during the last 30 minutes of rising.
- After the dough has risen, punch it down (yay!) and divide it into equal sections (you should get around 12 pieces).
- Roll each piece into a long strip (about 6-8 inches) and place them on a parchment-lined baking sheet, spaced apart.
- Cover the breadsticks with a towel and let them rise again for about 30 minutes.
- Bake in the preheated oven for 12-15 minutes, or until golden brown and irresistible!
- While they’re baking, melt a couple of tablespoons of butter and mix in garlic powder to create that divine garlic butter.
- Once the breadsticks are out of the oven, immediately brush them with your garlic butter and sprinkle with Parmesan cheese and dried parsley.
- Serve hot, either on their own or with a side of marinara sauce—your choice!
Helpful Tips to Make it Shine
- If your dough feels too sticky, don’t be afraid to add a little more flour while kneading, but be careful not to overdo it. You want that chewy texture!
- To keep the breadsticks soft, cover them with a towel right after you’ve brushed them; this helps to keep the moisture in.
- These breadsticks are best served fresh, but if you have leftovers, store them in an airtight container at room temperature and reheat them in the oven to bring back the softness.
Gear You’ll Need
Here’s what you’ll want to have handy before you start:
- A large mixing bowl
- A whisk for mixing
- A clean kitchen towel
- A rolling pin (if you want to be fancy!)
- A baking sheet lined with parchment paper
Frequently Asked Questions
- Can I make these breadsticks in advance? Yes! You can prepare the dough and refrigerate it overnight before shaping. Just let it come to room temperature before proceeding.
- How do I know if my yeast is active? If the yeast mixture is bubbly and frothy after 5-10 minutes, it means your yeast is alive and kicking!
- Can I use whole wheat flour? Absolutely! Just substitute half the all-purpose flour with whole wheat flour for a healthier version.
- Will these freeze well? Yes! You can freeze baked breadsticks in an airtight container for up to 3 months. Just reheat them in the oven to make them soft again.
- What can I serve with these breadsticks? They pair wonderfully with marinara sauce, Alfredo sauce, or as a side to your favorite pasta dishes!
Join the Breadstick Madness
I can’t wait for you to try this recipe! Trust me, once you’ve made these, they’ll be your go-to breadstick whenever you’re craving something delicious. Let me know how they turn out! And hey, for more tasty recipes and fun cooking adventures, hop on over to Pinterest and follow me. Happy baking!
