Welcome to the World of Orange Creamsicle Cake!
Hey there, dessert lover! If you’re anything like me, there’s a special place in your heart for desserts that bring back childhood memories. Today, I’m excited to share a recipe that’s not just delicious but also takes you back to those sunny days when we’d indulge in the creamy, citrusy goodness of a creamsicle! This Orange Creamsicle Cake is light, refreshing, and bursting with orangey flavor. So, let’s gather our ingredients and get started!
Nutritional Benefits of Orange Creamsicle Cake
Now, hold on! Before you dive into this delectable treat, let’s talk about some of the good stuff. Oranges are not just for juicing; they’re packed with Vitamin C, which can boost your immune system and keep that skin glowing! This cake also includes milk and eggs, offering protein and calcium, which can be beneficial for bone health. While we want to enjoy our treats, it’s nice to know we’re getting some nutritional perks from them, right?
Fun Variations to Try
Feeling adventurous? Here are some ideas to customize your Orange Creamsicle Cake:
- Change Up the Citrus: Swap out the oranges for lemons or limes for a different zesty flavor. Just imagine a Lemon Creamsicle Cake!
- Gluten-Free Fun: Use a 1:1 gluten-free flour blend in place of all-purpose flour, and you can still enjoy this treat without gluten!
- Fruity Add-Ins: Some chopped fresh berries or even a layer of raspberry jam between the cake layers can add a fun twist.
- Dairy-Free Version: Substitute the butter with dairy-free margarine and use coconut milk or almond milk to cater to lactose intolerants.
Making Your Orange Creamsicle Cake
Ingredients
Let’s gather everything we need:
For the Cake:
- 2 cups all-purpose flour
- 1 ½ cups granulated sugar
- ½ cup unsalted butter, softened
- 1 cup whole milk
- 3 large eggs
- 2 teaspoons baking powder
- 1 teaspoon vanilla extract
- Zest of 2 oranges
- ¼ cup fresh orange juice
- A pinch of salt
For the Cream Filling:
- 1 cup heavy whipping cream
- ½ cup powdered sugar
- 1 teaspoon vanilla extract
For the Orange Cream Frosting:
- 1 cup unsalted butter, softened
- 4 cups powdered sugar
- ¼ cup fresh orange juice
- Zest of 1 orange
- A pinch of salt
For Decoration:
- Orange slices (for garnish)
- Fresh mint leaves (optional, for garnish)
- Additional powdered sugar (for dusting, optional)
Step-by-Step Instructions
- Preheat the Oven: Let’s set that oven to 350°F (175°C) and grease three 8-inch round cake pans with a bit of flour. This gives us a perfect cake every time!
- Prepare the Cake Batter: In a large mixing bowl, cream together the softened butter and granulated sugar until it’s light and fluffy. Then, add the eggs one at a time, making sure to mix well after each addition. Toss in your vanilla extract and the zesty orange zest for an amazing flavor boost!
- Combine Dry Ingredients: In another bowl, sift together the all-purpose flour, baking powder, and salt. This is going to help your cake rise beautifully!
- Mix Here Comes the Wet Ingredients: Gradually mix the dry ingredients into your butter mixture, alternating with the whole milk and fresh orange juice until everything is just combined. Remember—it’s okay if it’s a little lumpy; we don’t want to overmix!
- Bake It Up: Divide the batter evenly among the three pans. Bake for about 25-30 minutes, or until a toothpick comes out clean. Can you smell it? It’s going to be delightful! Let those cakes cool in the pans for about 10 minutes, then move them to wire racks to cool completely.
- Prepare the Cream Filling: In a medium bowl, whip the heavy cream until soft peaks form. Gradually add the powdered sugar and vanilla extract, whipping until you get those beautiful stiff peaks. This cream filling is such a treat!
- Make the Orange Cream Frosting: In a large bowl, beat that softened butter until it’s creamy. Slowly mix in the powdered sugar, fresh orange juice, and zest, adding a pinch of salt, until your frosting is smooth and spreadable.
- Assemble Your Cake: Time for the fun part! Place one cake layer on a serving plate and add a generous layer of that luscious cream filling. Add the second layer of cake and repeat. Top it all off with the final cake layer.
- Frost the Cake: Apply a thin layer of orange cream frosting all over the cake (this is called a “crumb coat”) to keep those crumbs in place. Chill for about 30 minutes to set. After chilling, coat the cake with a thicker layer of frosting, making it look all pretty!
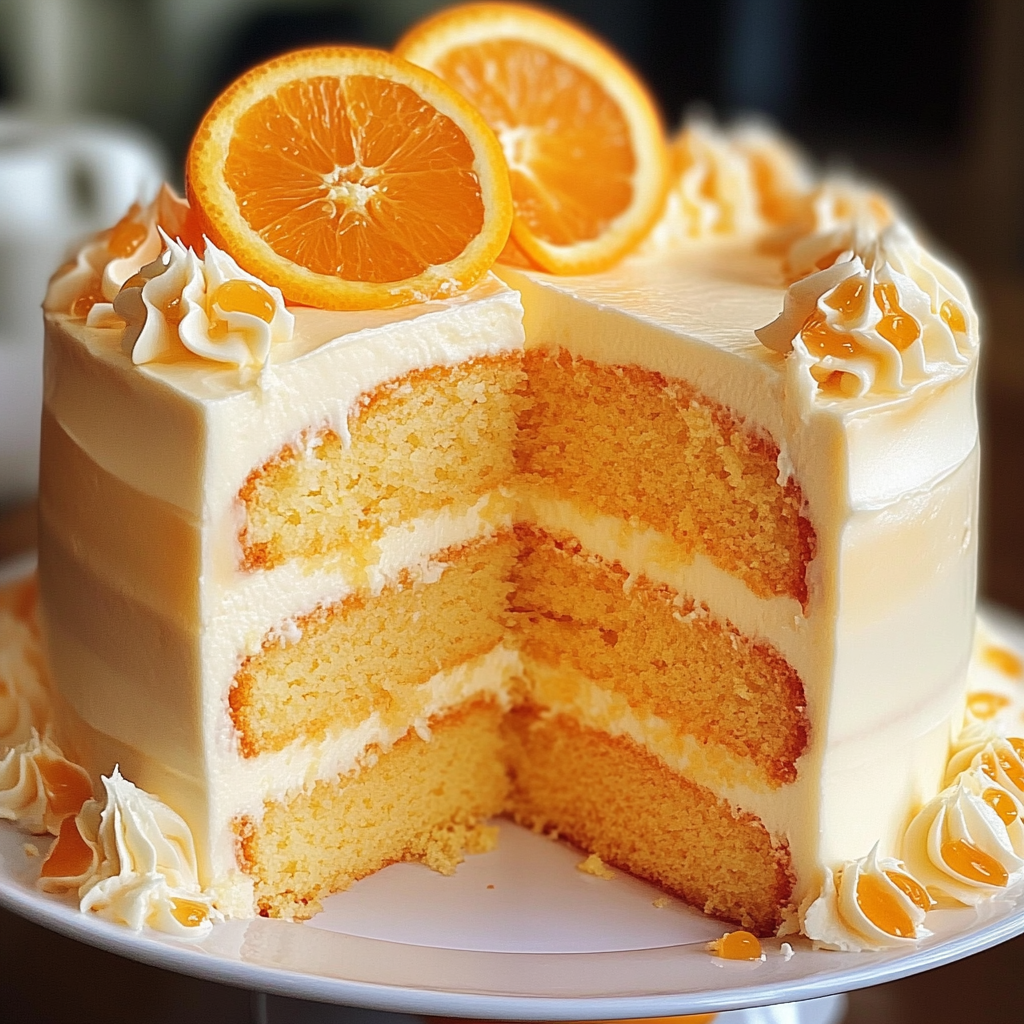
- Decorate: Grab your piping bag and create lovely swirls at the top. Garnish with orange slices and fresh mint leaves for a pop of color. Oh, and a dusting of powdered sugar never hurt anyone!
- Serve & Enjoy: Slice into those beautiful layers and serve immediately—or refrigerate until you’re ready to treat yourself. This cake is going to be the highlight of any gathering!
Practical & Valuable Tips
- Make sure all your ingredients are at room temperature. This helps with even mixing and baking!
- If you’ve made a lot of cake, you can freeze the layers—wrap them well in plastic wrap and they’ll last for up to 3 months.
- The cream filling can be made a few hours ahead of time, just keep it chilled until you are ready to use it.
- If you want a stronger orange flavor, add an extra teaspoon of zest in the frosting!
- Store leftovers in an airtight container in the refrigerator for up to 5 days (if it lasts that long, of course!).
Equipment Needed
Here’s a quick checklist of tools to help you bake this beauty:
- Three 8-inch round cake pans
- A large mixing bowl
- A whisk and rubber spatula
- An electric mixer (so you don’t have to do all that whipping by hand!)
- A piping bag (optional, but great for decoration)
- Wire cooling racks
- A toothpick (for checking doneness—don’t forget this one!)
Frequently Asked Questions
- Can I use bottled orange juice? Sure, but fresh juice really makes a difference in flavor! If you can, go fresh!
- How do I know when the cakes are done? Insert a toothpick in the middle; it should come out clean or with a few moist crumbs, but no wet batter.
- Can I make this cake a day in advance? Yes! Just frost it the day you plan to serve, to keep it fresh.
- Can I convert this to a smaller cake? Absolutely! You could use smaller pans and adjust the baking time accordingly. Just keep an eye on it!
- What’s the best way to store leftovers? Keep them in an airtight container in the fridge. If you separate the layers with parchment, that helps too!
Join the Sweet Journey!
I hope you’re as excited to make this Orange Creamsicle Cake as I am! It’s a delightfully cheerful treat that’s perfect for gatherings or even just a cozy night in. If you create this scrumptious cake, I’d love to see your creation! Share your photos and experiences on Pinterest and let’s spread the joy of baking together. Happy baking!
