Welcome to the World of Mini Indulgence!
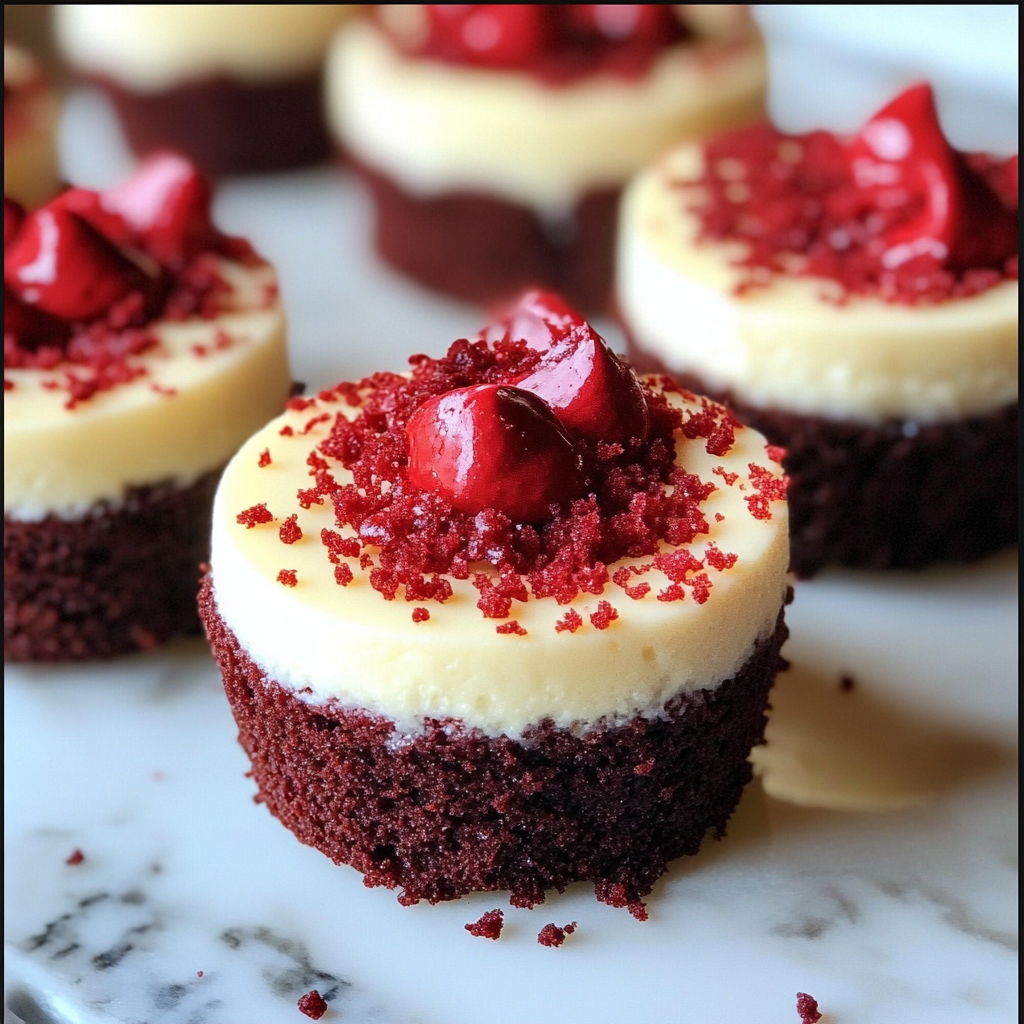
Hello, fellow dessert lover! If you’ve been searching for something both rich and cute, let me introduce you to my delicious Red Velvet Brownie Bottom Mini Cheesecakes. Honestly, these bite-sized treats are a little piece of heaven that will have you craving more. Just imagine the chewy brownie base, topped with that dreamy, creamy cheesecake—yum! Plus, they’re perfect for parties, gifts, or just a little self-indulgence, you know? Let’s dive right into this delightful recipe!
Nutritional Benefits of Red Velvet Cheesecakes
While we all know these mini cheesecakes are a special treat, let’s talk about some of the benefits you can still enjoy. The brownie layer gets its color and flavor from cocoa powder, which has antioxidants—great for heart health! And with some creative swaps, you can make aspects of this recipe a little healthier, like using reduced-fat cream cheese or yogurt in the cheesecake layer. Just remember, everything in moderation, right?
Adaptable Variations to Consider
- Gluten-Free Option: Use gluten-free flour in the brownie layer to make these gems safe for your gluten-sensitive friends.
- Dairy-Free Delight: Swap out the cream cheese for a plant-based cream cheese alternative and use almond or oat milk. Easy peasy!
- Flavor Twists: Why not throw in some mint extract or a splash of orange zest to the cream cheese mixture for a refreshing twist? Endless possibilities!
Recipe: Red Velvet Brownie Bottom Mini Cheesecakes
Ingredients – red velvet brownie bottom mini cheesecakes
For the Brownie Base:
- 1/2 cup unsalted butter, melted
- 1 cup granulated sugar
- 1 large egg
- 1 teaspoon vanilla extract
- 1/2 cup all-purpose flour
- 1/3 cup cocoa powder
- 1/4 teaspoon salt
- 1 tablespoon red food coloring (optional)
For the Cheesecake Filling:
- 8 oz cream cheese, softened
- 1/4 cup granulated sugar
- 1 large egg
- 1 teaspoon vanilla extract
Instructions
- Preheat your oven to 325°F (160°C) and line a muffin tin with paper liners.
- In a mixing bowl, combine the melted butter and sugar. Whisk in the egg and vanilla until smooth.
- Now, gently fold in the flour, cocoa powder, salt, and food coloring (if using) until well blended.
- Divide the brownie batter evenly among the muffin liners, filling each about halfway—around 2 tablespoons should do.
- In another bowl, beat together the cream cheese and sugar until smooth. Add the egg and vanilla extract, mixing until just combined.
- Pour the cheesecake mixture on top of the brownie layer in each muffin cup, filling them almost to the top.
- Bake for 20-25 minutes or until the cheesecakes are set but slightly jiggly in the center. Let them cool in the pan, then once cool enough, transfer them to the fridge to chill for at least 2 hours.
- Serve chilled and enjoy these sweet little bites!
Handy Tips for Your Baking Adventure
- Make sure your cream cheese is at room temperature before starting. This helps avoid lumps in your cheesecake mix.
- Let the cheesecakes cool completely in the muffin tin before moving them to the fridge, so they set nicely.
- Once completely cooled, sprinkle a little cocoa powder or crushed cookies on top for extra flair!
- For the best texture, don’t over-bake the mini cheesecakes. They should be set around the edges but still soft in the center.
- Store leftovers in an airtight container in the fridge for up to 3 days. If they last that long!
Equipment You’ll Need – red velvet brownie bottom mini cheesecakes
Here’s a quick list so you can gather what you need before we start baking:
- Oven
- Muffin tin (with paper liners)
- Mixing bowls
- Whisk or electric mixer
- Measuring cups and spoons
- Spatula
Frequently Asked Questions
- Can I use low-fat cream cheese? Yes! Low-fat cream cheese works well as a substitute, reducing the calories slightly.
- How do I know when they are done baking? They should be mostly set, with a slight jiggle in the center—this means they’ll firm up while cooling.
- Can I freeze these mini cheesecakes? Absolutely! Freeze them in an airtight container for up to 2 months. Just thaw them overnight in the fridge before serving.
- Can I substitute the red food coloring? Yes! You can skip it for a classic brownie look or use beet juice for natural coloring.
- Can I double the recipe? Sure! Just make sure to use a bigger muffin tin or bake them in batches for the best results.
Let’s Connect – red velvet brownie bottom mini cheesecakes !
Did you whip up these delightful mini cheesecakes? I’d love to hear about your baking experience! Share your lovely creations with me, and don’t forget to follow me on Pinterest for more delicious recipes and sweet inspirations. Happy baking!
