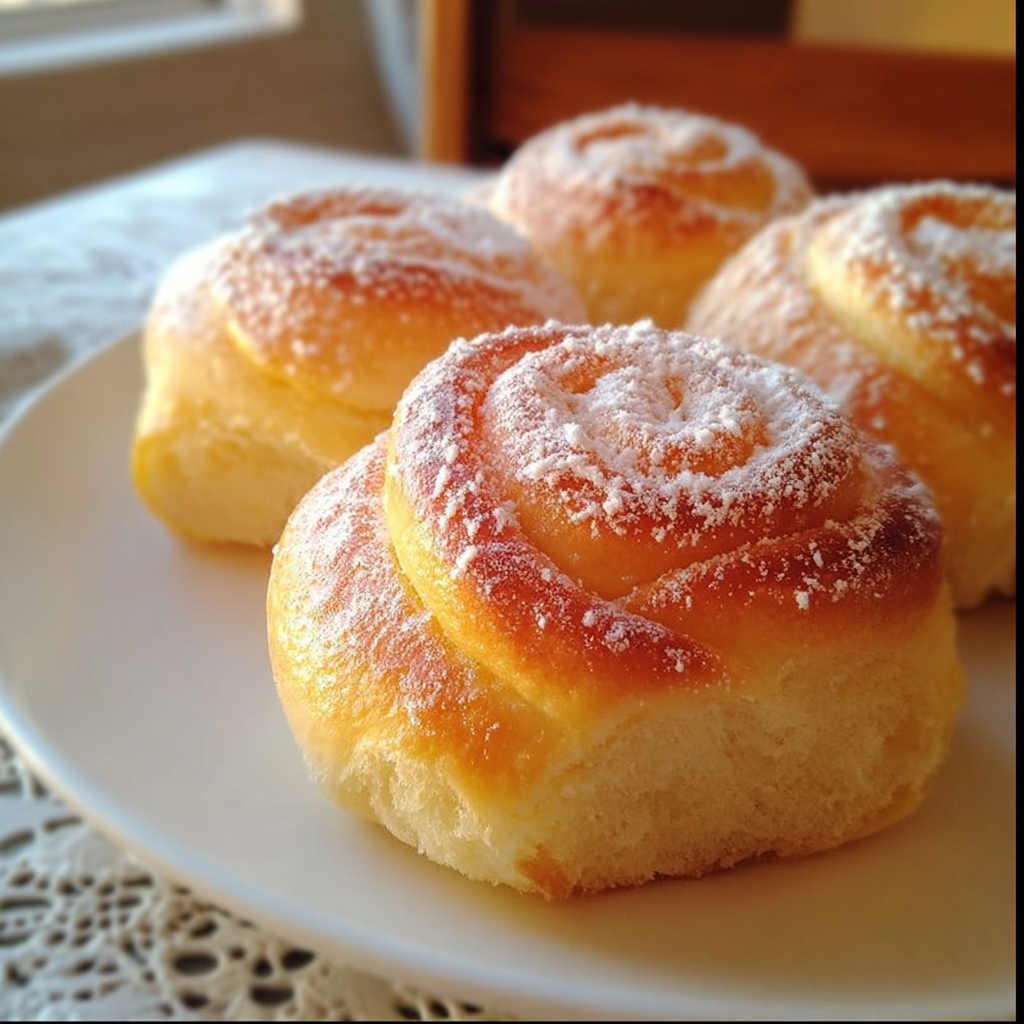
Hi there! If you’re anything like me, nothing beats the smell of fresh, soft, and sweet rolls baking in the oven. These homemade sweet rolls are a total game-changer—fluffy, rich, and just the right little sweet touch from powdered sugar on top. I love making them for weekend breakfasts or to share with friends because, honestly, they’re a guaranteed crowd-pleaser. Plus, making them yourself is easier than it looks, and the result is so satisfying!
Nutritional Benefits of Sweet Rolls
Now, I’ll be honest—these are definitely a treat rather than a health food, but they can still offer some nutritional benefits depending on how you enjoy them.
The eggs and milk in the dough add protein and some essential vitamins like B12 and calcium, which are great for your bones and muscles. Using whole milk gives you a bit more creaminess and nutrients over skim milk, and the butter adds richness and vitamin A. Of course, the sugar adds sweetness, so these rolls are best enjoyed in moderation as part of a balanced diet.
If you want a little boost, try adding some nuts or dried fruit into the dough to add fiber, healthy fats, and extra flavor!
Adaptable Variations You Can Try
- Make It Vegan: Replace the milk with a plant-based milk like almond or oat milk warmed to the right temperature, swap eggs with flax eggs (1 tbsp ground flaxseed + 3 tbsp water, let sit for 5 minutes) and use vegan butter or coconut oil. Your rolls will still come out soft and delicious!
- Add Cinnamon Sugar Swirl: Before rolling up your dough, sprinkle a mixture of cinnamon and some extra sugar onto the flattened dough for a cozy cinnamon roll twist.
- Glaze Instead of Powdered Sugar: If you want a little extra sweetness, drizzle a simple glaze made from powdered sugar and milk over the warm rolls instead of dusting them.
- Whole Wheat Flour Swap: Try swapping up to half the all-purpose flour with whole wheat flour for a nuttier flavor and more fiber.
Delicious Homemade Sweet Rolls Recipe
Ingredients
- 3 cups all-purpose flour
- 2 1/4 tsp active dry yeast (1 packet)
- 1/4 cup granulated sugar, divided
- 1/2 tsp salt
- 3/4 cup whole milk, warm (about 110°F / 45°C)
- 2 large eggs
- 1/4 cup unsalted butter, softened
- 1 tsp pure vanilla extract
- Powdered sugar (for dusting)
Instructions
- In a small bowl, dissolve the yeast and 1 tablespoon of sugar in the warm milk. Let it sit for 5 to 10 minutes until it becomes foamy. This tells you your yeast is active and ready to work.
- In a large mixing bowl, mix together the flour, remaining sugar, and salt.
- Add the foamy yeast mixture, eggs, softened butter, and vanilla extract to the dry ingredients. Stir until the dough starts to come together.
- Turn the dough onto a lightly floured surface and knead it for about 8 to 10 minutes until it’s smooth and elastic. You can also use a stand mixer with a dough hook for this step.
- Place the dough in a greased bowl, cover it with plastic wrap or a damp cloth, and let it rise in a warm place for about 1 to 1.5 hours, or until it has doubled in size.
- Once risen, gently punch down the dough to release air bubbles. Roll it out on a floured surface into a large rectangle about 12 by 18 inches.
- Starting from one long edge, roll the dough tightly into a log shape.
- Cut the rolled dough into 8 equal pieces and arrange them cut-side up in a greased baking dish. Leave some space between the rolls to let them rise again.
- Cover the dish and let the rolls rise for another 30 to 45 minutes, until puffy.
- Preheat your oven to 350°F (175°C).
- Bake the rolls for 20 to 25 minutes or until the tops are a beautiful golden brown.
- Take the rolls out of the oven and let them cool slightly.
- Finally, dust the warm rolls generously with powdered sugar before serving. Enjoy!
Helpful Tips
- Check your milk temperature: Milk that’s too hot can kill the yeast, and too cold won’t activate it. Aim for about 110°F (warm but not hot) for perfect results.
- Don’t rush the rising: Letting the dough rise properly helps the rolls be fluffy and light. If your kitchen is cold, try placing the bowl near a warm spot or inside your turned-off oven with just the light on.
- Use fresh yeast: Expired yeast can cause the dough to not rise well. Always check the expiration date on the packet.
- Slicing: Use a sharp knife or uncooked dental floss to get clean slices without squishing the dough.
- Storage: Store leftovers in an airtight container at room temperature for up to 2 days. To keep them fresh longer, wrap and freeze, then thaw and warm as needed.
Equipment Needed
- Mixing bowls (small and large)
- Measuring cups and spoons
- Whisk or spoon for mixing
- Rolling pin
- Sharp knife or kitchen scissors (for cutting rolls)
- Greased baking dish (about 9×13 inches works well)
- Plastic wrap or kitchen towel (to cover dough during rising)
- Stand mixer with dough hook (optional for kneading)
- Oven mitts and cooling rack
Frequently Asked Questions
- Can I make these rolls without a stand mixer?
Yes! You can knead the dough by hand on a floured surface. It might take a bit longer, but it’s definitely doable, and you’ll still get great results. - Can I use instant yeast instead of active dry yeast?
Absolutely. If using instant yeast, you can skip proofing it in warm milk. Just add it straight to the dry ingredients and reduce the liquid slightly. Follow your yeast package instructions for exact adjustments. - How do I store leftover rolls?
Store them in an airtight container at room temperature for up to 2 days, or freeze them tightly wrapped for longer storage. Warm before serving for the best texture. - Can I add fillings like chocolate or fruits?
Definitely! Before rolling the dough into a log, sprinkle chopped chocolate chips, dried fruit, or cinnamon sugar for a fun twist. - What if my dough doesn’t rise?
Check the expiration date of the yeast and ensure the milk and environment are warm enough. Sometimes rising can take longer in cool kitchens—just give it more time!
So, are you ready to treat yourself to some fresh homemade sweet rolls? I’d love to hear how yours turn out—feel free to share your photos or any tasty tweaks on my Pinterest page. Let’s bake this love together and make every breakfast a little extra special!