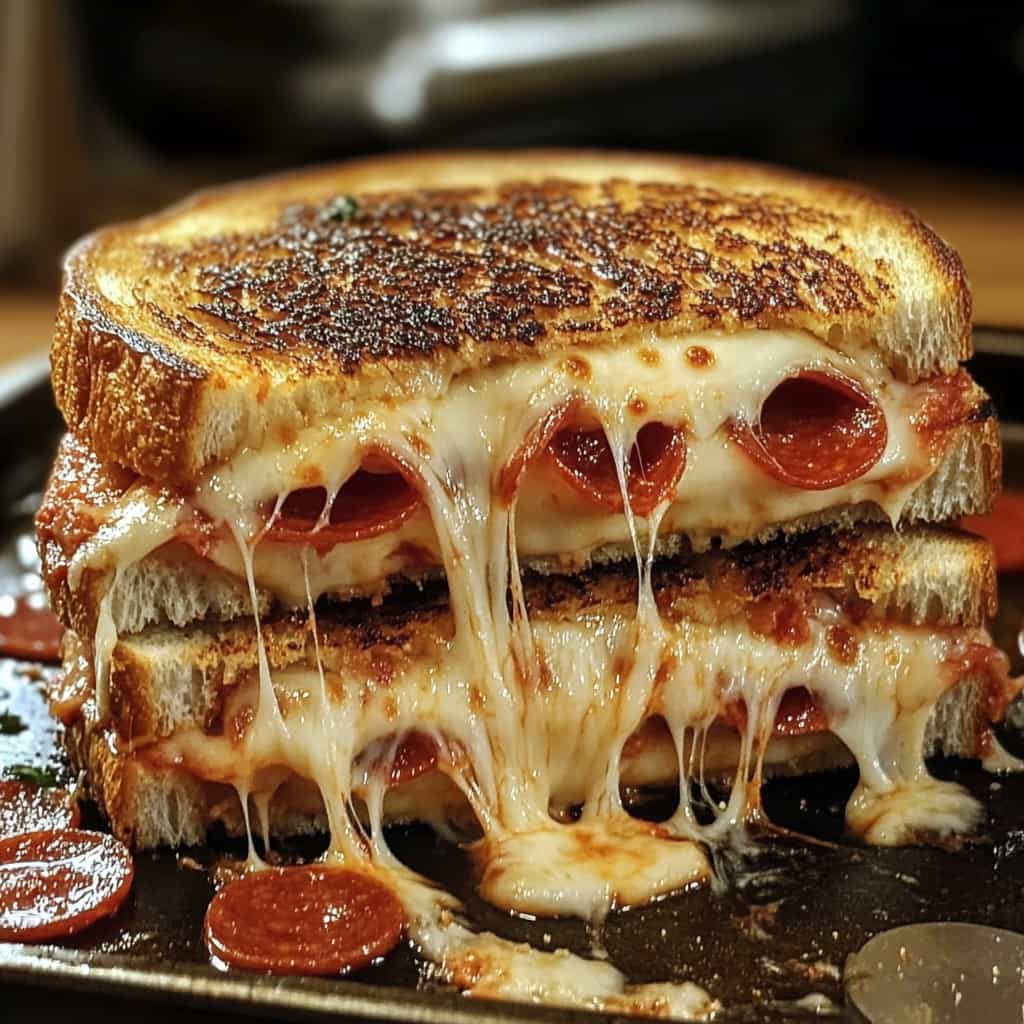
Pepperoni Pizza Grilled Cheese
Hello pizza lovers and cheese fanatics! If you’re like me, you can’t resist a hot slice of pepperoni pizza or a gooey grilled cheese sandwich. So, what happens when you combine the two? You get the irresistible Pepperoni Pizza Grilled Cheese—a fusion dish that’ll make your taste buds sing! This creation is one of my go-to comfort foods, and it’s super easy to whip up. Trust me; once you try this cheesy goodness, you’ll want to make it again and again!
Nutritional Benefits of Your New Favorite
Let’s talk about the good stuff! While this dish is definitely a treat, there are some nutritional benefits that come along with it. For one, the whole grain bread can add dietary fiber to your meal, helping with digestion. Plus, you’ll get protein from the cheese and pepperoni. If you use low-fat cheese, you can reduce the calories while still enjoying that gooey satisfaction. And hey, tossing in a few veggies like spinach or peppers can kick up the nutritional value!
Fun Variations to Try
- Veggie Delight: Swap out the pepperoni for some sautéed veggies like mushrooms, bell peppers, or spinach for a lighter twist.
- Spicy Kick: If you love a little heat, add some jalapeños or spicy pepperoni for a fiery version.
- Creamy Garlic Spread: Mix some garlic powder into the butter for spreading on the bread for an extra layer of flavor.
Delicious Pepperoni Pizza Grilled Cheese Recipe
Ingredients
- 2 slices of your favorite bread (I love using sourdough!)
- 2 slices of mozzarella cheese
- 4-5 slices of pepperoni
- 1 tablespoon butter, softened
- 1 tablespoon marinara sauce (for dipping, optional)
Instructions
- Start by heating a non-stick skillet over medium heat.
- While the skillet is warming up, butter one side of each slice of bread. This will help achieve that golden crust!
- Place one slice of bread, butter-side down, in the skillet and layer on a slice of mozzarella cheese.
- Arrange the pepperoni over the cheese, followed by another slice of mozzarella. Finally, top it off with the second slice of bread, butter-side up.
- Cook for about 3-5 minutes until the bottom slice is golden brown and the cheese starts to melt. Carefully flip the sandwich and cook the other side for another 3-5 minutes.
- Once both sides are golden and the cheese is gooey, remove the sandwich from the skillet. Let it cool for a minute before slicing it in half.
- Serve with warm marinara sauce for dipping, and enjoy your delicious creation!
Practical & Valuable Tips
- For an extra cheesy melt, consider adding slices of provolone or cheddar along with mozzarella.
- Don’t rush the grilling process. Cooking on medium heat allows the cheese to melt evenly without burning the bread.
- If you find your grilled cheese is getting too dark before the cheese melts, lower the heat to ensure a perfect balance.
- Store leftover grilled cheese in an airtight container in the refrigerator for 1-2 days—just reheat it in a skillet to get that crispy texture back!
Equipment Needed
Here’s what you’ll need to whip up your mouthwatering grilled cheese:
- A non-stick skillet or frying pan
- A butter knife for spreading
- A spatula for flipping
- A cutting board and knife for slicing the sandwich
Frequently Asked Questions
- Can I use other types of cheese? Absolutely! Feel free to mix and match cheeses—cheddar, pepper jack, or a blend work wonderfully.
- Is this recipe easy to make for kids? Definitely! Kids can help with spreading the butter and layering the ingredients, making it a fun family activity.
- Can I make this without pepperoni? Yes! You can skip the pepperoni for a meat-free version or substitute it for other toppings, like veggies.
- How can I make this healthier? Use whole grain bread and low-fat cheese, and add extra veggies to pack in nutrients!
- Can I freeze the leftovers? While grilled cheese is best fresh, you can freeze it before cooking. Just thaw and grill it when you’re ready!
If you try this Pepperoni Pizza Grilled Cheese, I’d love to hear how it turns out for you! Feel free to share your thoughts and even your tasty creations on Pinterest. Let’s spread the cheesy love together and keep those kitchen adventures going!